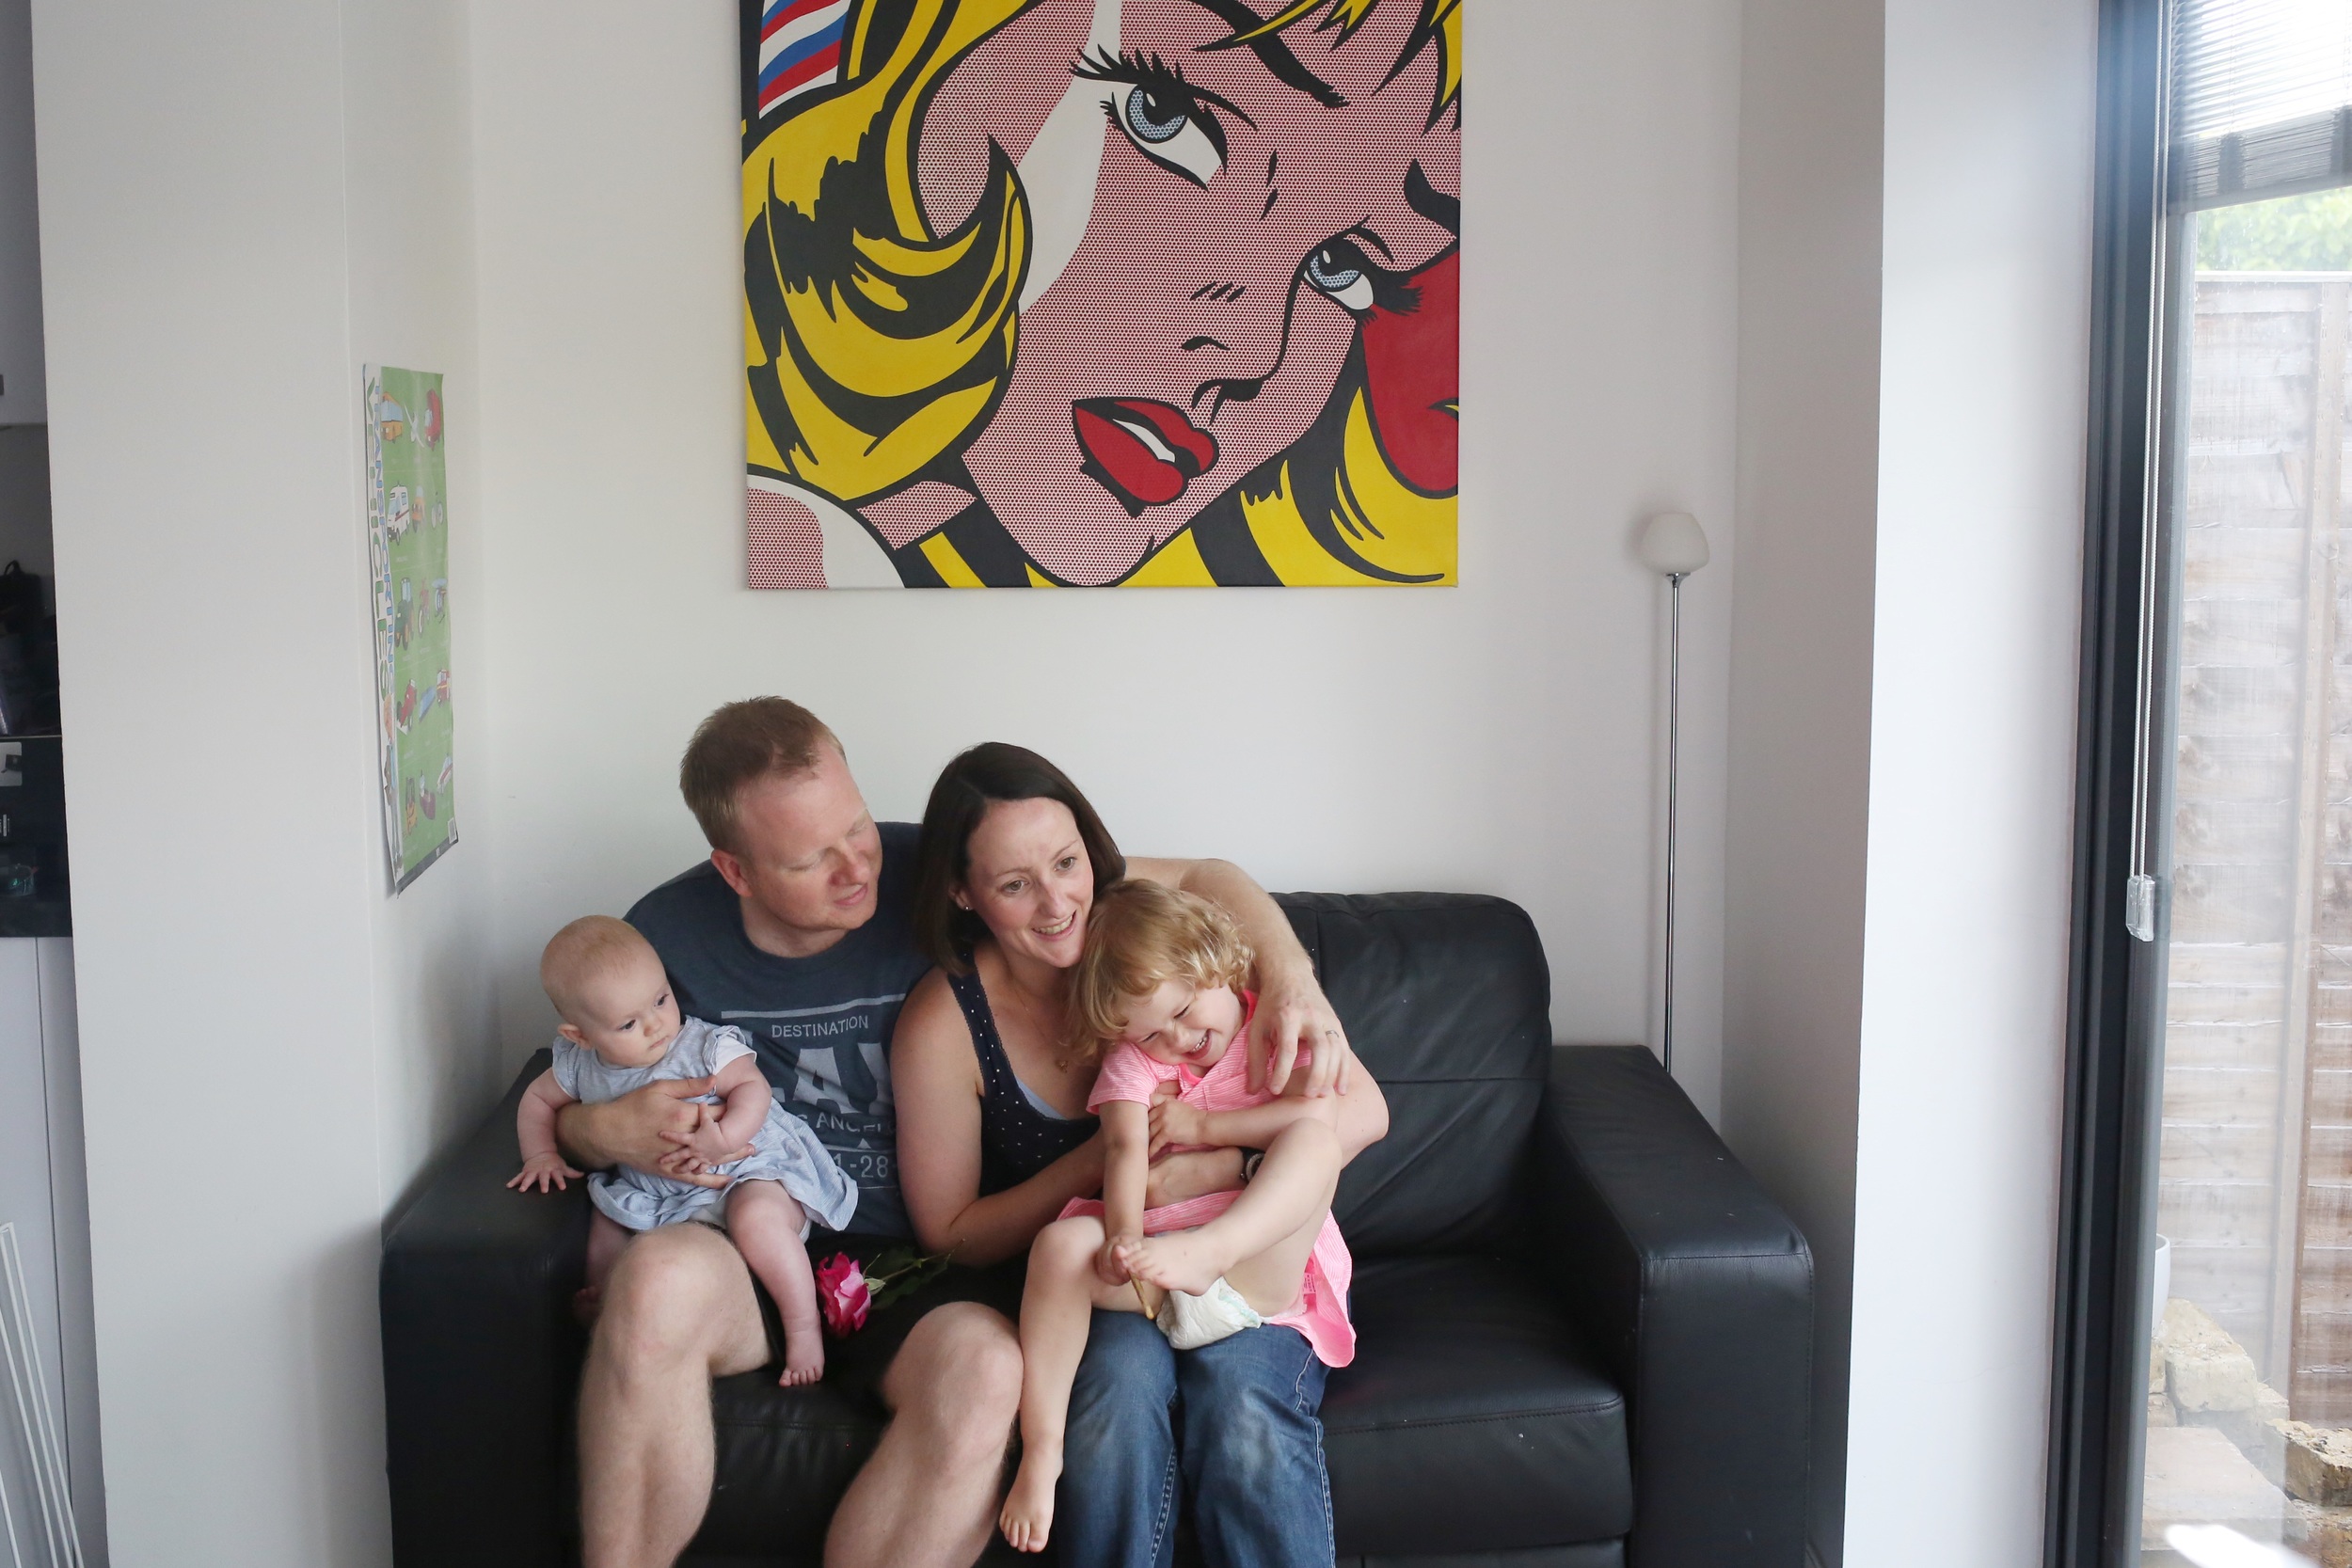
5 tips for great family photos (with a self timer)
As our baby turns 6 months, I've realised we don't have a single photo of the four of us.
Getting some professional pictures taken is definitely on my to-do list but we've just not got round to it. Life has been busy.
Last weekend I was determind to get a picture - the four of us, our little family, my camera and a self timer. Easy right?
It took patience, a lot of patience with a toddler running into the garden after every shot and being dragged back to the sofa for 'just one more!' We got there in the end though.
Here are some of my tips for getting that family shot:
1. Choose your weapon - you may have an SLR or compact camera and a tripod. You may be looking to balance an iPhone on a pile of books. Choose what works for you and work out how to use the self timer function.
2. The set-up - my advice (particularly if you have young children) is to decide on your location in advance (ideally close to a window with some natural daylight). Clear away clutter and any distractions. Use an adult to pose for a trial shot and see how it looks. If you have everything set up in advance, you just literally need to bring the children in and get going.
3. Patience- we bribed our toddler with a biscuit and entertained her with songs. She was not playing ball but we just kept persevering with the self timer, taking numerous shots.
4. Eyes to camera? Do you want everyone looking at the camera? We tried shots some looking at the camera and some away. The image I chose was less posed and more natural. This is the style we prefer but the beauty of the self timer is that you are in charge and you can try lots of different options.
5. Editing - my editing for clients is done on my desktop computer with Photoshop software. Increasingly for day to day family pictures of our life at home I upload my pictures straight to my iPad using an Apple card reader. I then use the VSCO or Snapseed apps to crop, tweak colours and contrast or change to black and white.
Before & After
Before

After
As you can see I chose to be close to a window with plenty of light. I had originally tried to include a painting we have in our kitchen but in the end decided the painting was a little too distracting and cropping in closer would work better. I also decided without the painting, I preferred the picture in black and white form.
Using the self timer is definitely something to try out. It takes a little planning but great to have a family photo ready for framing on your mantelpiece.
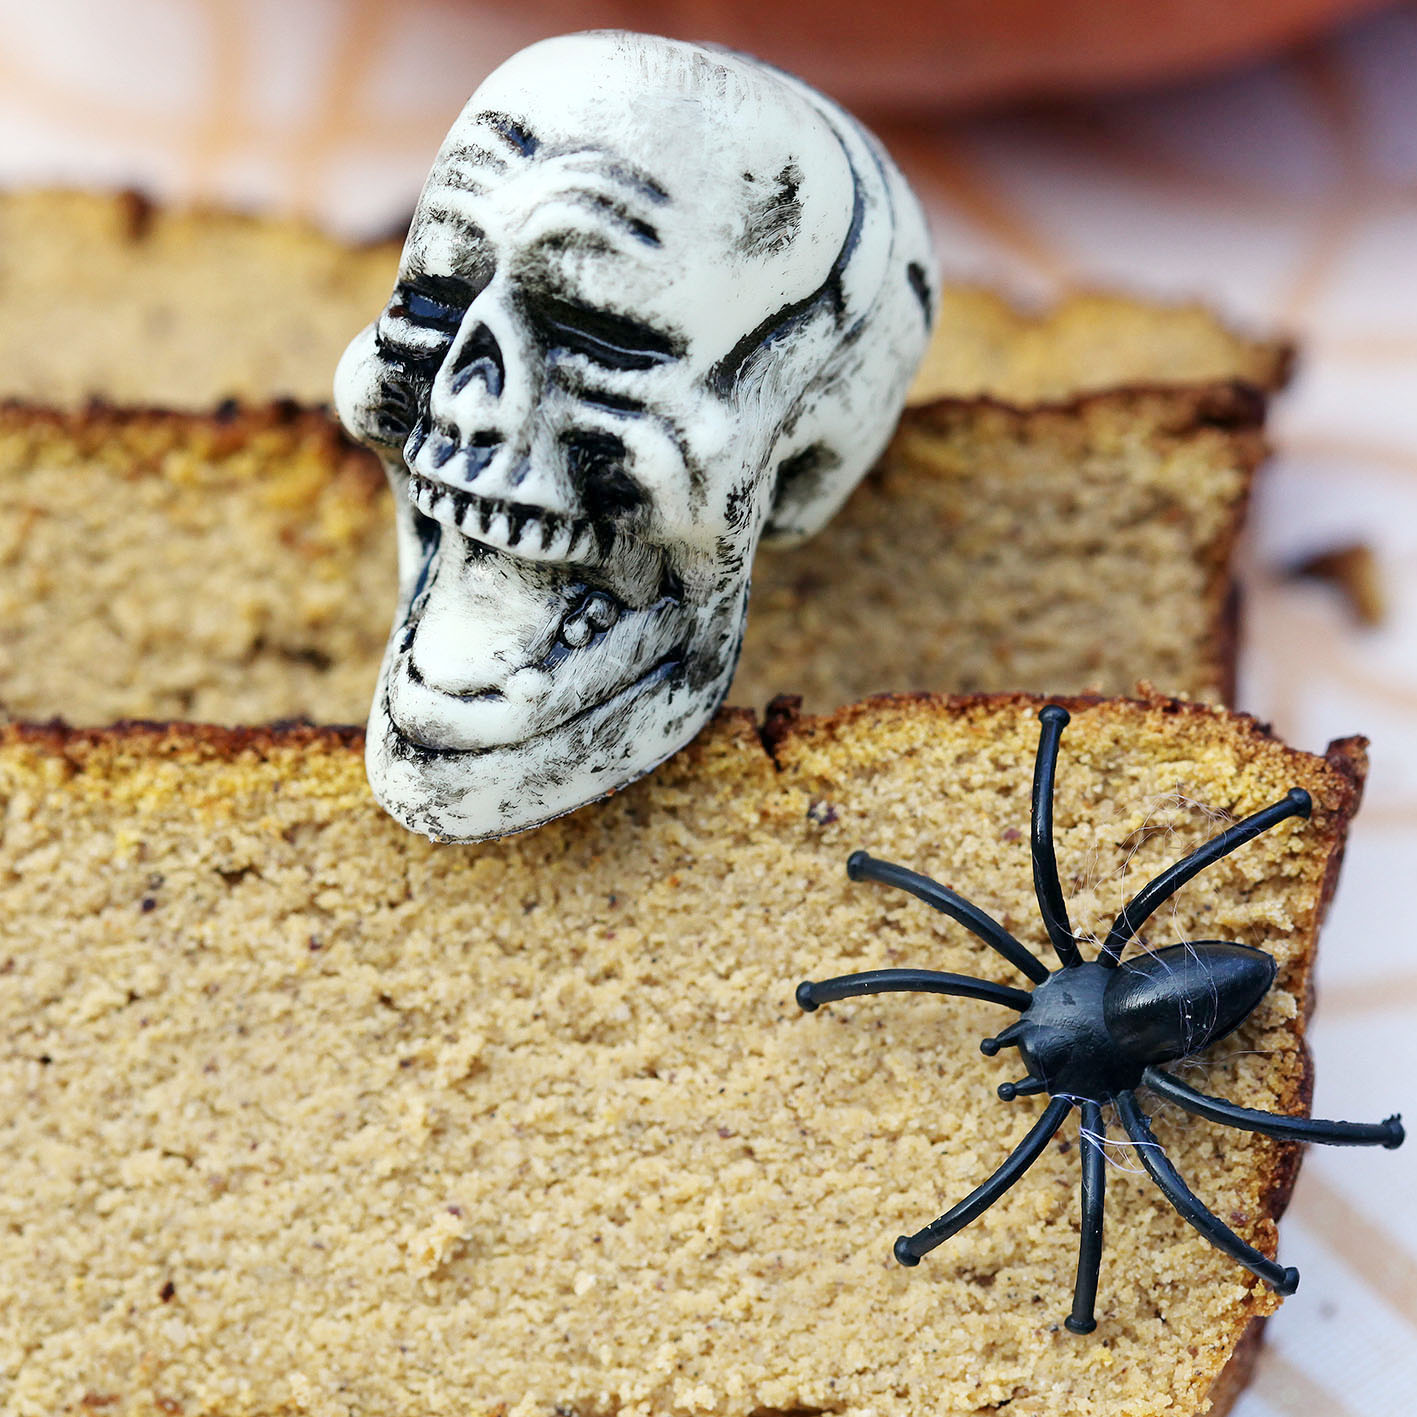
Playing dress-up and pumpkin cooking

We are fully getting into the Halloween spirit in our household, with our almost 8 month-old daughter having already attended her very first Halloween party a week ago! A quick dash to Sainsbury's and I picked up this season's hot Halloween accessories - a spider headband and cobweb tights! We set up a mini studio space in our attic bedroom and did a little photo shoot. What I had not anticipated was each time the spider headband was placed on her head, it was immediately removed and inspected suspiciously, making it a race against time to get each shot!

I also set myself a challenge this year - to buy a pumpkin and cook with it. Pumpkin carving is not my thing. I have never bought a pumpkin and therefore never carved one. So this could get messy...
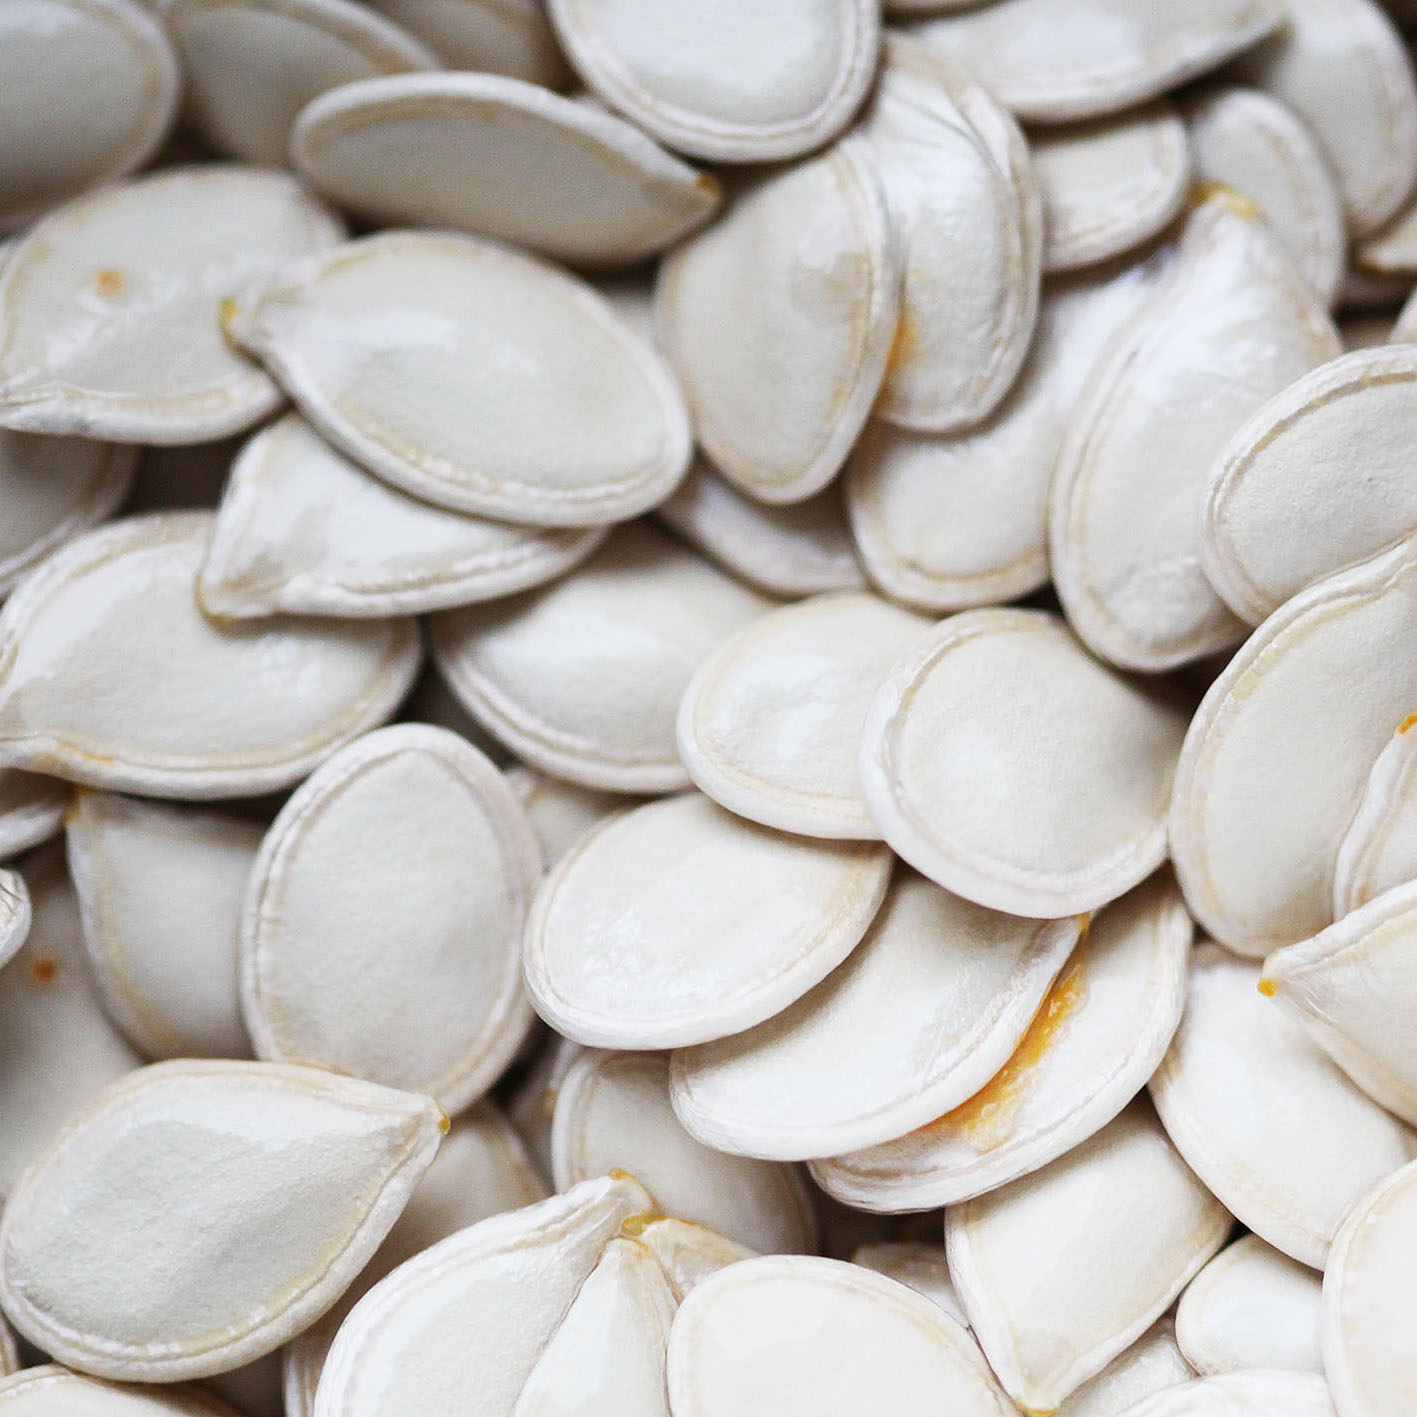
I picked my baby's nap time to do my baking in the hope that she would stay dozing for at least an hour while I braved my pumpkin cooking mission. I don't think I was fully prepared for how tough pumpkins are to cut into. It felt like a full bicep workout as I chiselled away at the firm core. Another thing I was not prepared for - SO many seeds tangled inside a web of orange stringy flesh. Apparently the seeds are good roasted, so after cleaning them with cold water, I placed them on foil in a baking tray and sprinkled them with olive oil and coarse salt. FoodNetwork.com offers a choice of different ways to jazz up your pumpkin seeds and I opted for the Indian spices suggestion adding Garam Masala halfway through the 50 minutes oven time. I then added a handful of sultanas once removed from the oven and voila! - a great, healthy snack without wasting the pumpkin seeds!
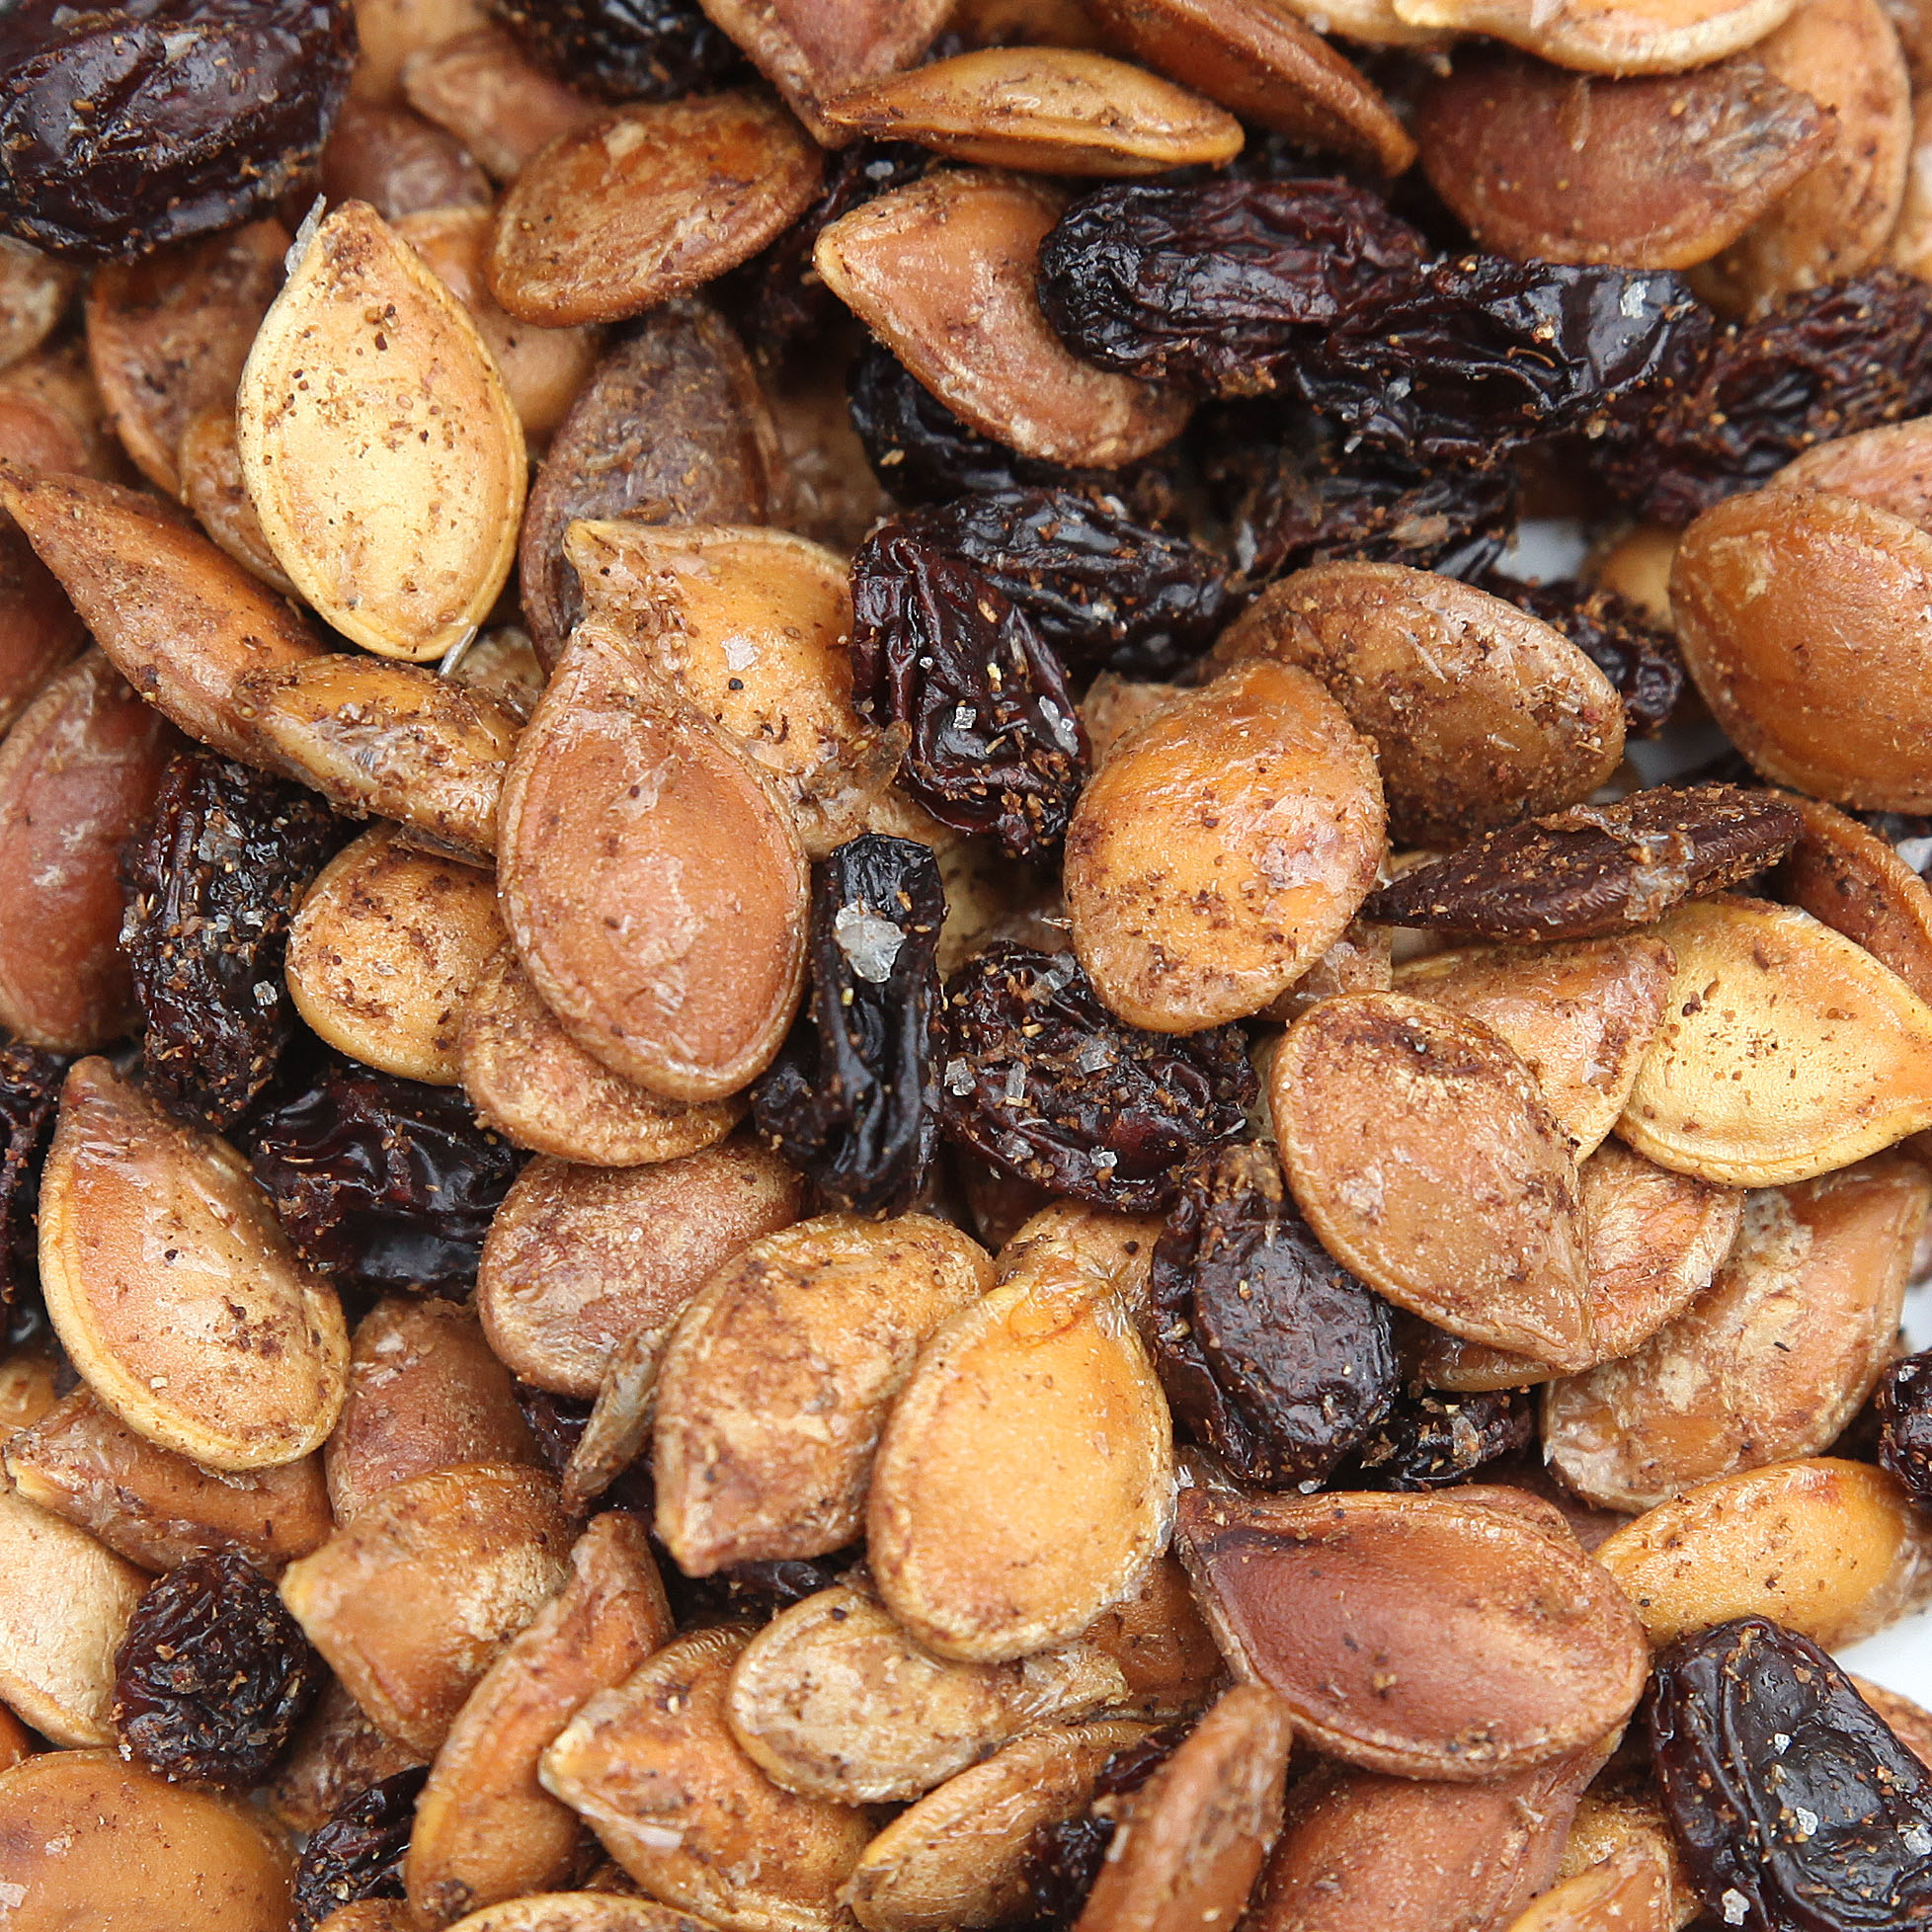

Pumpkin seeds with Indian spices
My next stop - a website called Wholefood Simply. After developing gestational diabetes while pregnant, I have taken a big look at my diet and hugely reduced my intake of refined sugar. This website has incredible recipes which cater for my dietary needs. The photography is just beautiful too. I chose the Pumpkin and Almond bread to try baking. The warm comforting aromas of cinnamon, vanilla and Chinese five spice quickly filled the house and instantly made it feel like a slippers on, cosy up by the fire, lazy Sunday afternoon. This bread takes about an hour to bake and is delicious with extra thick double cream.

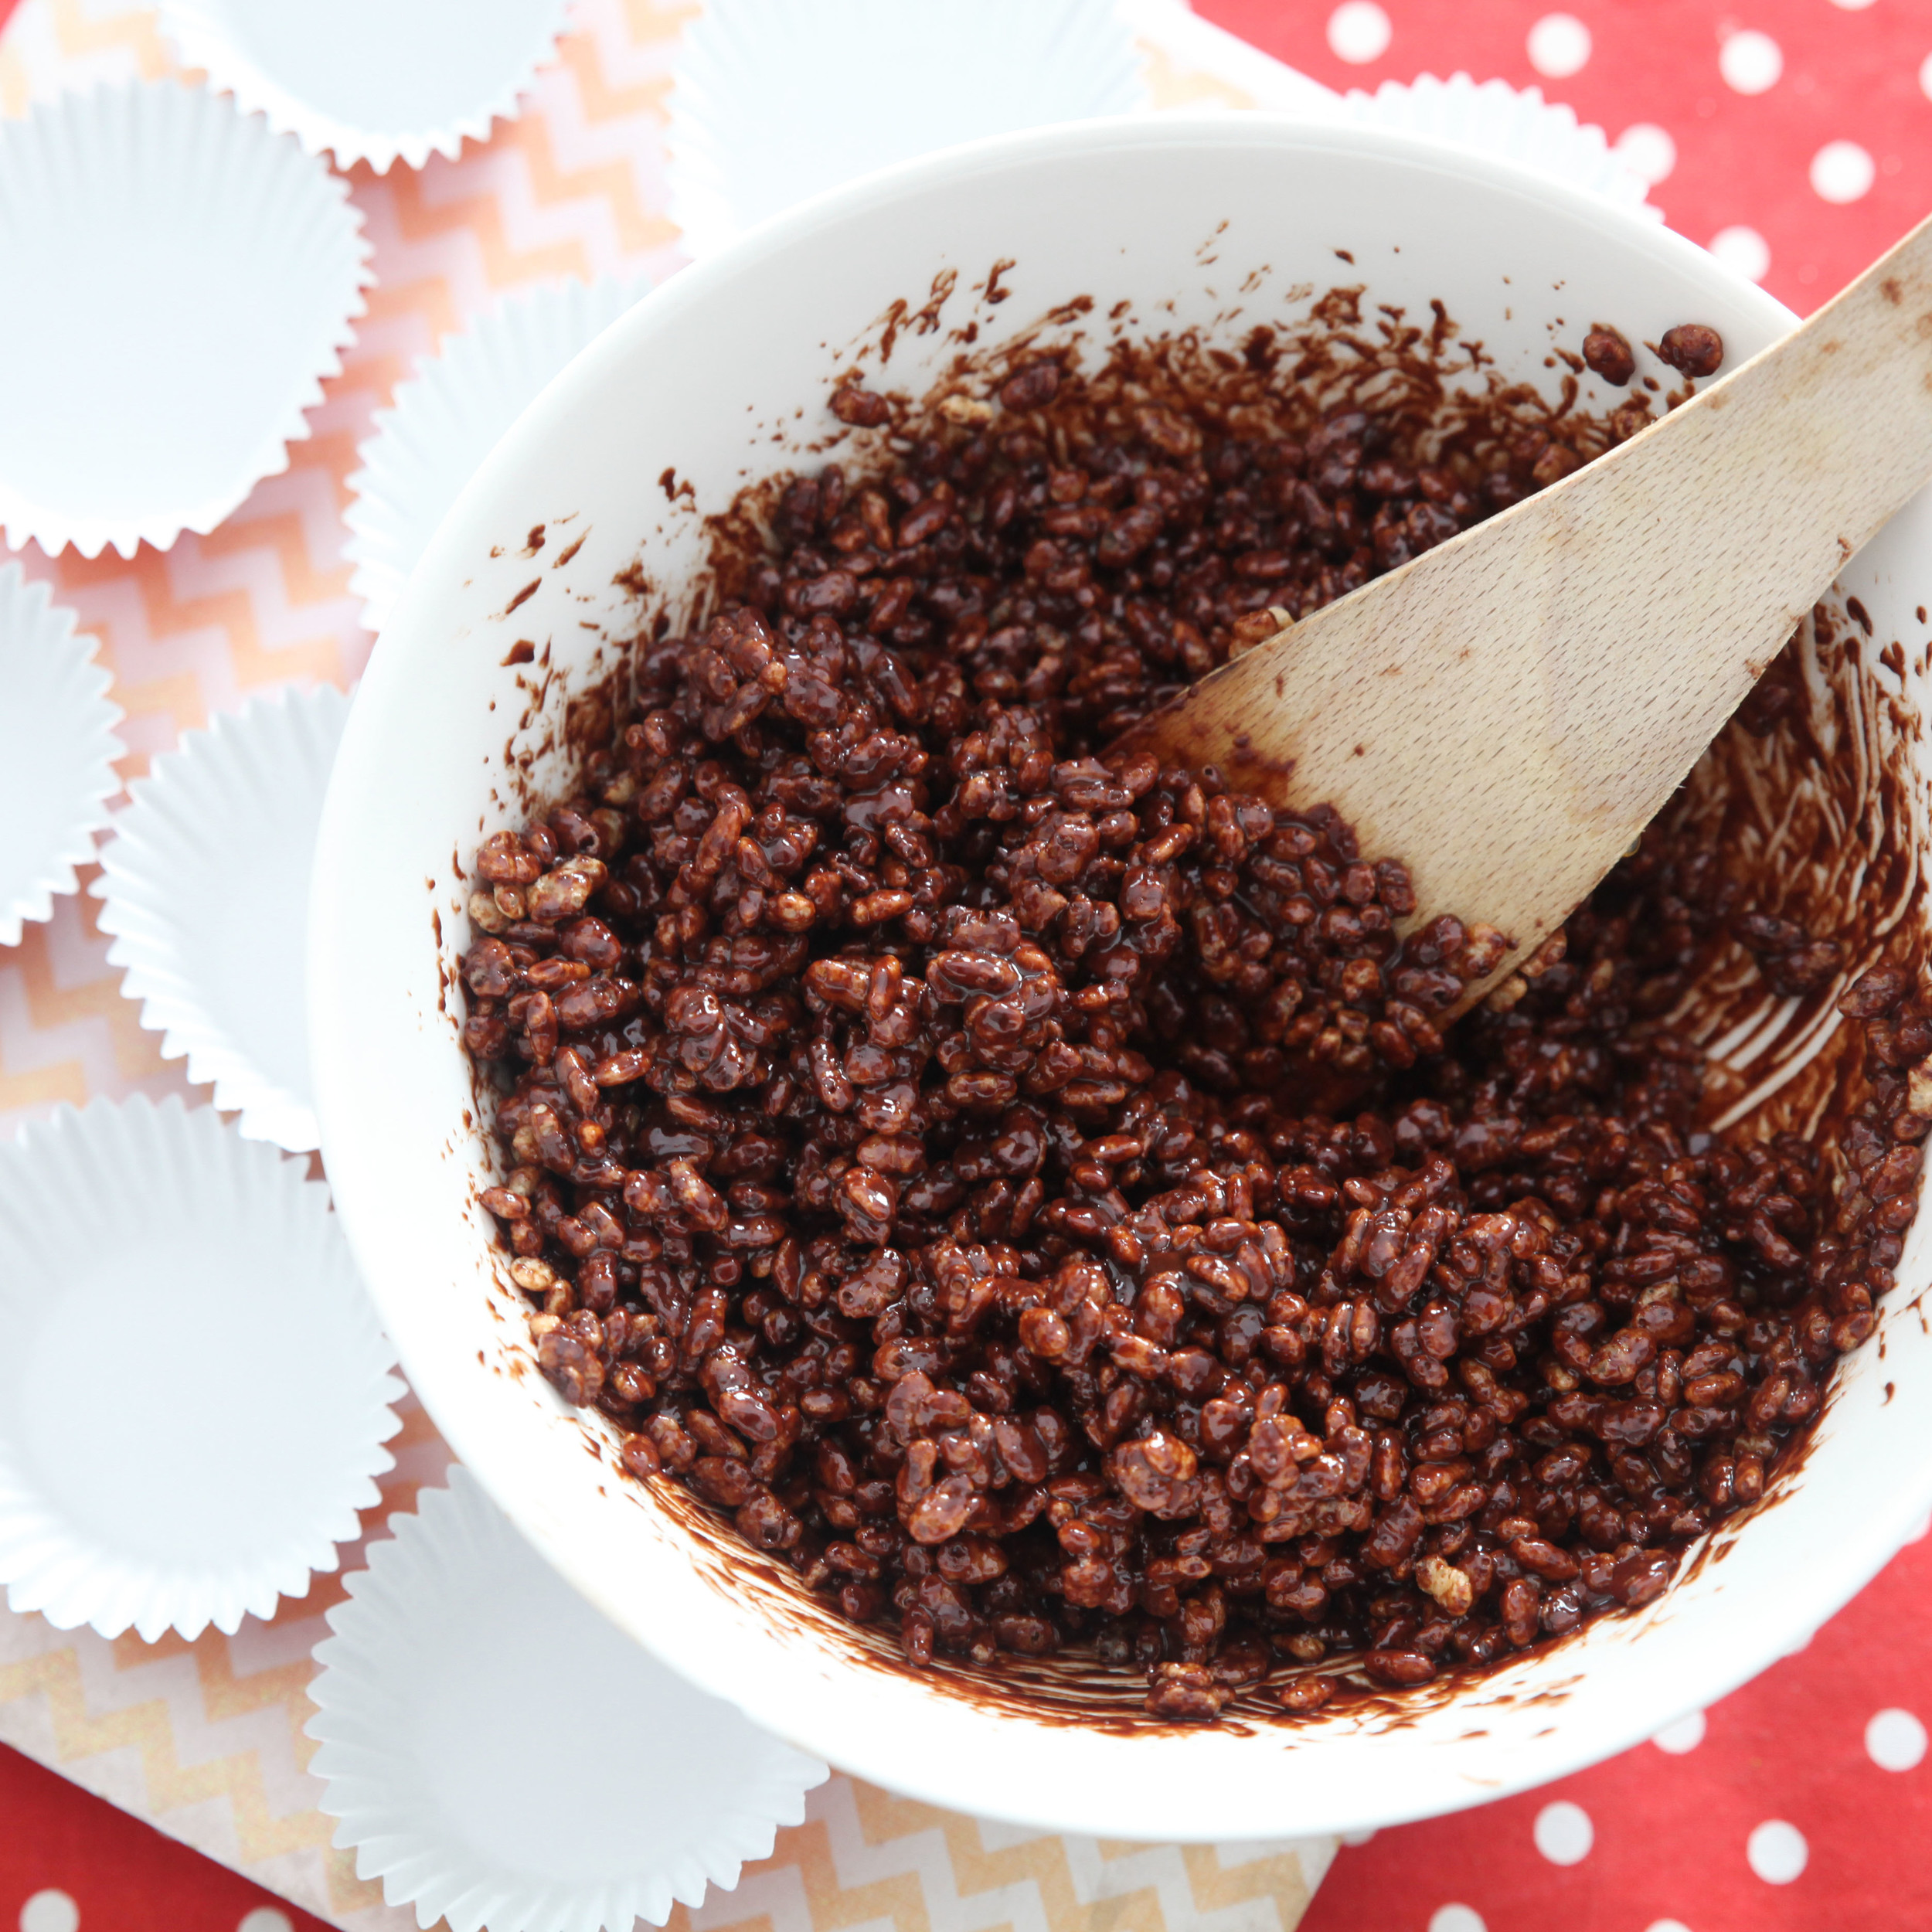
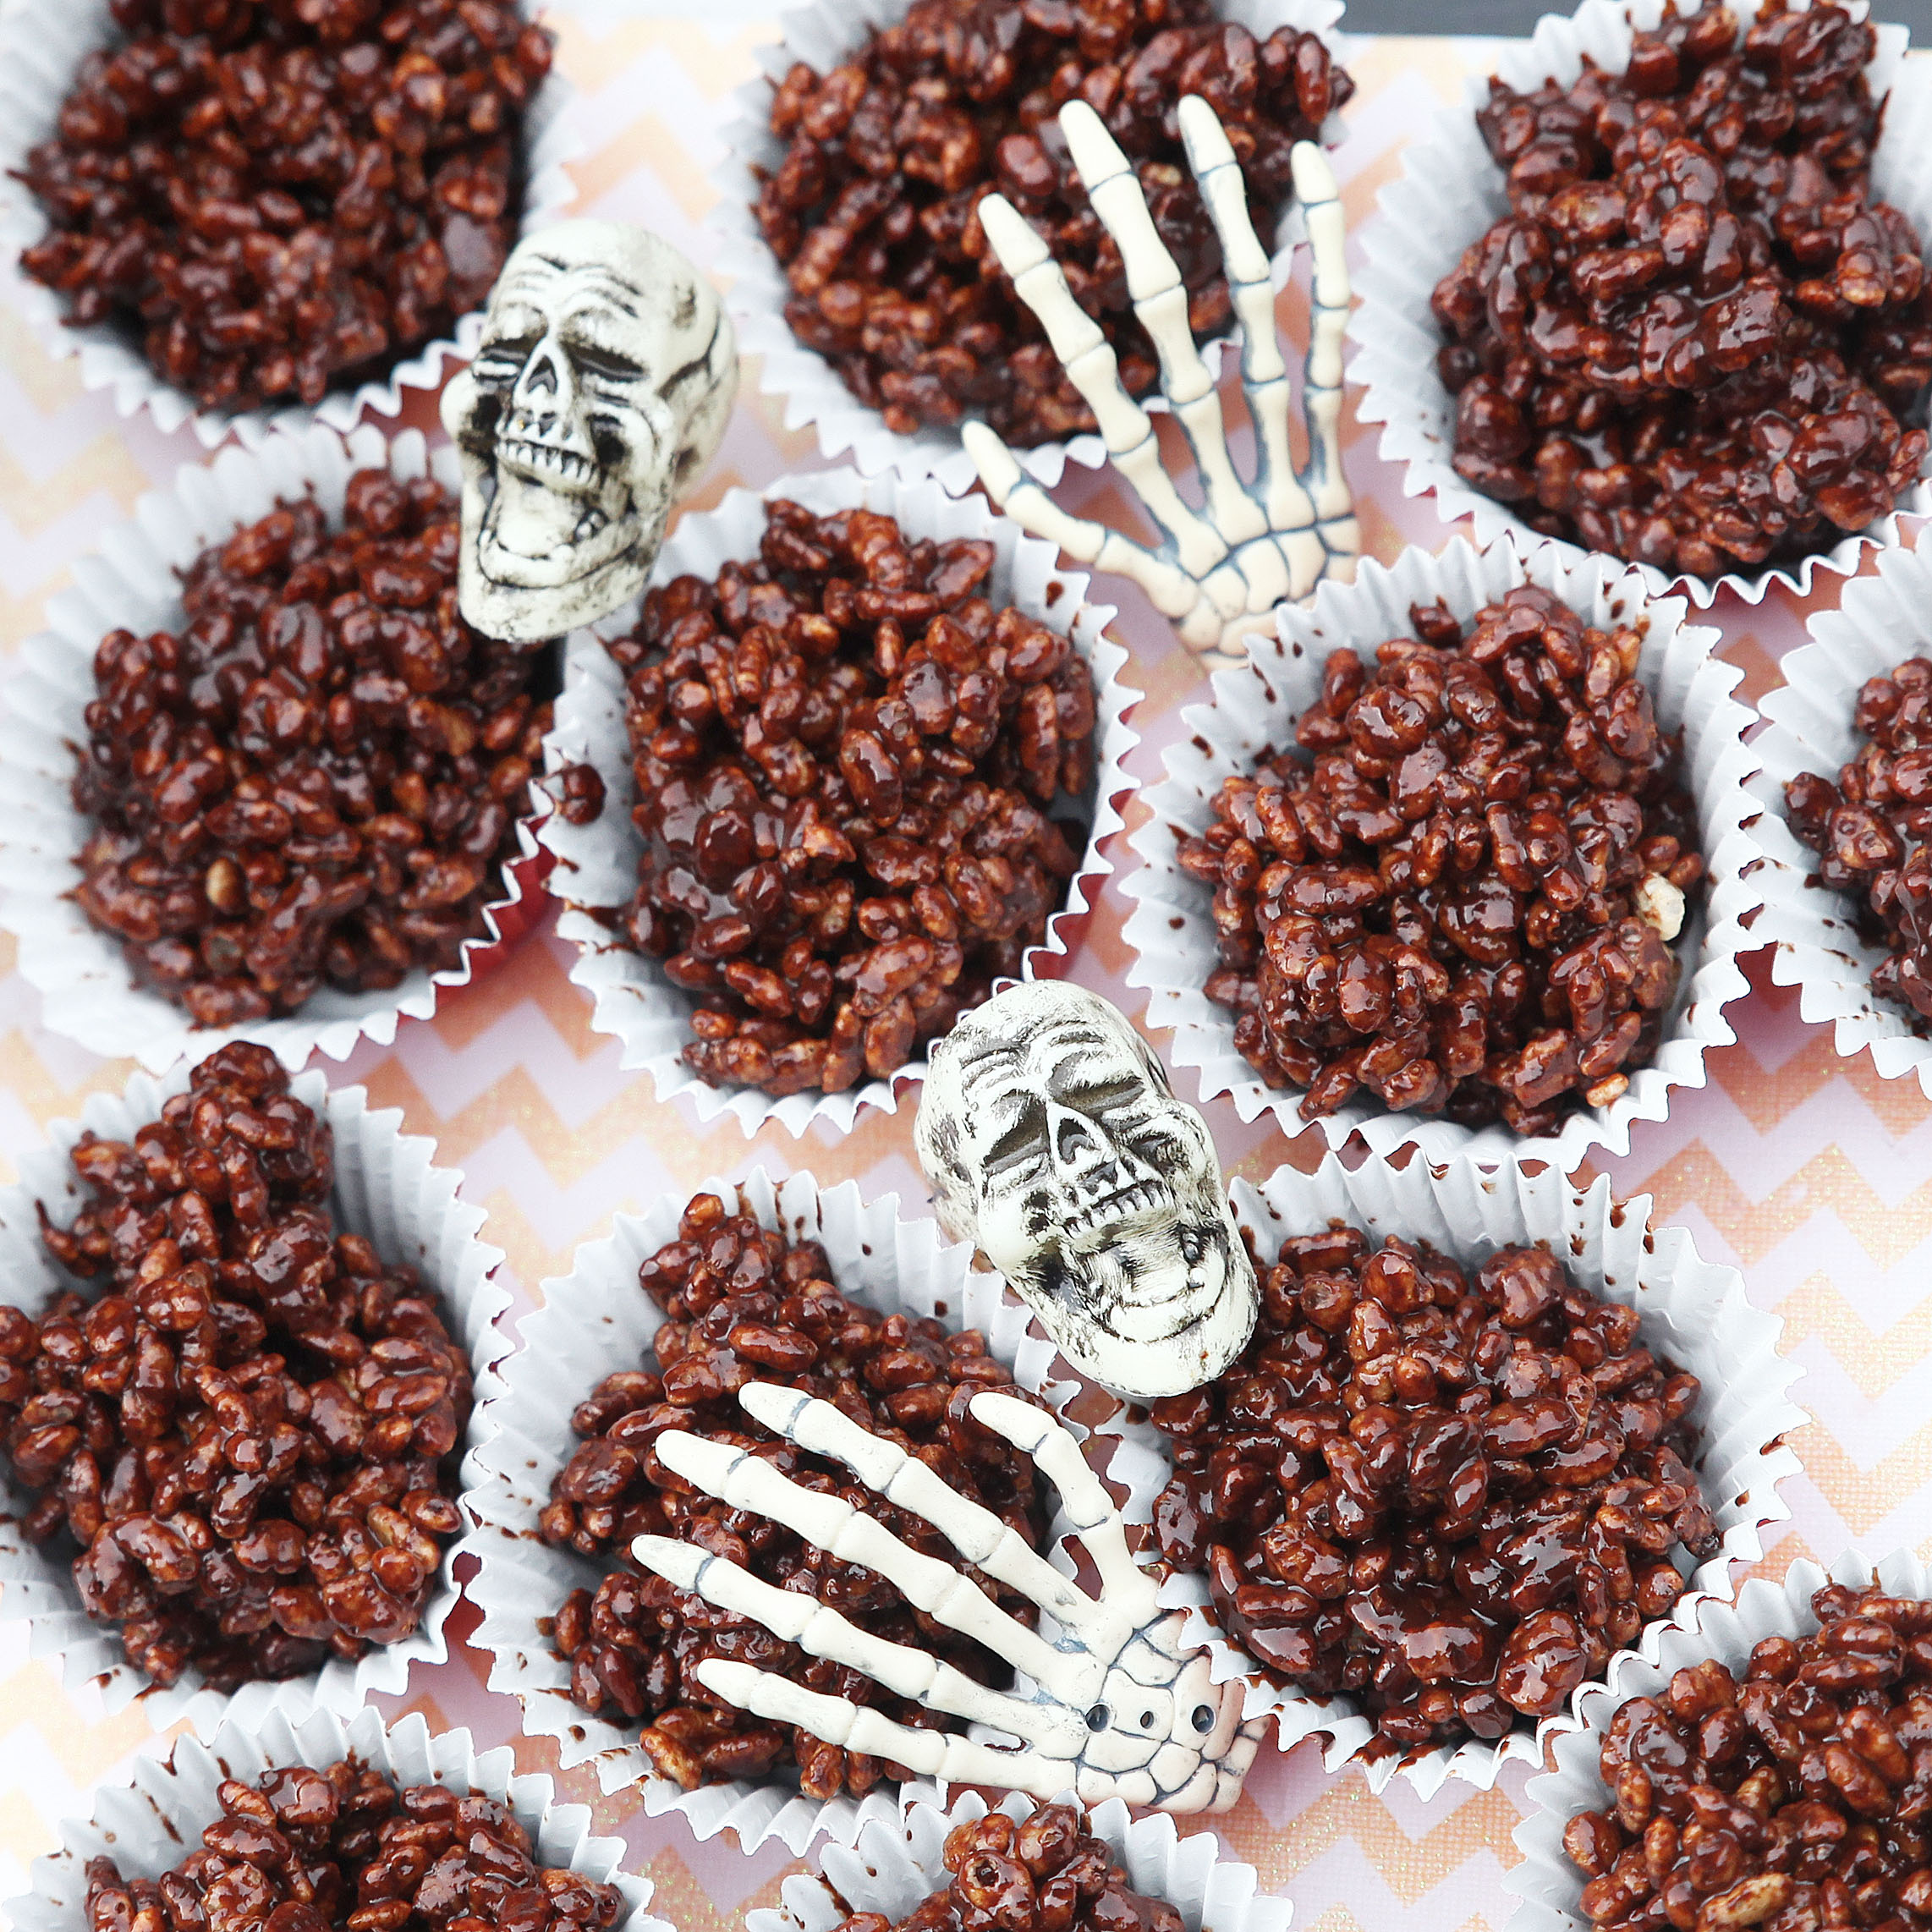
With my pumpkin well and truly carved to pieces and at my husband's request, I made one more Halloween foodie treat - dark chocolate Rice Krispie cakes. In a bid to reduce the sugar content, I used very dark chocolate, over 85% cocoa, instead of milk chocolate and Rice Malt Syrup was used in place of golden syrup. All you need is:
90g Rice Krispies
60g butter
100g dark chocolate
3 tablespoons of rice malt syrup.
Melt the butter and dark chocolate, add the syrup, mix with the cereal, place in paper cases and leave to cool.
These Rice Krispie cakes are sticky and melt in the mouth and perfect with a cup of tea - bliss! Happy Halloween!