
Still Life on the kitchen table
The Still Life Masterclass I took part in a few weeks ago with The Photographers' Gallery and Jonathan Lovekin has really left an impression.
I have been desperate to practice still life at home. Last weekend I popped into a local art shop to stock up on coloured card for backgrounds and black and white foam boards.
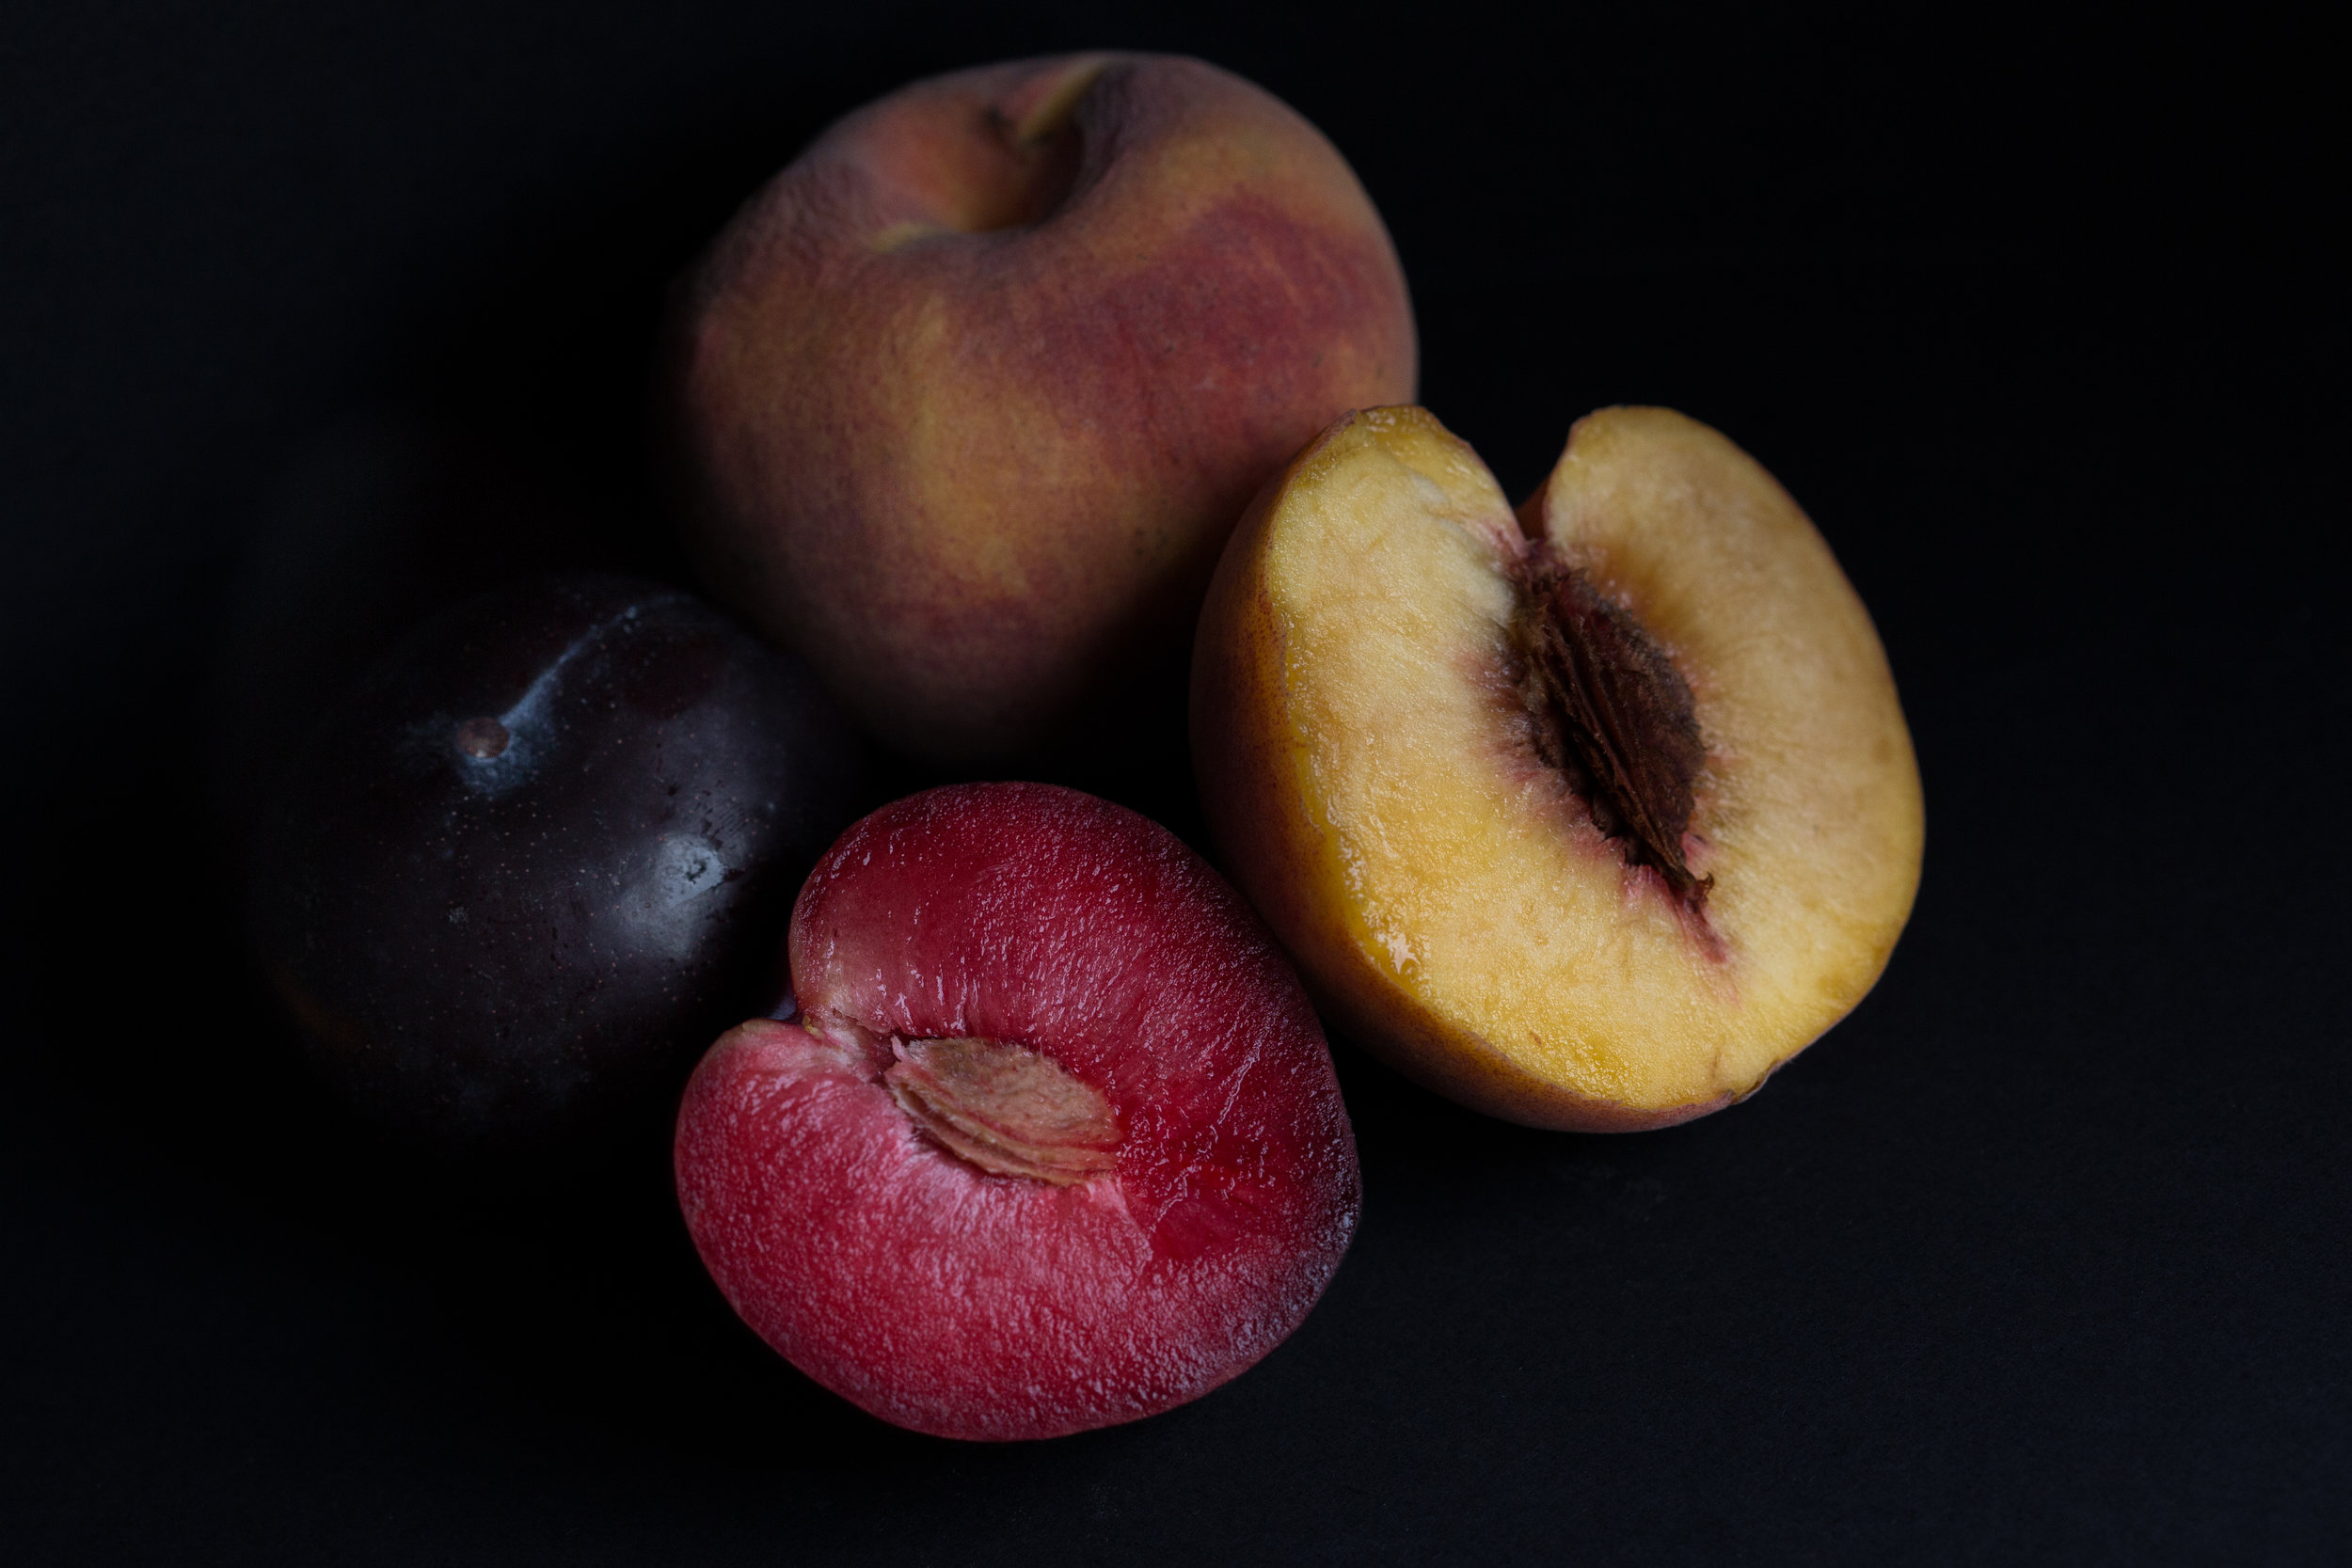
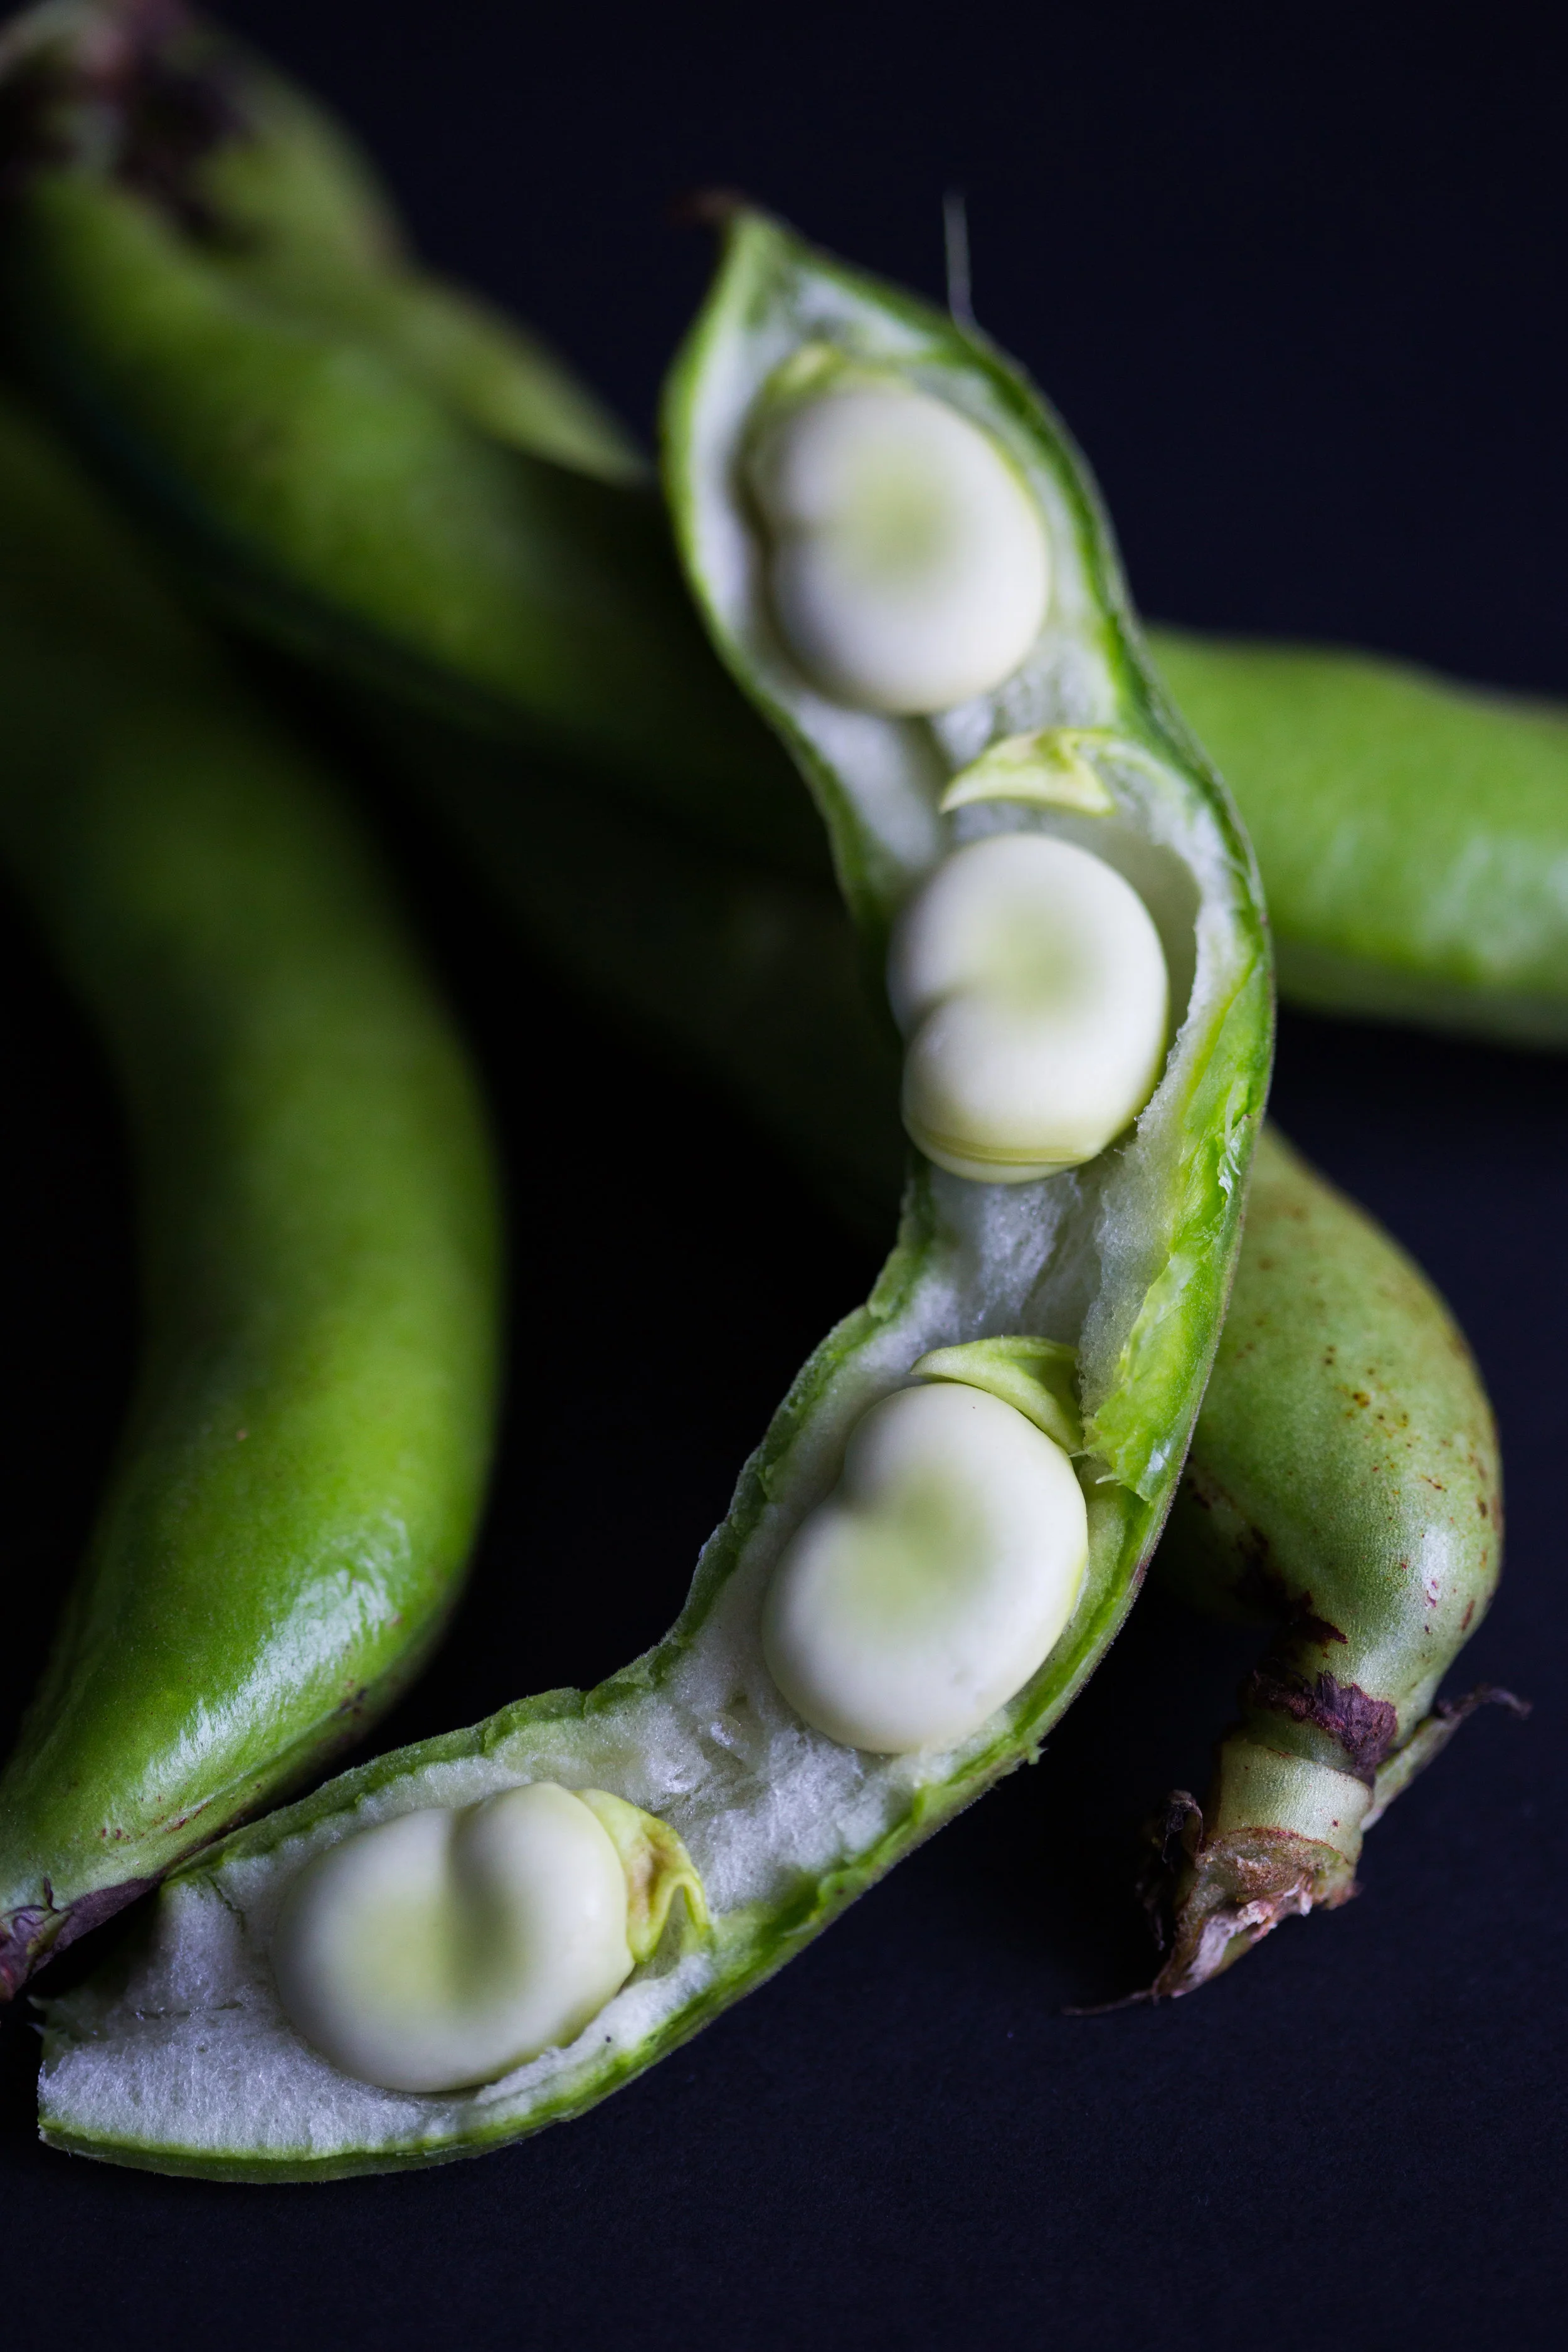
I sent my husband out with the girls for half an hour so I could have a practice run, photographing fresh fruit and vegetables on our kitchen table.
I wanted to try a black background which helps the vibrant colours of the fruit and vegetables pop and alternated between using the black and white foam boards to reflect the light (white board) or cut the light (black board).
I also wanted to try shooting with a wider aperture, something I'd been avoiding on the masterclass.
Aren't these Isle of Wight tomatoes a great mix of colours? They were in the flash sale section on my online supermarket shop.


So here's my kitchen table setup. I move the black and white card around to play with the light.
A top tip - about a year ago I bought a Manfrotto Single Arm with super clamp. It's like a tripod, holding the camera steady, but it clamps to the table, rather than having legs.
I find it so much less clunky than my tripod and great for this kind of photography.


Still Life & Food Photography Masterclass
Day 1 - Ridley Road Market

Sometimes it's good to step out of your comfort zone and try something new.
I really didn't know what to expect when I signed up to the Still Life & Food Photography Masterclass at The Photographer's Gallery.
Would everyone be experts in food photography already? Would I be way out of my depth?
I've dabbled with food photography - spent hours re-arranging macarons on a tray to make them look pretty - and loved every minute of it - but it's hard!
The Masterclass was led by photographer Jonathan Lovekin who creates the beautiful photos for Nigel Slater and Yotam Ottolenghi books.
Over a glass of wine, Jonathan began by talking us through his work, his influences and a bit more about the food and still life photography genre. Frantically scribbling notes, I had a long list of painters and photographers to google further.
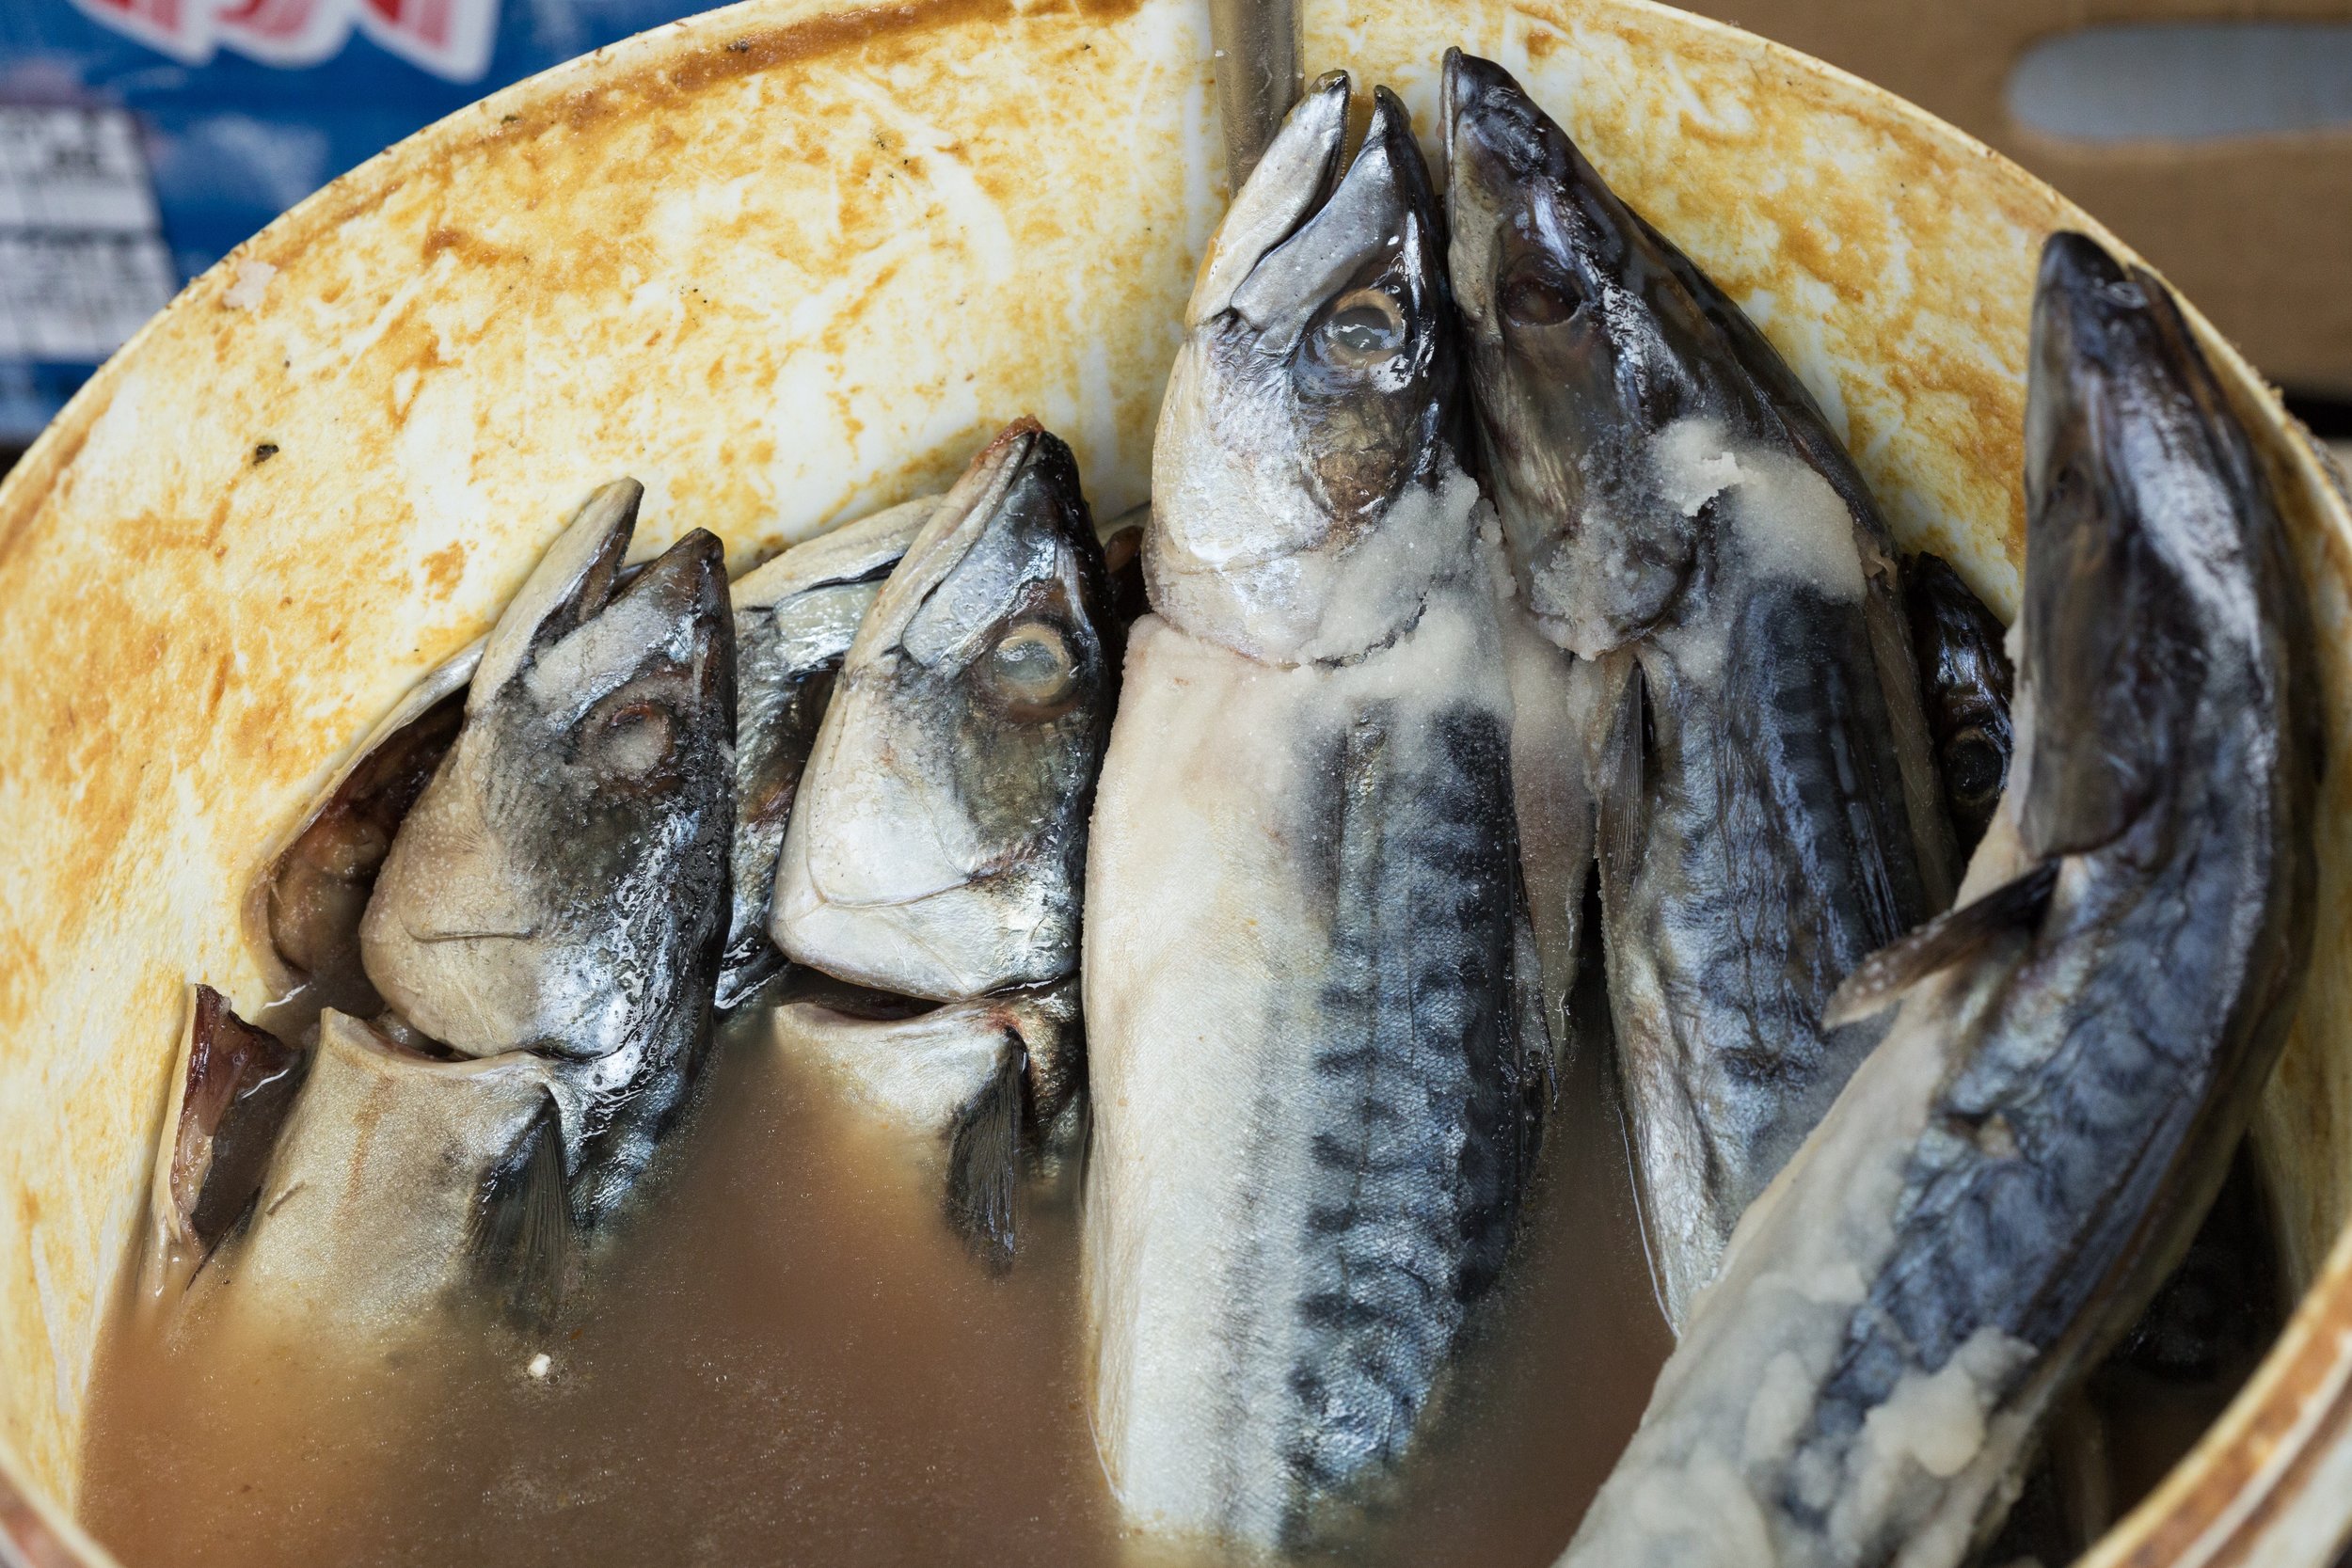
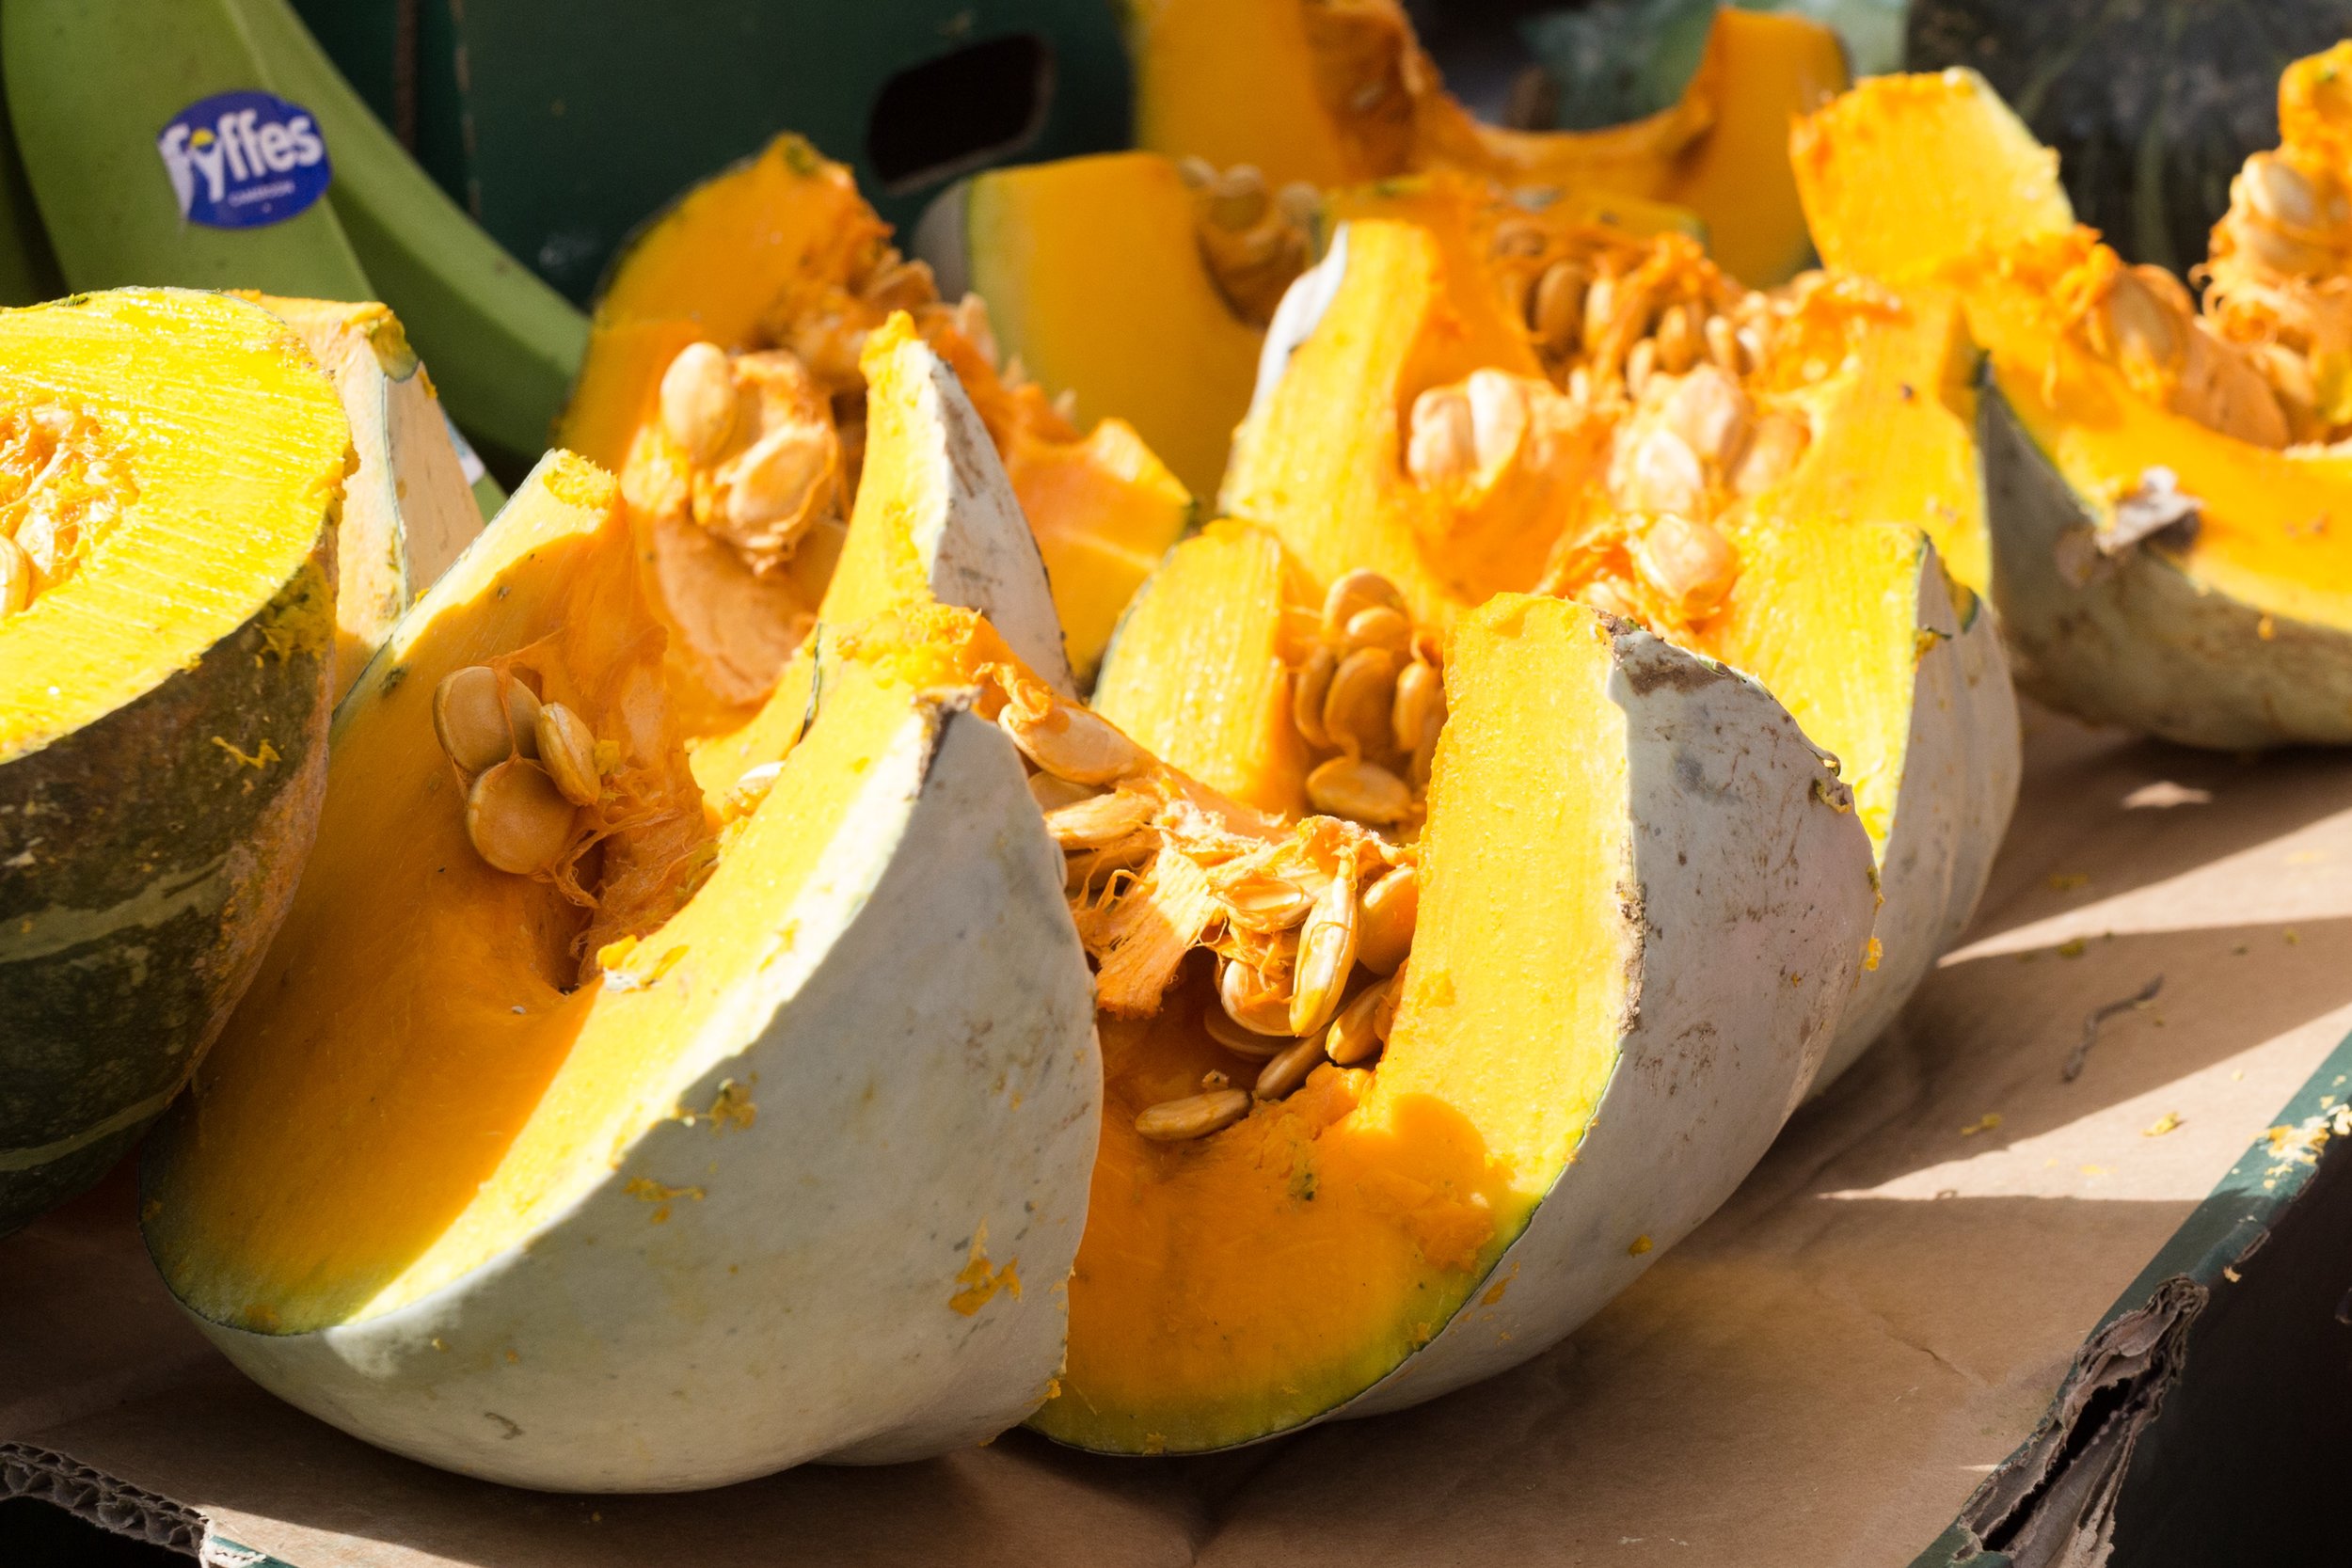
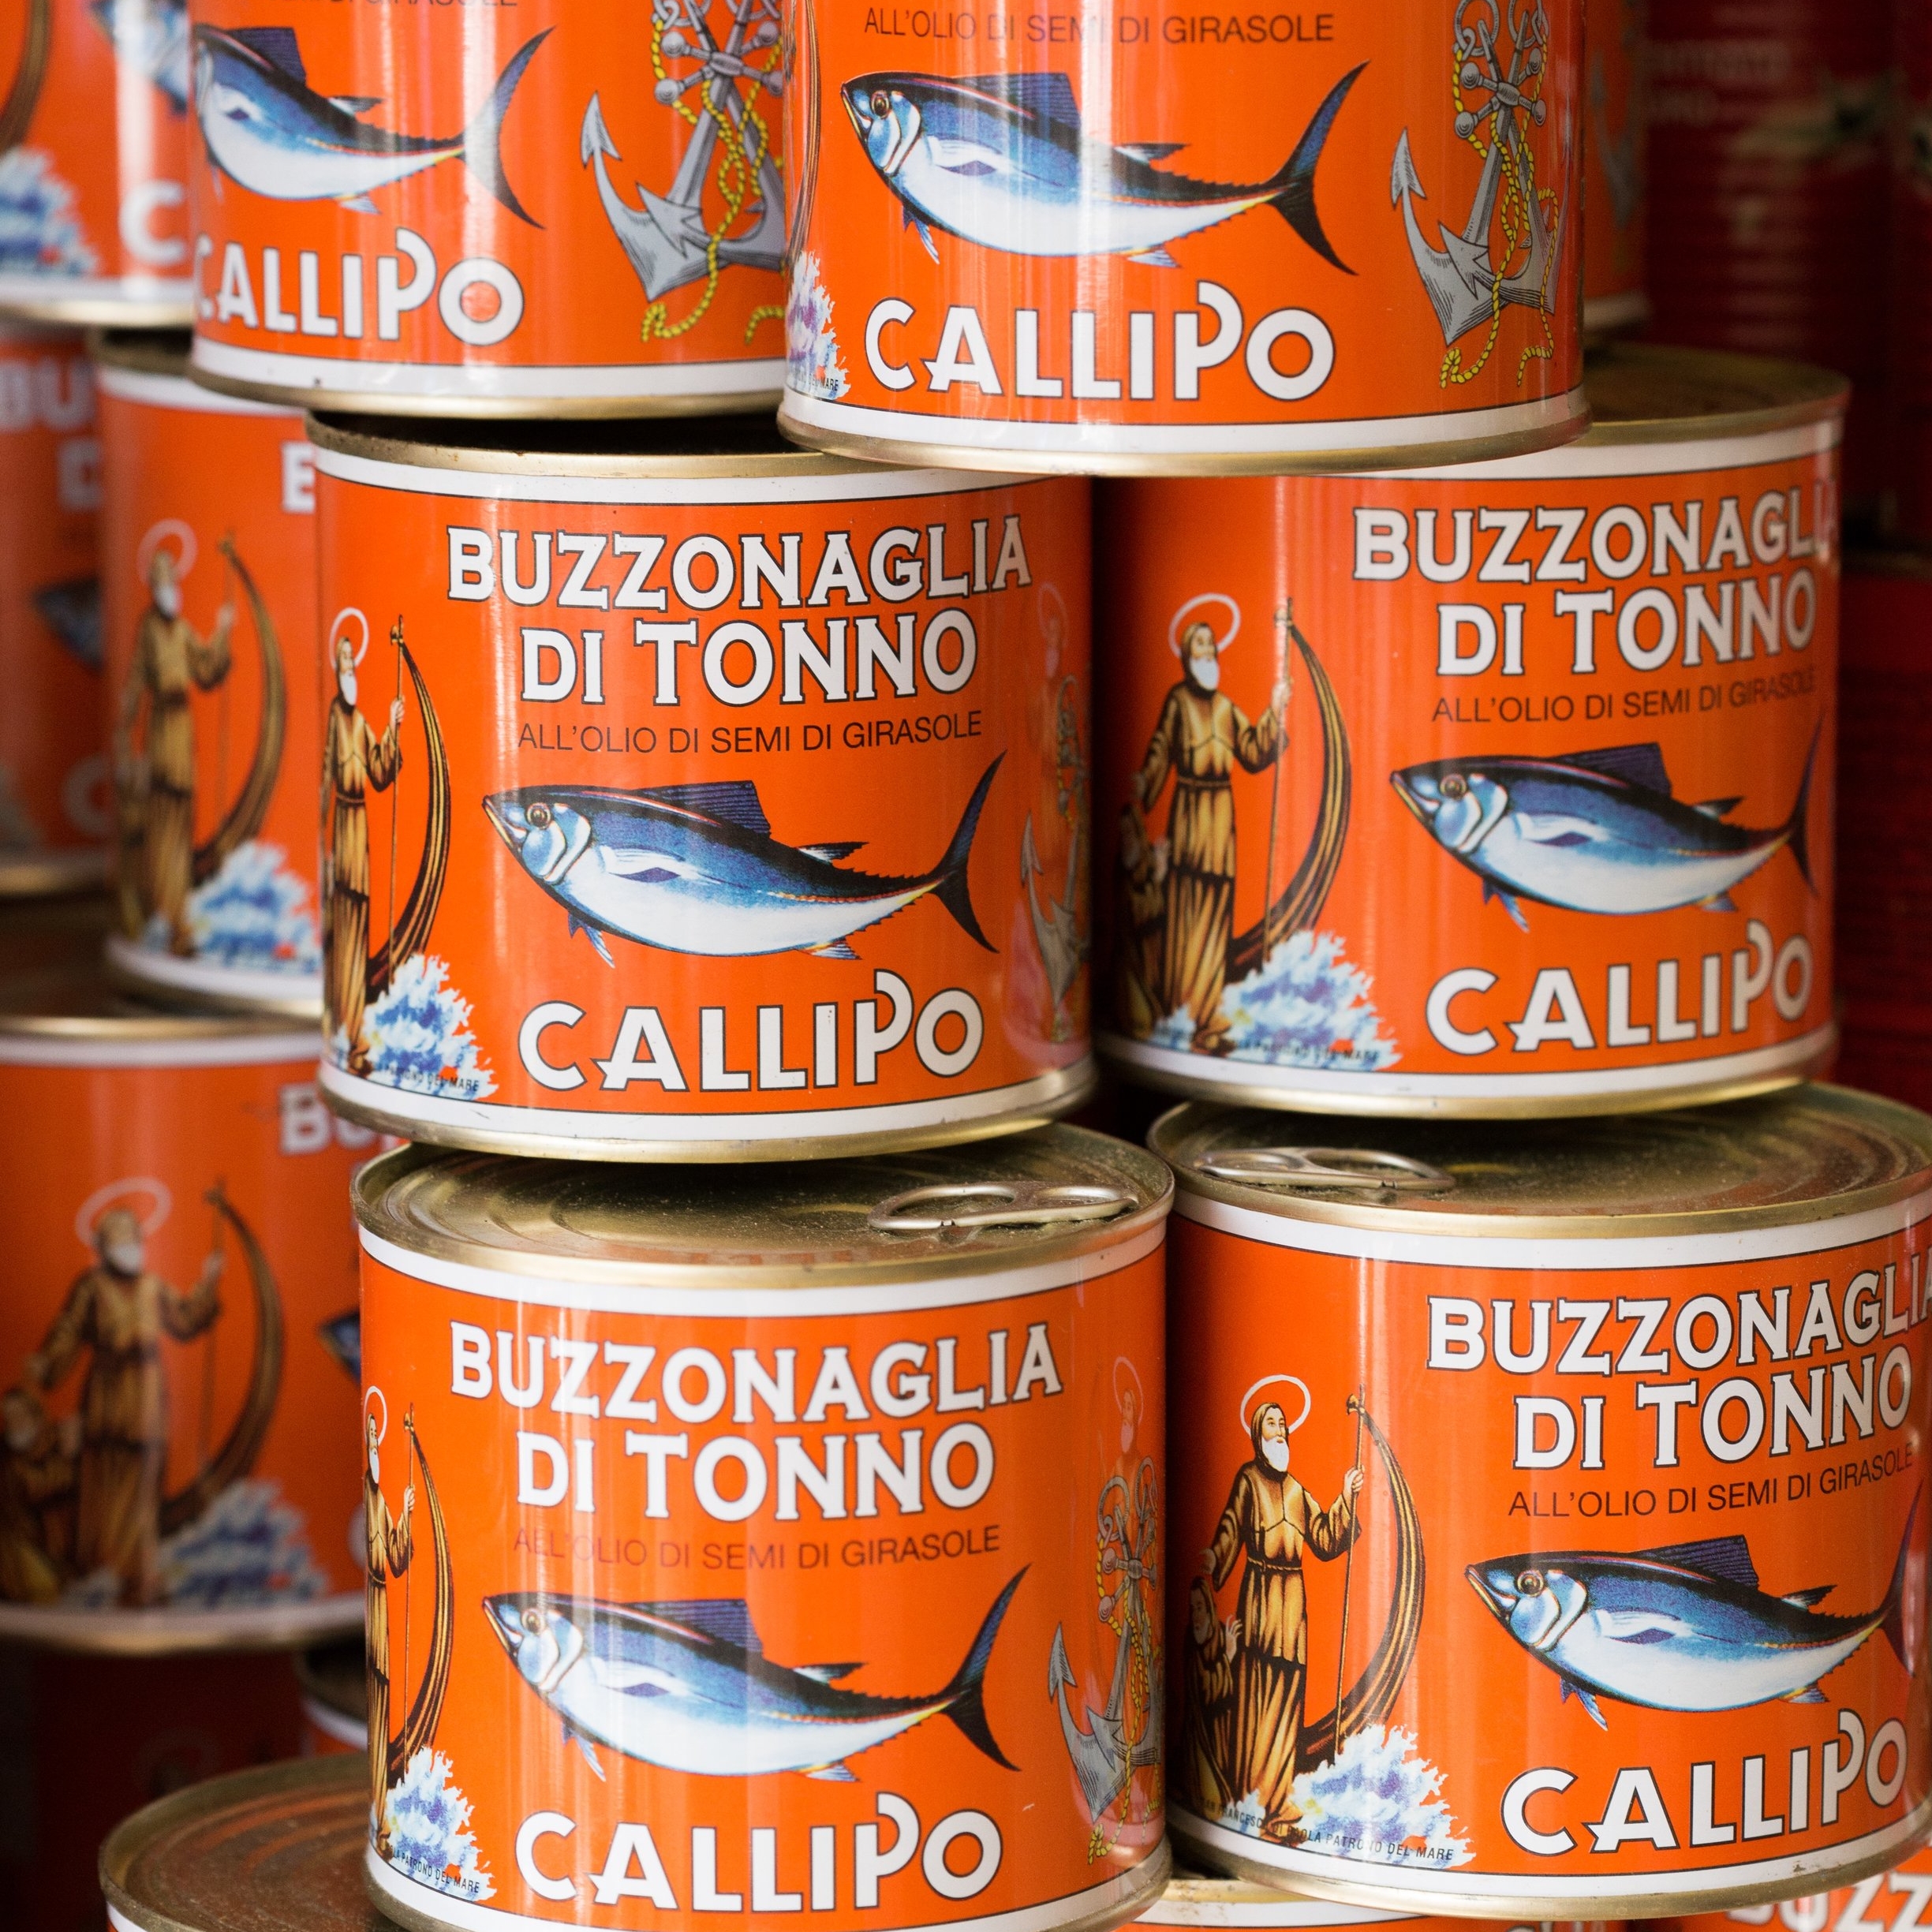
The next morning, bright-eyed and bushy-tailed (after a coffee) we hit Ridley Road Market, to photograph stalls, produce - whatever caught our eye - and to buy food to photograph the following day back in the studio.
Over a delicious Turkish lunch at Mangal in Dalston, the eight of us on the class got to know each other better. Some worked as photographers already, for others it was a hobby to explore further.
Being outside, in the fresh air, somewhere completely new just felt invigorating. I felt excited to sit down and look through my pictures back at the gallery later that day.
Exhausted but inspired, I couldn't wait for Day 2 in the studio.


Still Life & Food Photography Masterclass - Day 2
Day 2 - In the studio


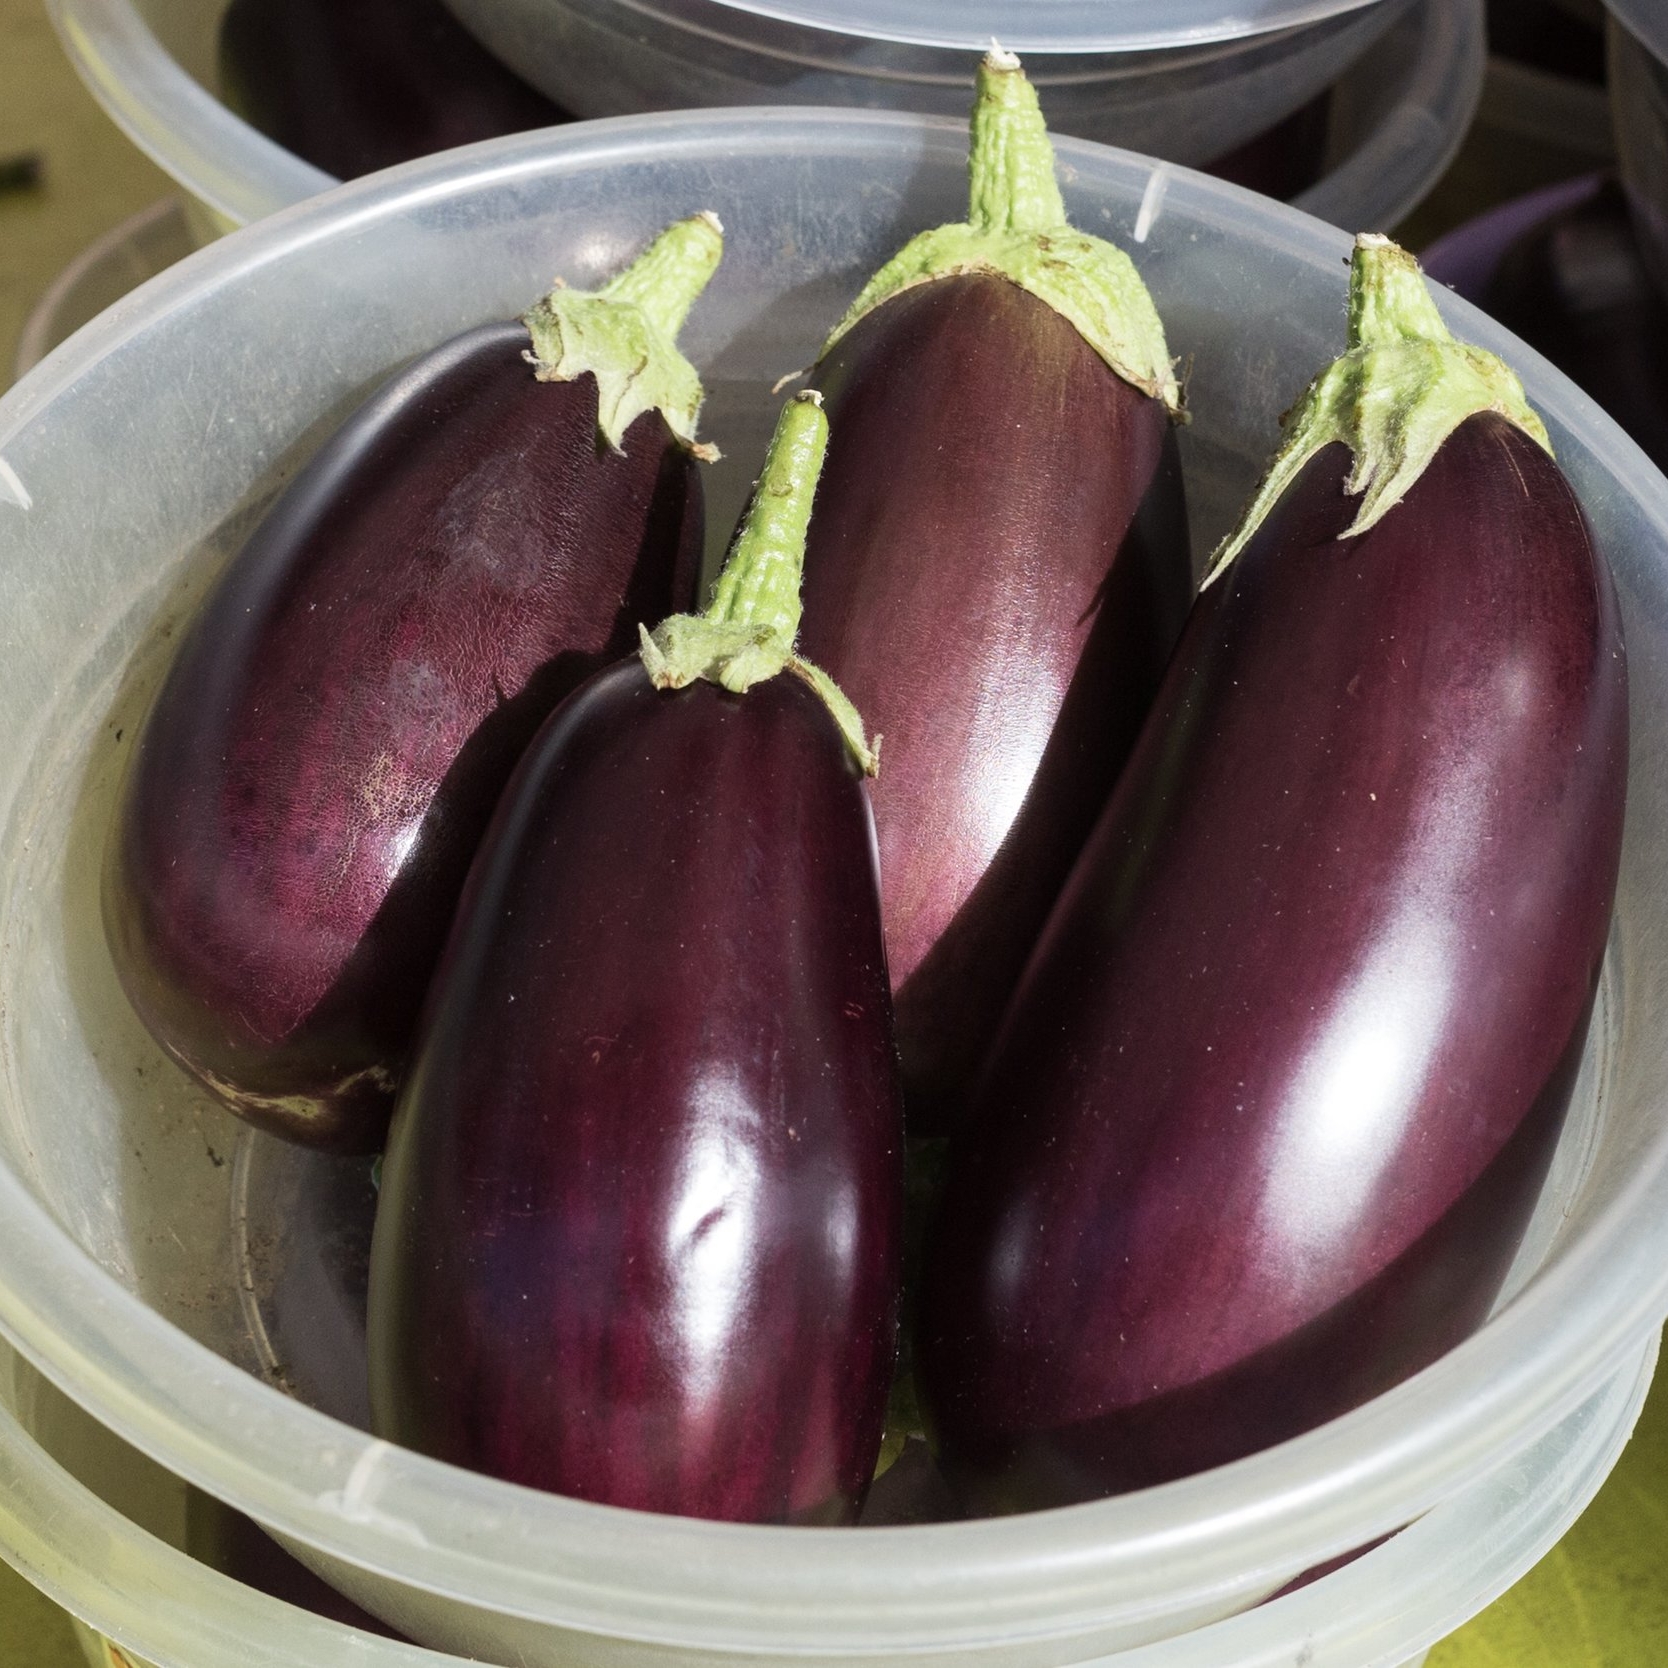
Back in the studio my bag of produce from Ridley Road Market awaited, ready to be photographed.
A handful of radishes, spring onions and aubergines were joined by a quince from my garden.
Spotting an H&M home store across the road on Oxford Street, I'd decided to buy a few props. These included a grey dinner plate, grey napkin, mustard-coloured cushion cover and floral paper napkins.
Jonathan Lovekin, our tutor for the weekend, had also provided us with patterned and textured papers to use as backdrops.
During the morning I used the natural window light, using black and white card to adjust how the light fell on the food.
I switched to artificial light in the afternoon and used a softbox as my light source. I traditionally use natural light in my photography so this was great to try.
Towards the end of the day we chose our favourite pictures to share with the group. Sat around the screen, I was mesmerised by what everyone had shot. So many beautiful pictures and ideas - and all so different. Some shot with a wide aperture almost looked like beautiful paintings.
I had a spring in my step when I headed for home, excited to have been learning and exercising my brain and meeting new people.
So where to from here? I've earmarked our kitchen table, which gets good natural light, as my indoor studio.
My plan is to try and try some more, experiment with food and still life, get better at it and most of all have fun and enjoy it.


And a peek behind the scenes...


Left: Daylight - it was mainly an overcast day so I used window light for some of the shots before using artificial light (right) later on in the day.

Photography Tips - Window Colouring

Getting my little ones (aged 1 and 3 ) to stay still for photos is big challenge.
I always find the best way to get good shots is to take them (with toys/ice-creams/bribes) into the nice/interesting light and leave them to it.
Alice's room gets the sun in the afternoons and I thought we'd try something a little different this week.
It's actually a great tip I picked up from a photographer based in the US called Kimberly Milano who I studied with recently.
She often gets her young children to draw on the windows with washable colouring pens.
As you can imagine, Alice was definitely keen on this idea! Even cleaning the window afterwards got the thumbs up as a fun activity!
So these pictures are from our 'colouring the windows with pens' activity (Crayola Washables are a safe bet).
These were shot with my digital SLR and a 35mm fixed lens. This is a great activity to try photographing even with your camera phone.


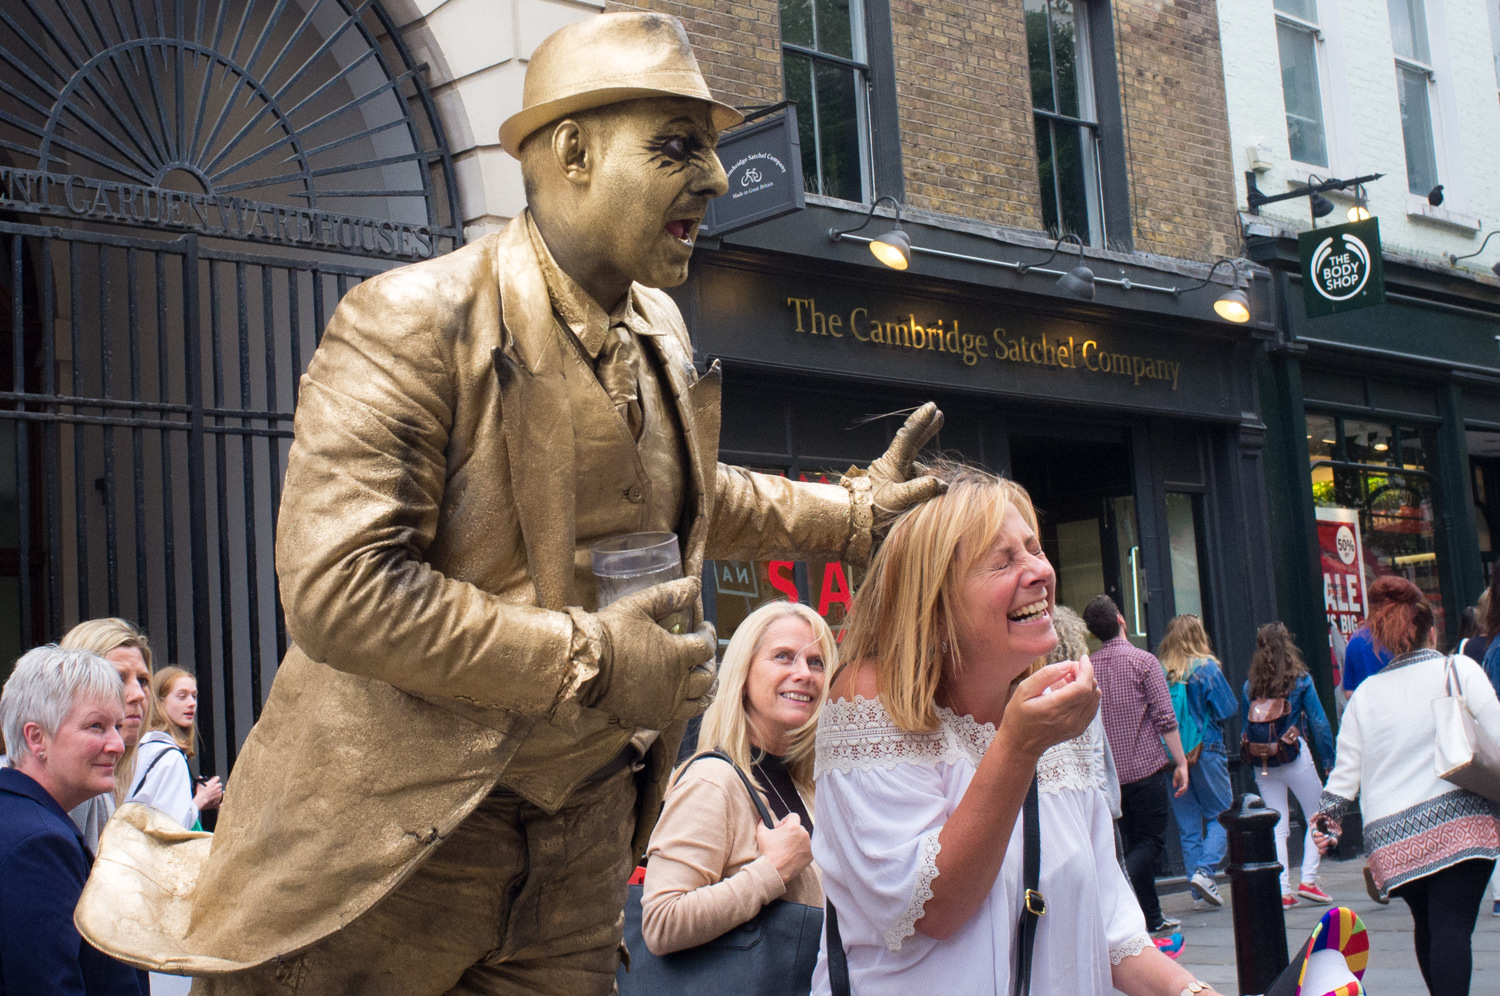
Photography tips - 5 things I've learned about street photography

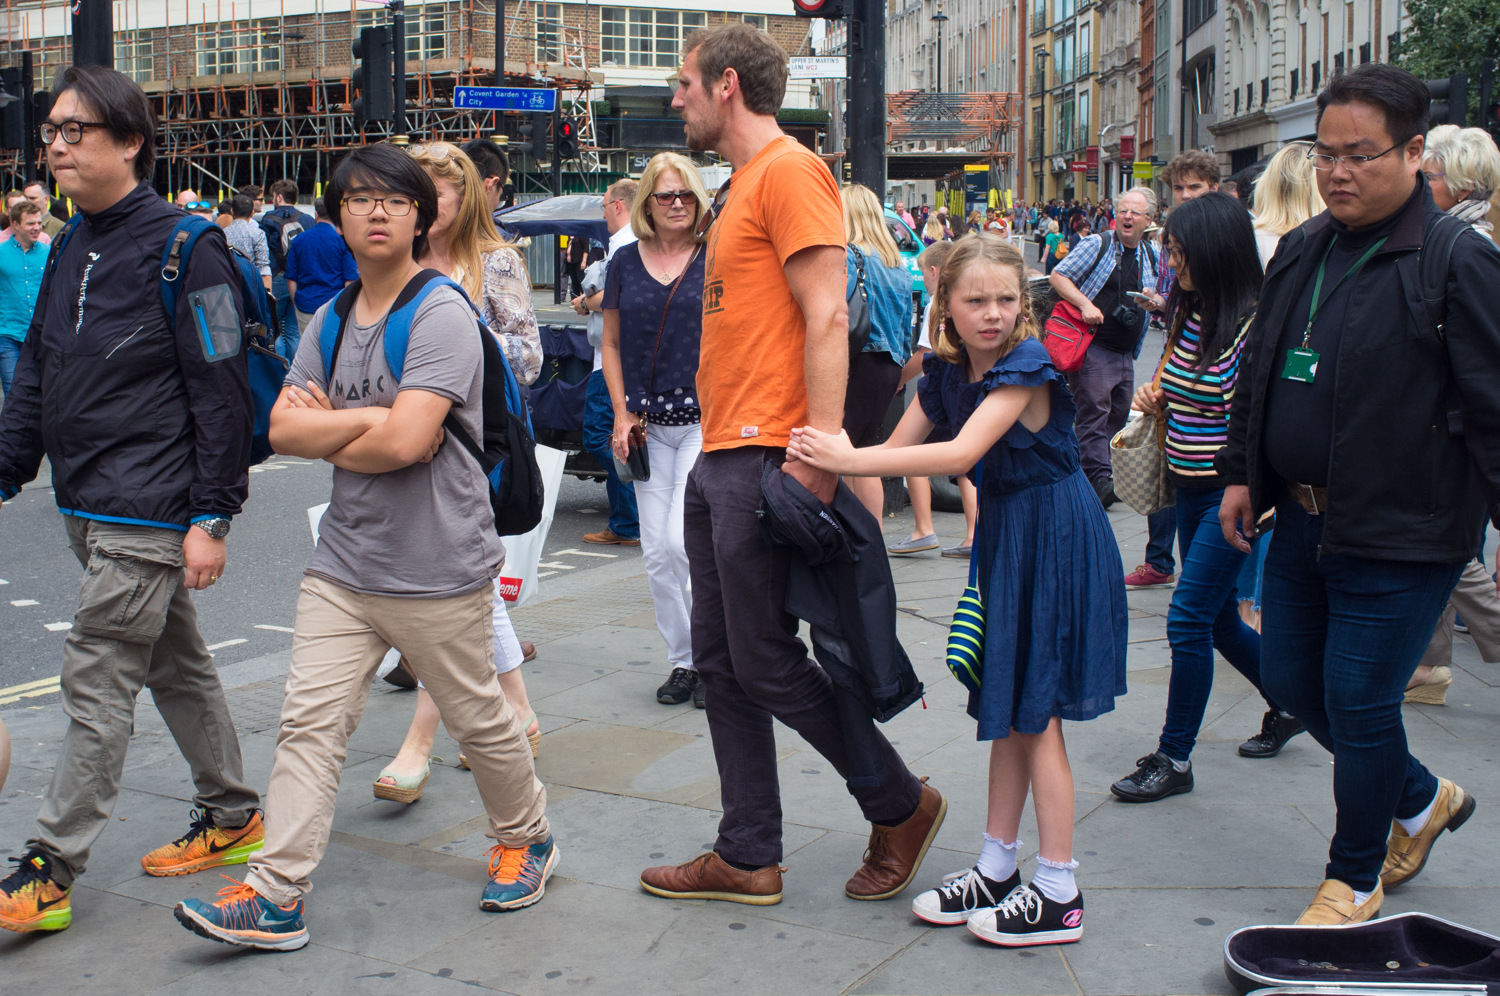
I'm stood in the middle of a busy London junction. People are fast approaching from every direction.
This is my first real taste of Street Photography. I've stepped slightly out of my comfort zone and am taking an afternoon workshop with Photographer Paul Russell.
I've long been fascinated by Street Photography and touched on it in my press photography days. But I want to know more about it.
I have lots of questions to ask Paul whose work first caught my eye in the Street Photography Now book.
There are three of us joining Paul. For the next six hours we'll be pounding the streets looking for inspiration and a better understanding of how it all works.
As the hours tick by fast and my memory card is filling up rapidly, I've picked up 5 key things to take away from today and that I hope in time will improve my Street Photography:
1. Get close - I quickly realised I wasn't getting close enough. Later in the afternoon, I felt myself becoming braver. It takes some practice as you don't want to be too obvious in taking someone's picture. I always made it look like I was photographing a building in the distance and never made eye contact. As my lecturer at University always said: Get Close, crop in the camera.
2. Use a small camera - I started off by using my Canon 5D mark III with a 35mm lens. It's a wonderful camera but its too big and obvious for Street Photography. I switched to my much smaller Fuji Finepix X100. This was so much better. I felt like I blended into the crowd much more and could easily be mistaken for a keen, snap-happy tourist - perfect!
3. Consider your shutter speed - When people are involved (and on the move), you really need a fast shutter speed. I kept mine at 1/500 or faster all afternoon to freeze the motion.
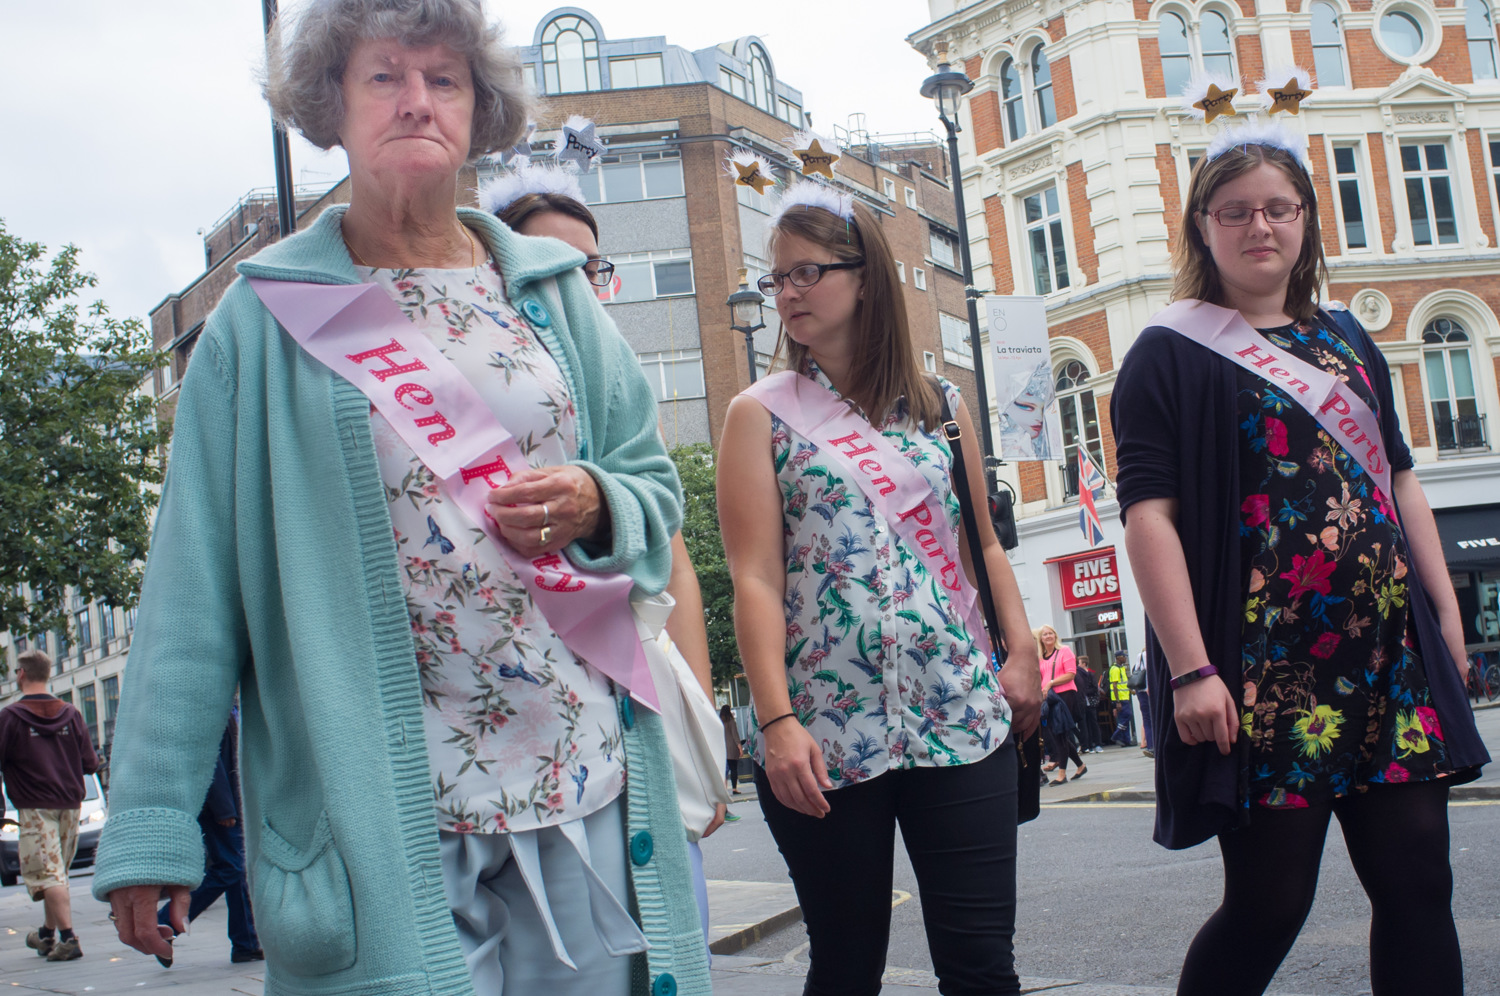
4. People vs Detail - Street Photography doesn't always have to mean people. As Paul explained, some great pictures can be taken showing evidence of human behaviour (e.g rubbish stacked up, pigeons eating rubbish, broken shop window etc). This is a project I'm excited to explore further. Paul showed us examples of pictures without people but with plenty going on in the image to ask questions and generate a reaction.
5. Practice, Practice, Practice - it's harder than it looks. I'll be honest, I thought Street Photography would be much easier. Capturing fleeting moments, thinking about composition; there's a lot to consider. Sometimes its hard to see the moments in the chaos. But nobody said it was easy and well established street photographers can end up taking one good photo a month.

What was I hoping to get out of the workshop and where do I go from here?
I feel like I've picked up some fundamental tips for doing Street Photography. I now know which is the best of my kit to use and how best to approach it subtly.
Most of all, I feel more confident doing this type of photography. I'm looking forward to doing more of this longer term as a side project.
I hope to pick up my camera for a few hours at a weekend and take to the street. For me its also about noticing the small details on the roads/streets everyday. A really fascinating shot could be literally at your feet.