
5 tips for great family photos (with a self timer)
As our baby turns 6 months, I've realised we don't have a single photo of the four of us.
Getting some professional pictures taken is definitely on my to-do list but we've just not got round to it. Life has been busy.
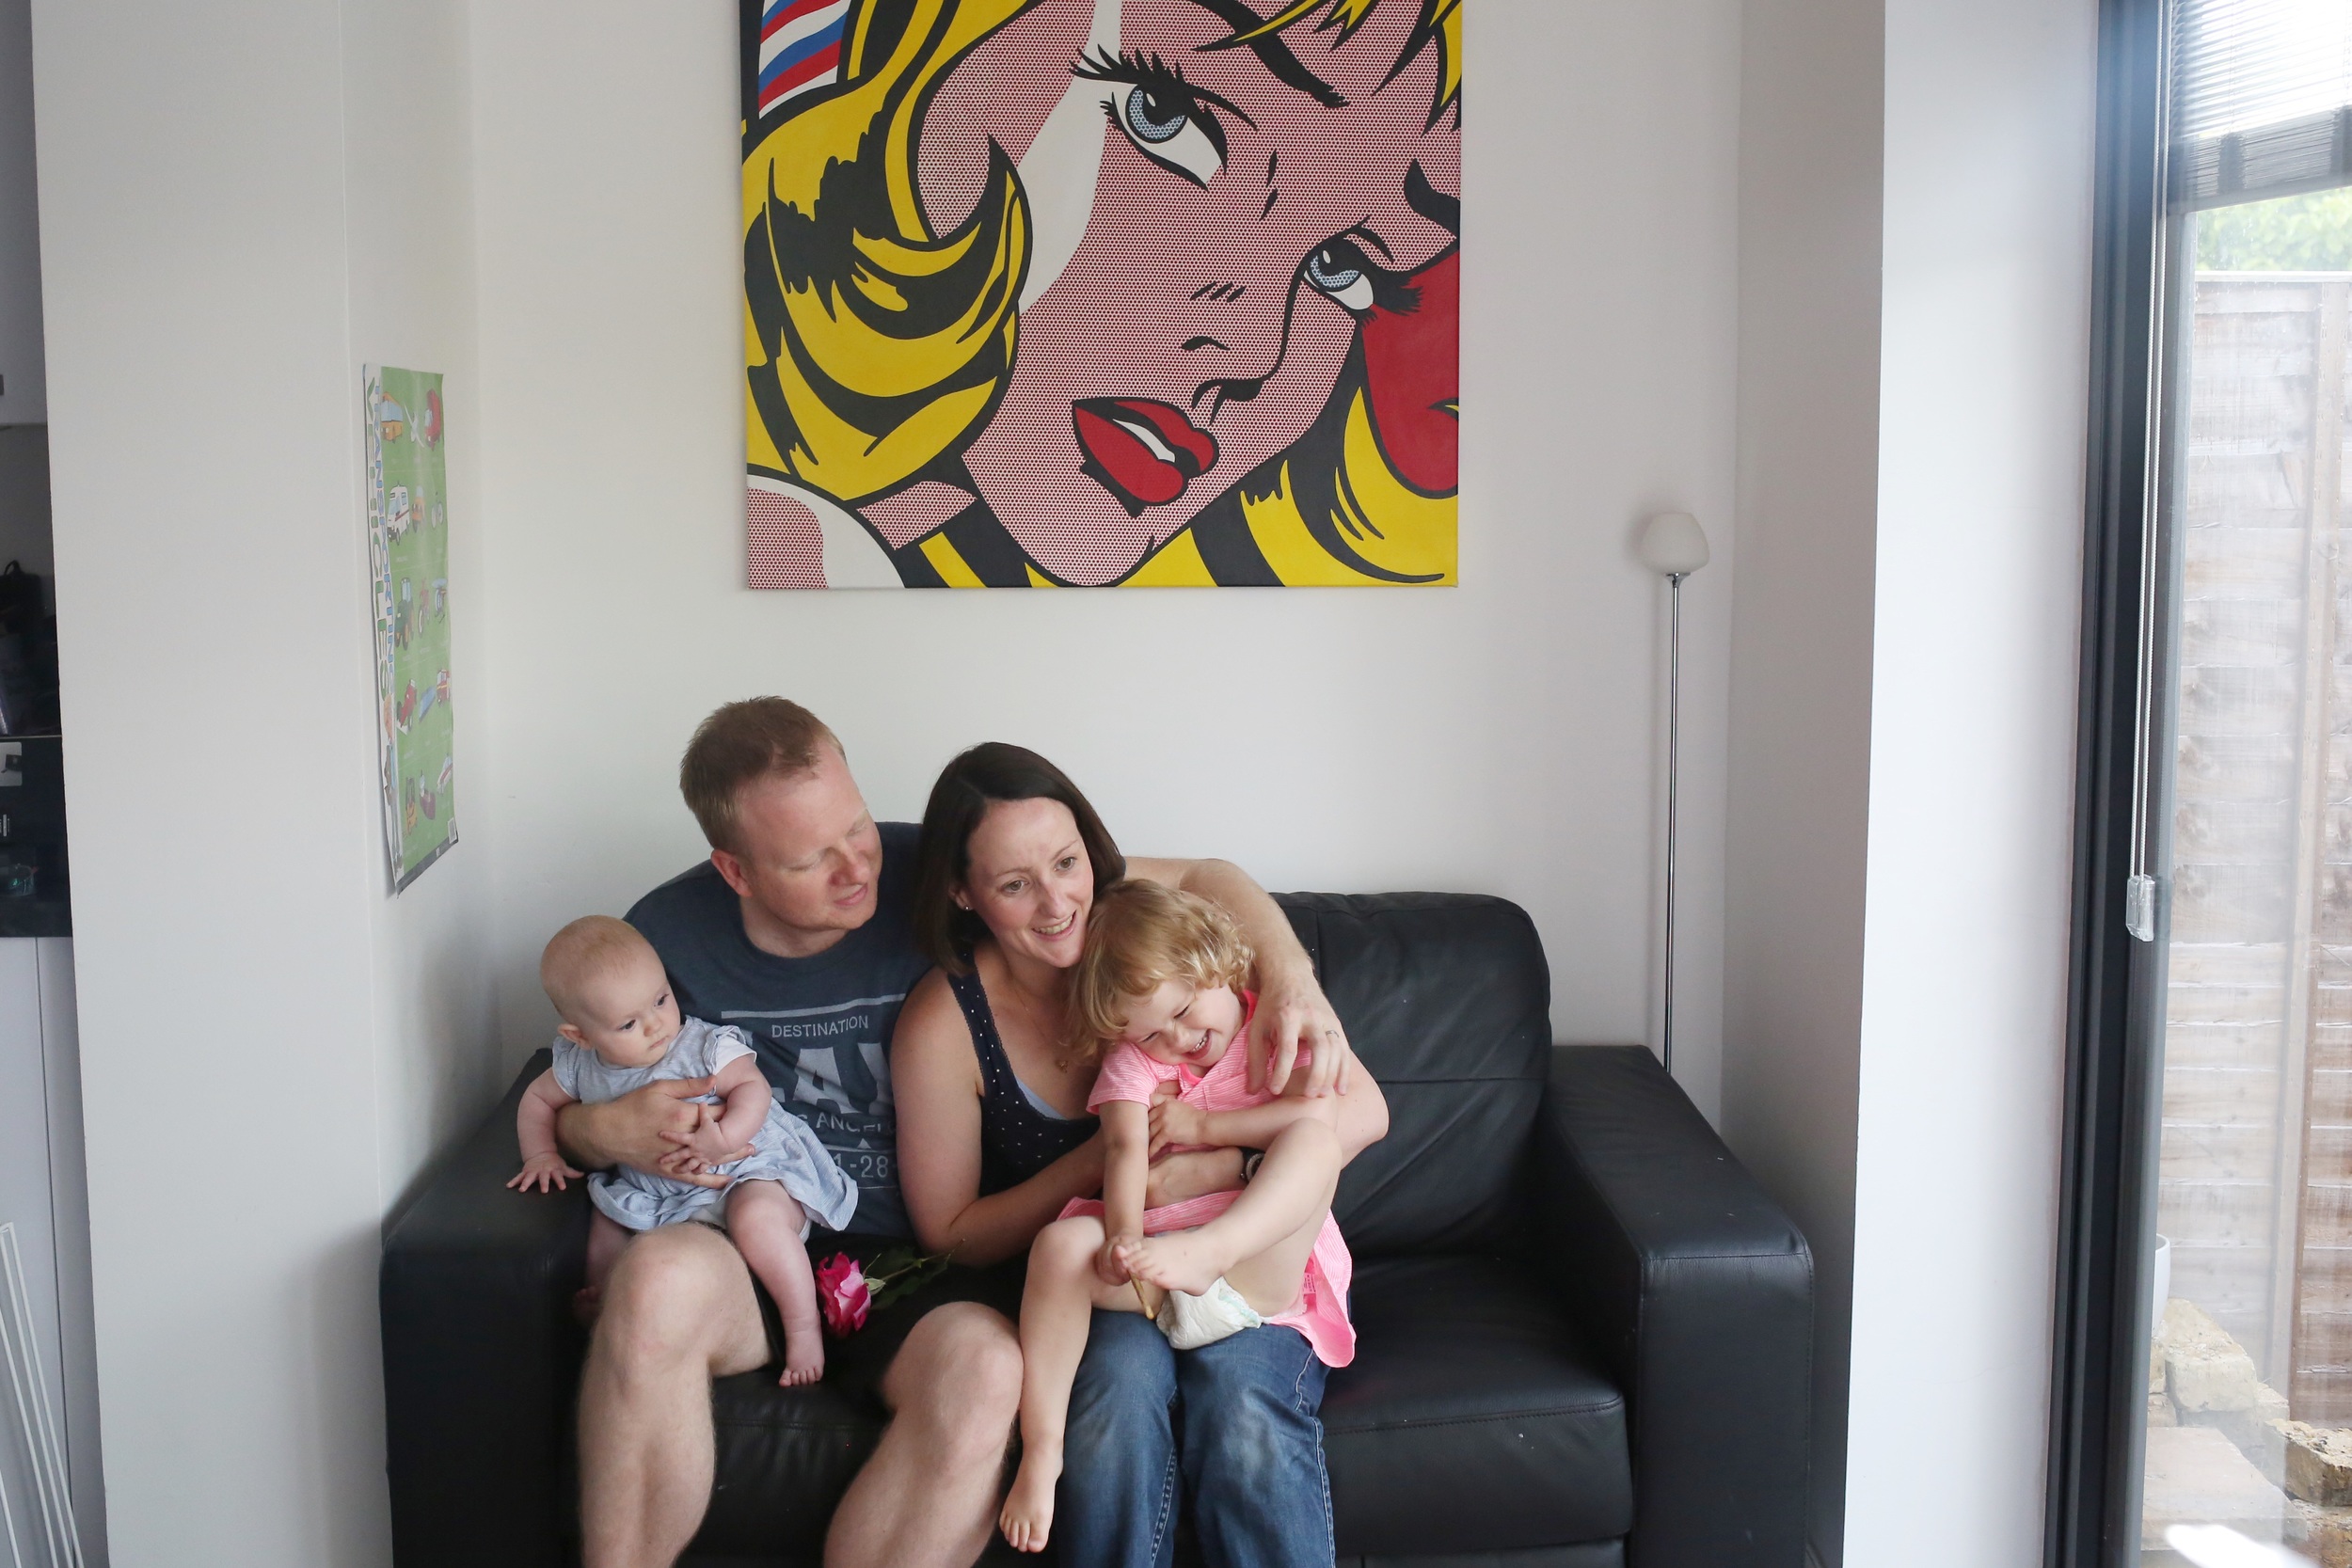
Last weekend I was determind to get a picture - the four of us, our little family, my camera and a self timer. Easy right?
It took patience, a lot of patience with a toddler running into the garden after every shot and being dragged back to the sofa for 'just one more!' We got there in the end though.
Here are some of my tips for getting that family shot:
1. Choose your weapon - you may have an SLR or compact camera and a tripod. You may be looking to balance an iPhone on a pile of books. Choose what works for you and work out how to use the self timer function.
2. The set-up - my advice (particularly if you have young children) is to decide on your location in advance (ideally close to a window with some natural daylight). Clear away clutter and any distractions. Use an adult to pose for a trial shot and see how it looks. If you have everything set up in advance, you just literally need to bring the children in and get going.
3. Patience- we bribed our toddler with a biscuit and entertained her with songs. She was not playing ball but we just kept persevering with the self timer, taking numerous shots.
4. Eyes to camera? Do you want everyone looking at the camera? We tried shots some looking at the camera and some away. The image I chose was less posed and more natural. This is the style we prefer but the beauty of the self timer is that you are in charge and you can try lots of different options.
5. Editing - my editing for clients is done on my desktop computer with Photoshop software. Increasingly for day to day family pictures of our life at home I upload my pictures straight to my iPad using an Apple card reader. I then use the VSCO or Snapseed apps to crop, tweak colours and contrast or change to black and white.
Before & After
Before

After
As you can see I chose to be close to a window with plenty of light. I had originally tried to include a painting we have in our kitchen but in the end decided the painting was a little too distracting and cropping in closer would work better. I also decided without the painting, I preferred the picture in black and white form.
Using the self timer is definitely something to try out. It takes a little planning but great to have a family photo ready for framing on your mantelpiece.

And then there were two

Microwaving my first coffee of the day (yep, it's already gone cold), I hear tears. Our toddler has just tumbled head first over the footstool in our lounge. Cuddles and one Mini Milk later, she seems to be on the mend. Then our baby (four months old) starts to cry...
I'm loving my days with my two girls but my word, it's tiring! Breastfeeding alone is exhausting. Trying to feed whilst acting as a human climbing frame for our toddler (determind not to miss out on cuddles) is also a challenge.
But I know these days will whizz by. I know I just need to relax, have fun and accept the lack of sleep won't be forever.
So I've made some decisions and parked the idea of bed and a lie-in for a little while...
For starters I've started to take a picture every day and uploading it to my Instagram. There are clever apps such as Artifact Uprising which let you turn your feed into coffee table books. Great gift ideas.

I'm also going to pick up my brilliant Kikki K 'Things My Kids Say' journal and jot down those hilarious 2 year old mutterings before I forget them; and my gorgeous journal by The Green Gables for remembering our baby's milestones.
I'm going to factor in some 'me time' - have a massage, get my nails done, make a start on reading a good book. With a bottle of milk and an excellent daddy at hand, I'll plot my short escape.
Of course I'll drink a cup (or three) of good coffee to help me power through the day (preferably hot and not microwaved). I'll keep working on that one...

Weekly Reflections Journal (top left) from The Green Gables; Things My Kids Say by Kikki K; Inside Charlie's Chocolate Factory by Lucy Mangan from Amazon
Five fantastic Apps for new mums

My phone is swamped full of apps. I have way too many. Many of these I have read about, looked at once and forgotten. There are a handful however that I wouldn't be without and that helped steer me through those early day of motherhood. Here are my top 5:
When we first began weaning our baby at six months, I was pretty clueless. This app is full of recipes and ideas and made me become braver about cooking and experimenting with baby food. Each recipe is illustrated with bright, beautiful pictures and whether I am in my kitchen ready to cook or in the supermarket thinking of ingredients, all the information and recipes are there on my phone. Fantastic.
This was a lifesaver when I was breastfeeding as I was terrible at remembering which side I had last fed from. This app lets you record which side you are feeding from, it times the feed and then reminds you which side is next. This kept all my notes in one place and allowed me to look back and see how frequent and how long feeding times were.
For me, as a photographer, this is an essential app. It's an alternate camera to your smartphone camera but gives you a lot more flexibility. When I don't have my main camera and I just want to take a quick picture on my phone, this is perfect. I can tweak the settings to get the image how I want and export the pictures straight to my camera roll. A brilliant free app.
This clever app, created by the team at Moneysavingexpert.com allows you to search for items for sale in your area, for collection only. In the past six months we have managed to buy a Babybjorn recliner chair, door bouncer and travel pushchair locally, at bargain prices and in great condition.
We got a bit ahead of ourselves and bought a baby monitor months before our baby was born. We then came to use it when she was a few weeks old and it was useless, with loads of interference. Before denting the credit card further we decided to test out the Cloud Baby Monitor App. You need two devices as one acts as the parent unit, the other as the child unit. You also need wifi. If you have both of these, this is an excellent video monitor with a crisp, clear picture. It does the job at a fraction of the price of other monitors on the market.