
Entertaining kids at home at Easter
With a few weeks off nursery on the horizon, I'm getting my thinking cap on as to how I can keep my 4 and 2 year-olds entertained.
Whilst we're hoping for some crisp Spring days in the park, I'm also prepared for rain and some time at home. To stop the girls from going mad and bickering with each other, I've come up with a few crafty ideas to keep them amused:
Mrs Mactivity
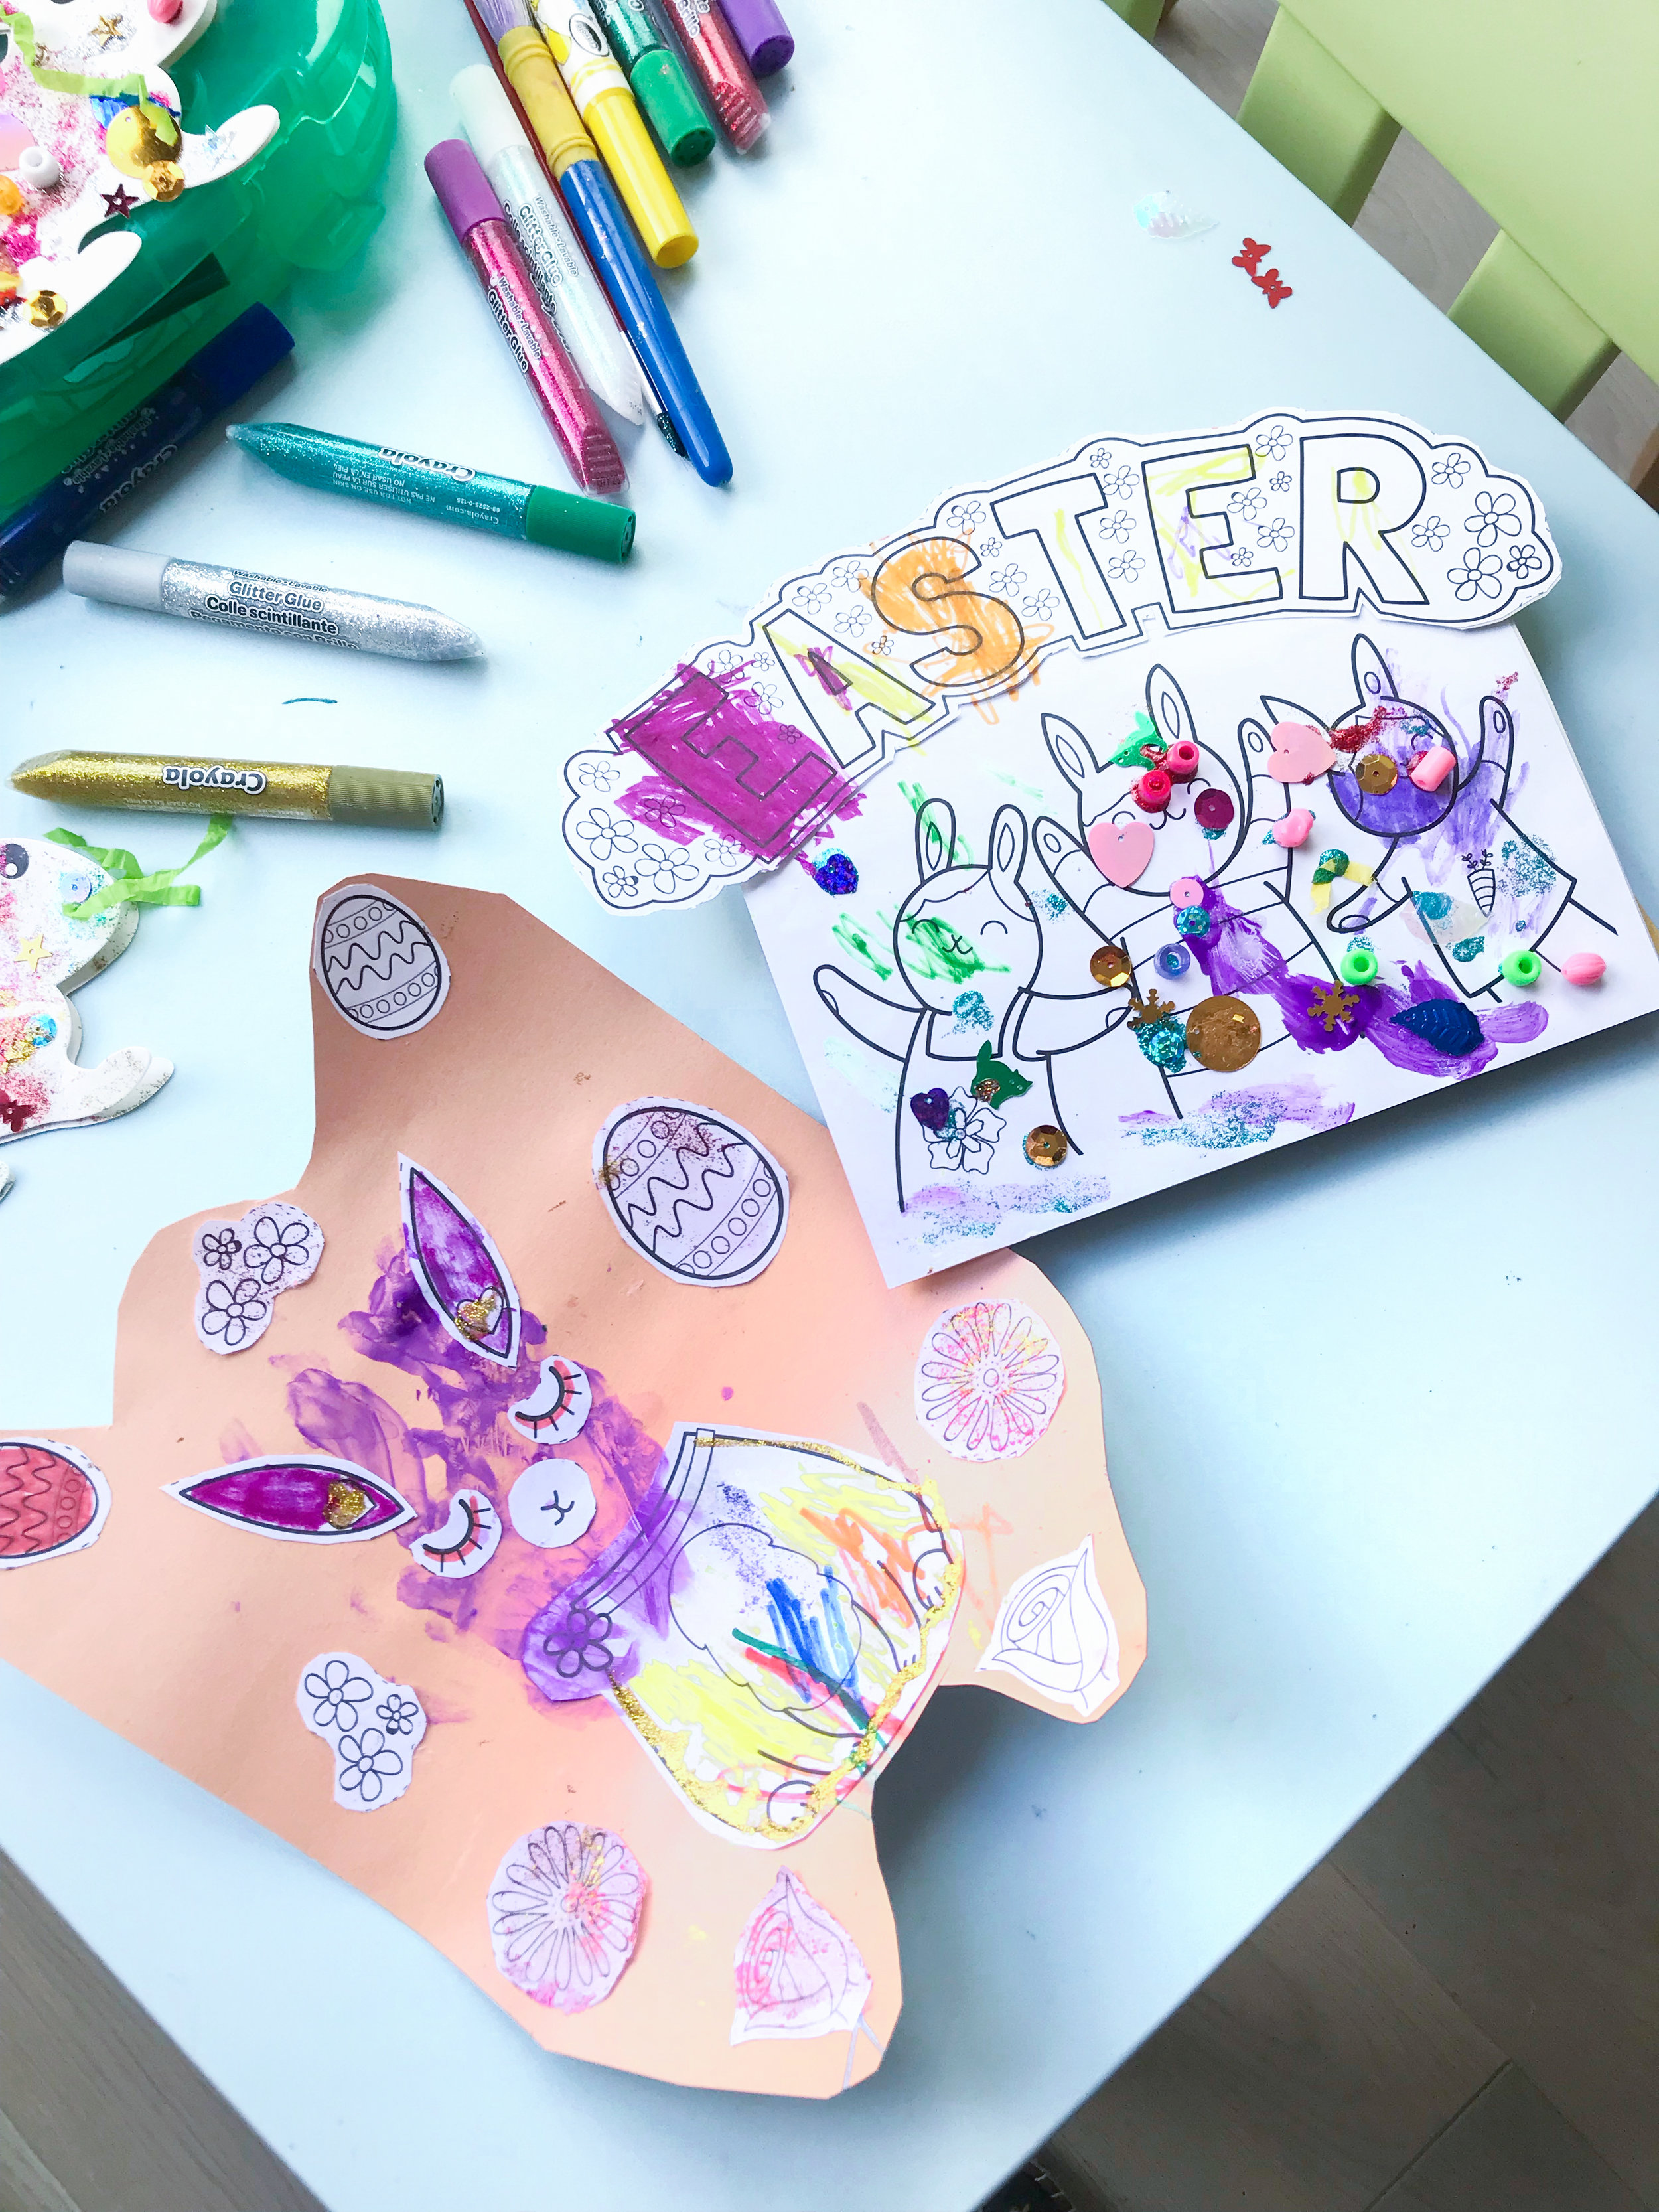
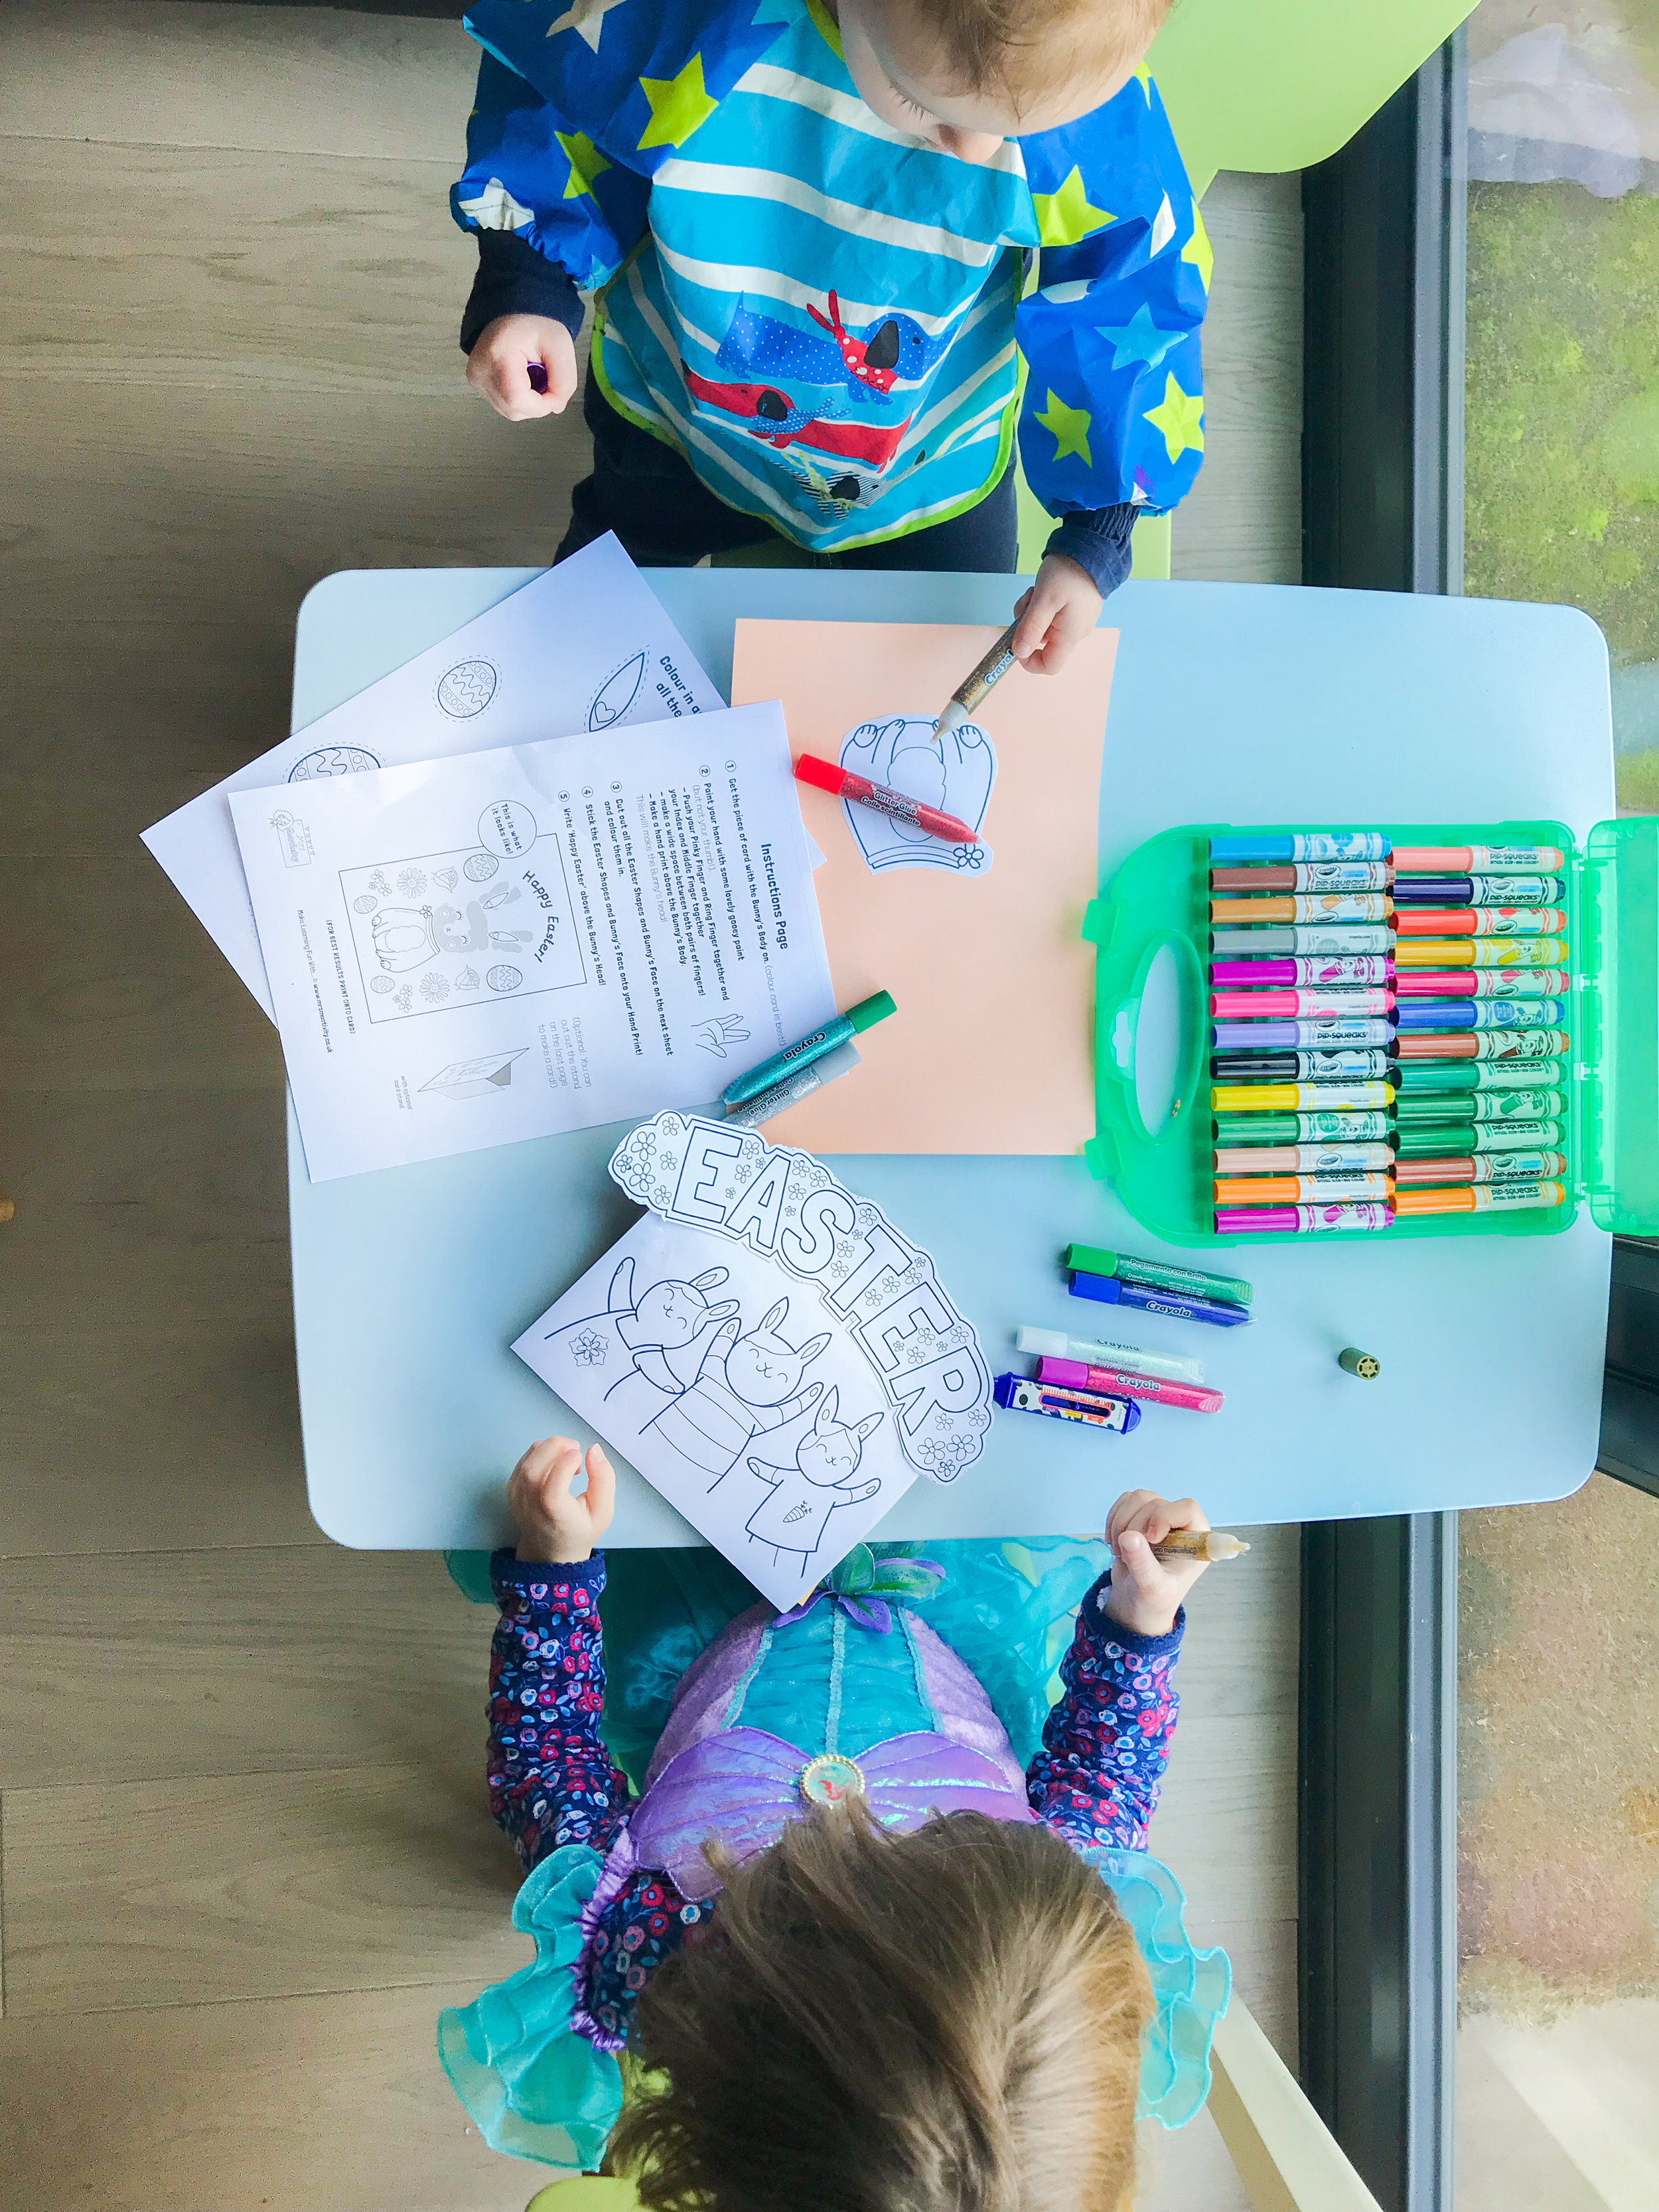
Mrs Mactivity is a website I've only just discovered and it's fab. It's packed full of mostly free designs you can print off and make/colour at home. There are regular themed designs - in the past week we have been having great fun making the Easter cards (see above). It's a website set up by a collective of ex and current teachers and designers with the aim to make learning fun. Many designs are currently free, there's also a subscription option offering unlimited downloads and some extra content.
Collage

Get a stack of old magazines and cut up faces, bodies, objects -anything really.
I tend to cut things out in advance and put them on the table with a piece of white card and glue. Both girls will happily sit for maybe 20 minutes sticking the cuttings all over the page. I find it quite fascinating to see what they come up with!
Shortly after we did the first collage together, our eldest was asked to bring a picture in to nursery school for Show and Tell to illustrate 'Autumn Arriving'. I cut out anything remotely Autumnal from the weekend's newspapers and recent magazines and she had some artwork ready to take to school.
Gingerbread decorating
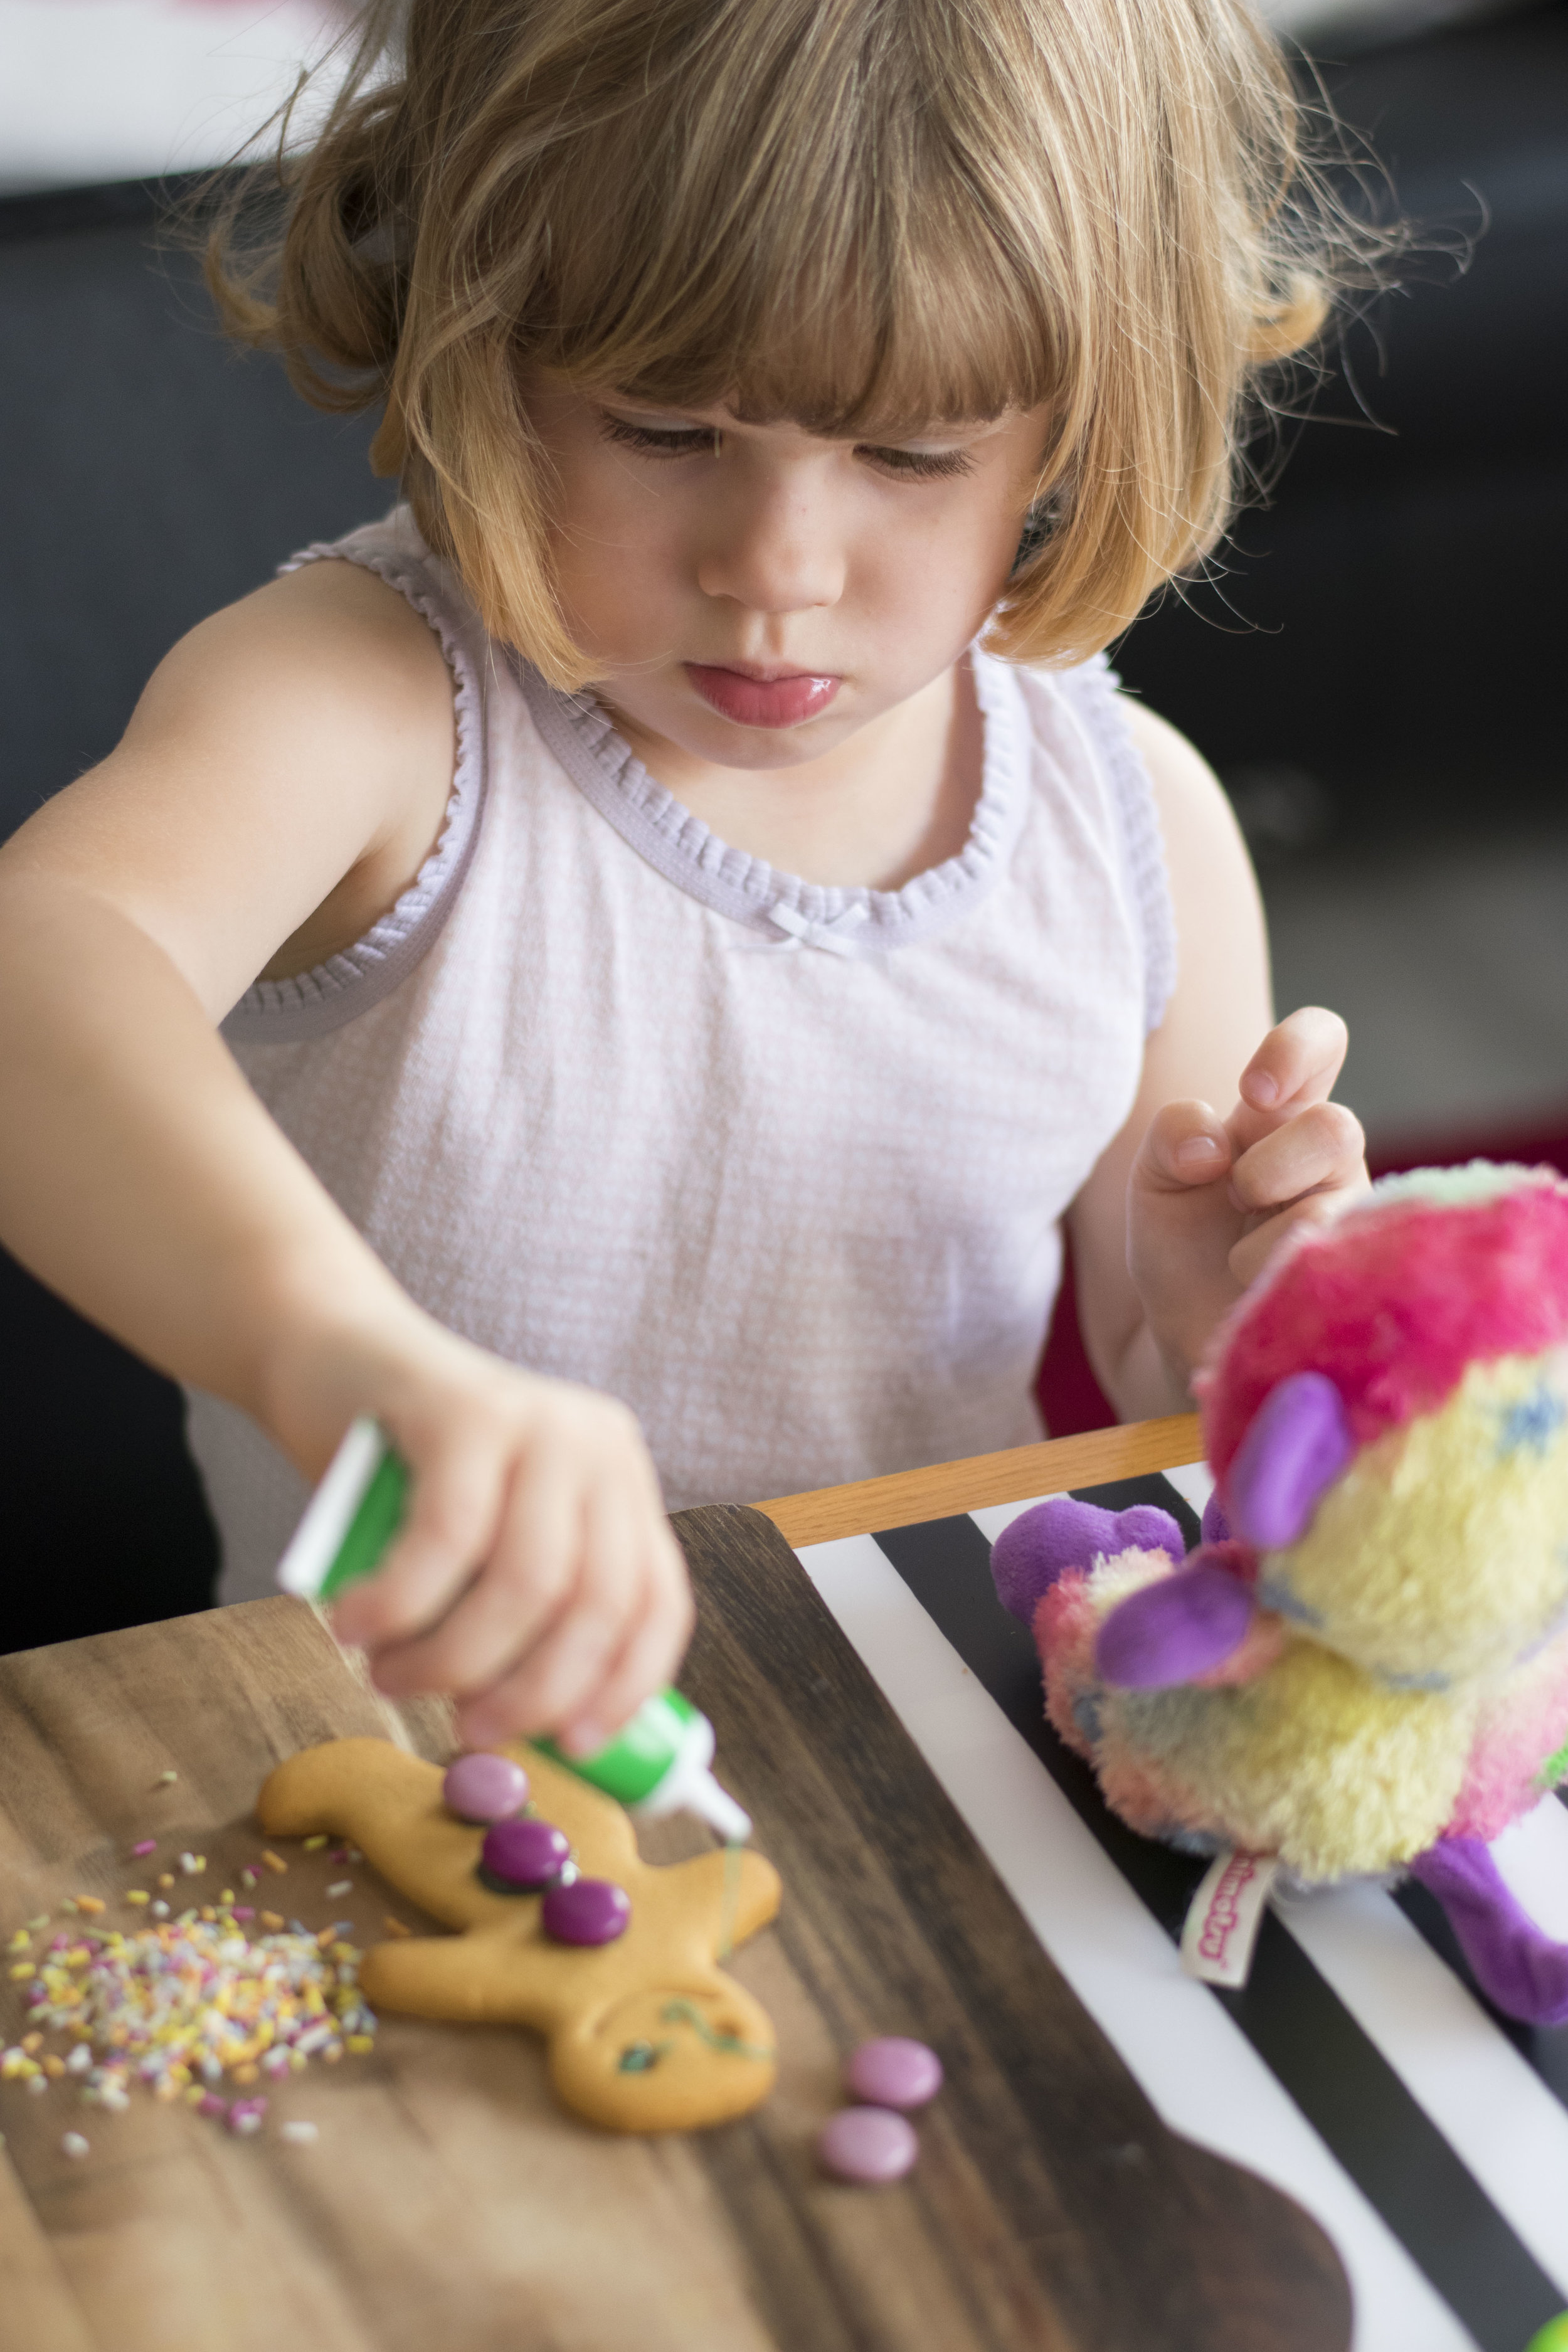
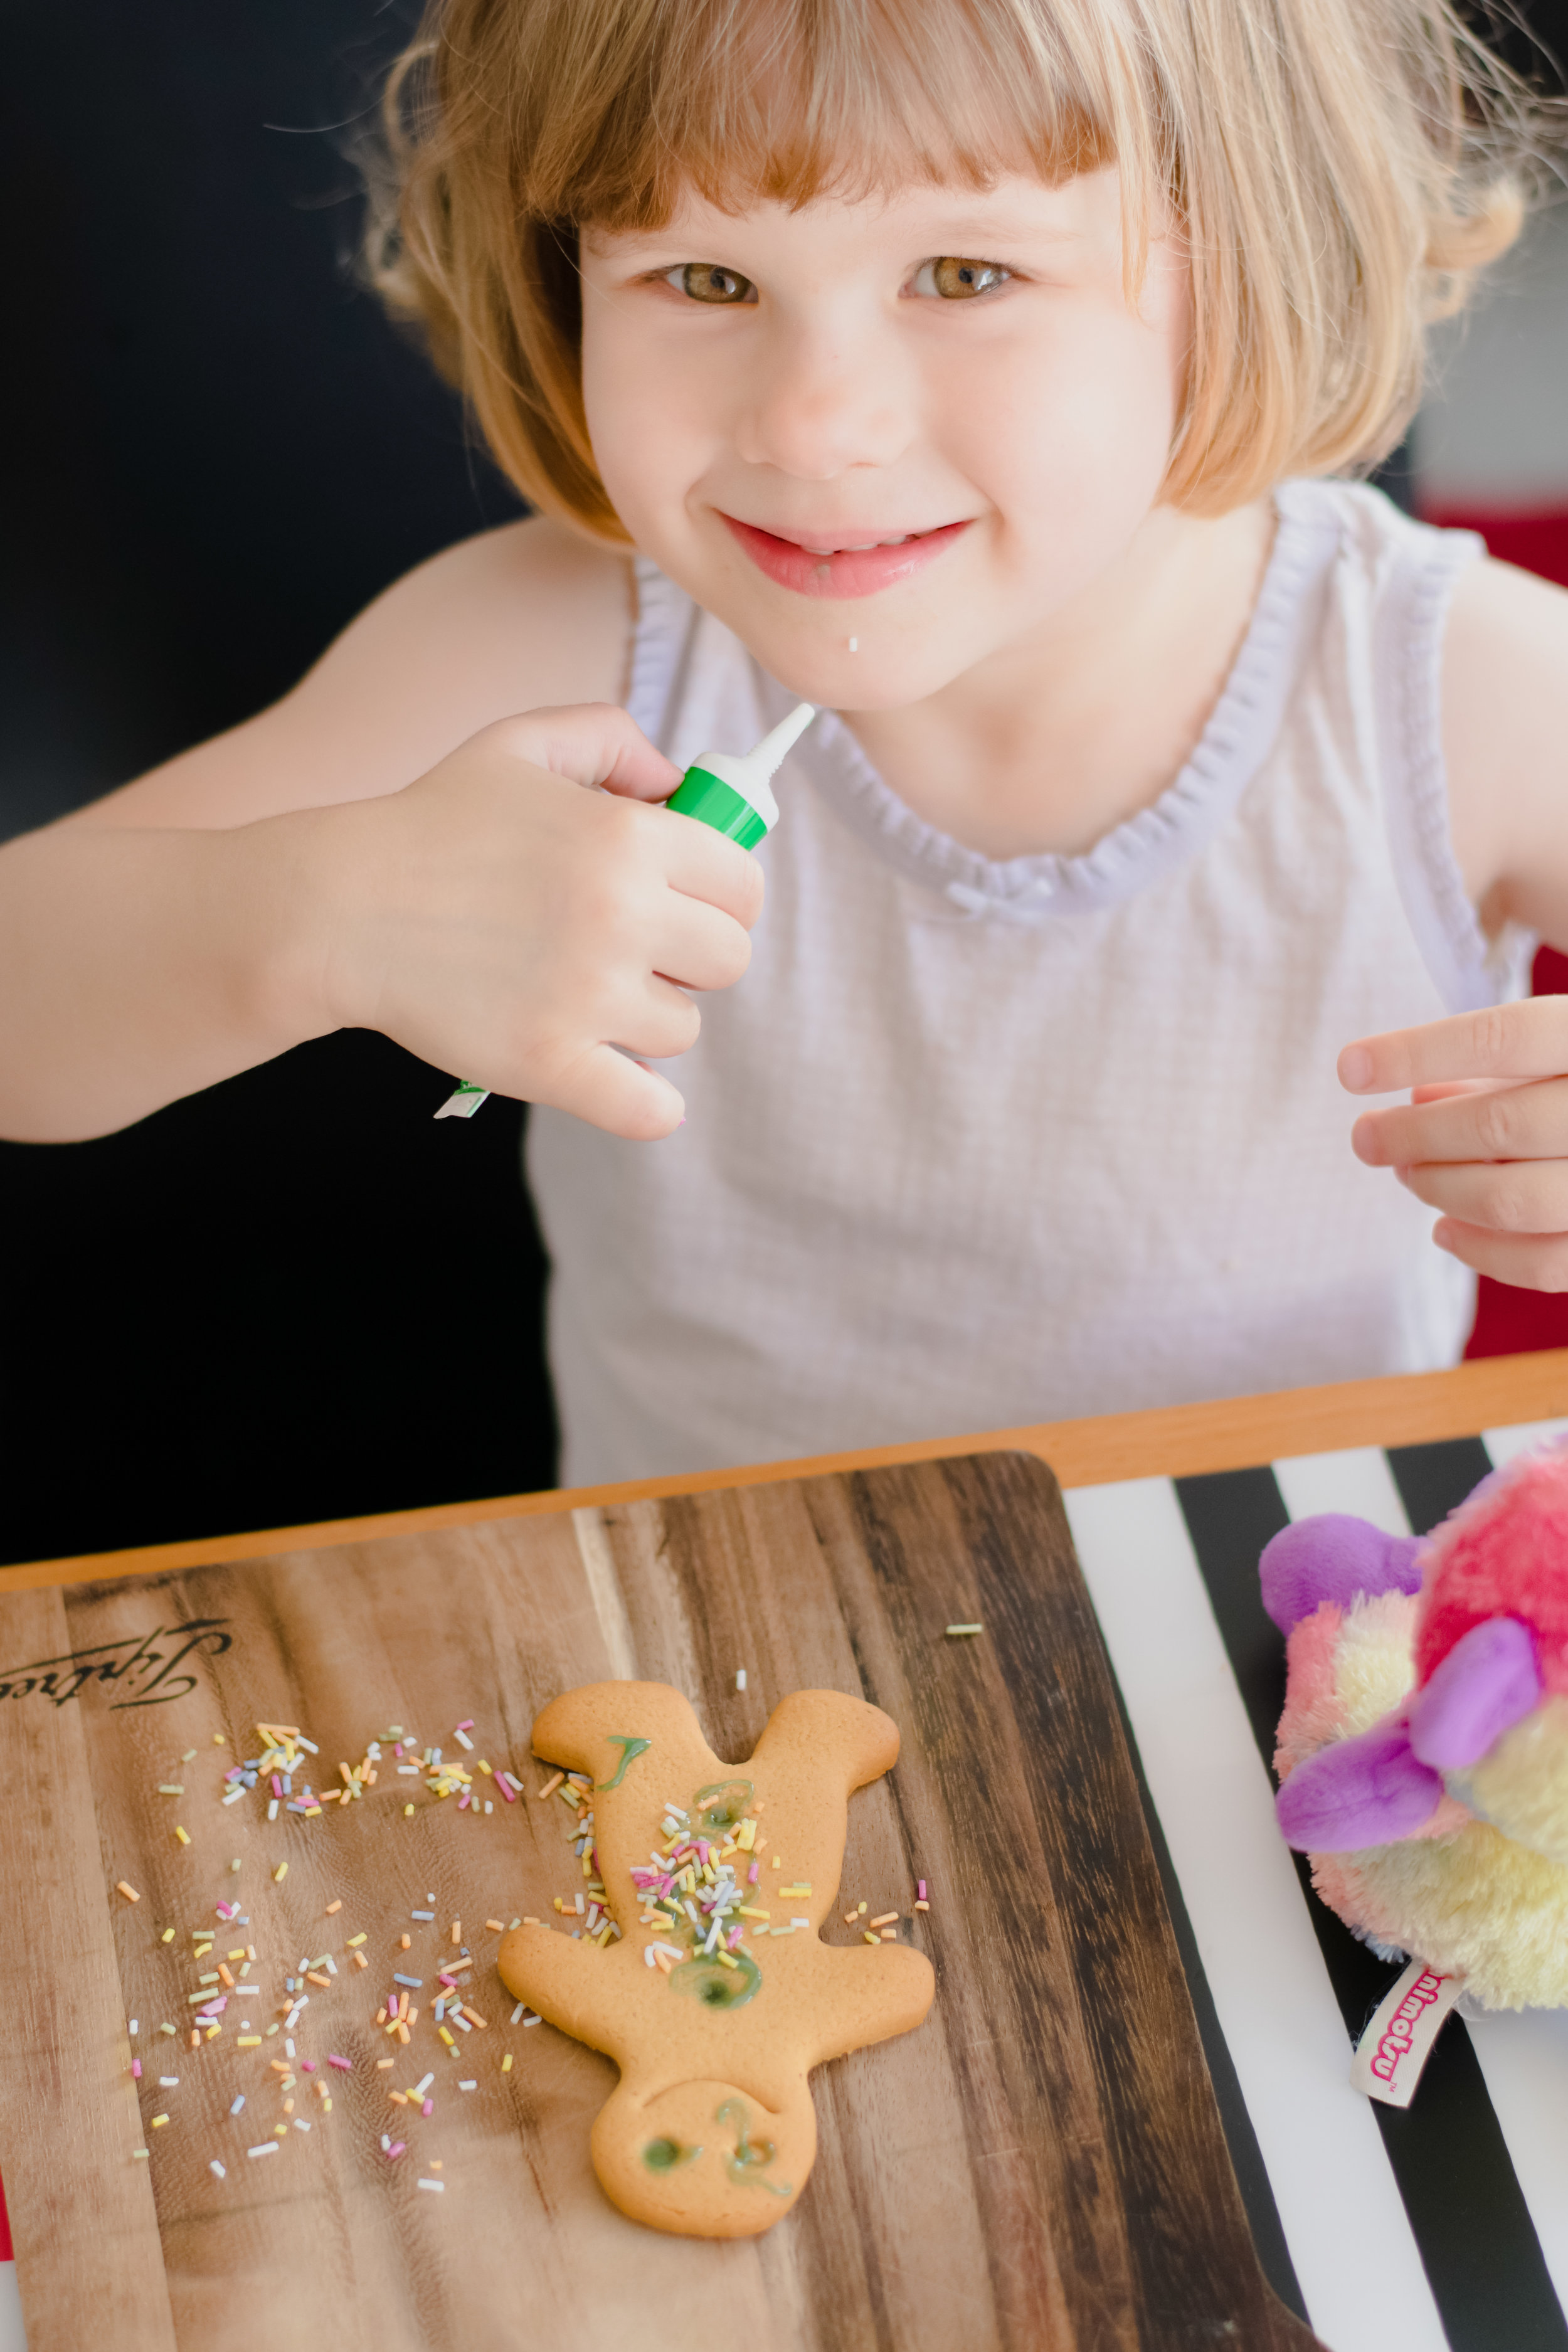
Some supermarkets - Sainsbury's and Morrisons are two - sell Gingerbread decorating sets.
For under £2 you get at least 5 gingerbread men, coloured icing and sprinkles.
I lay out the gingerbread and accessories and leave my eldest to decorate. She usually spends a good 10 minutes decorating before getting round to eating it.
I tried making gingerbread myself but it was a disaster! This keeps things simple and the children love it!

Window Colouring

A good, no mess activity that works well for getting great pictures of your children.
We use Crayola washables which wipe off easily and let the girls colour on our glass kitchen doors.
You can then get some photographs of them in action by photographing them from outside.
Head to my blog post here to see more examples.
Flower Pressing
I have fond memories of having a flower press as a child - carefully collecting flowers from the garden and placing them in the press - using the results on birthday cards or homemade art.
It's quite an old school idea but there's something quite nice about introducing the little ones to nature and making a game out of collecting flowers and leaves from the garden or on the walk home from school/nursery.
We bought this one from Amazon and it's a good size with plenty of space for holding your flowers.
I'd love to hear your ideas for what to do with the kids on a day at home, let me know in the comments below.

Getting started with Hand Lettering
Fonts and Hand Lettering are a constant fascination to me.
I can be put right off a TV programme if the titles or credits are an odd font. And don't get me started on Comic Sans, it's just the worst!
One of my plans for 2017 was to learn Modern Calligraphy. Actually I couldn't decide between Modern Calligraphy or Brush Lettering so I took an evening class in both.
Modern Calligraphy requires patience and precision. If this is something you want to try, I'd do a class - Quill London is great and Lucy, the founder, has written an excellent book called 'Modern Calligraphy'. From there, armed with your supplies, it's all about practice.
I found the same with Brush Lettering - whether you are using a paintbrush or brush pens, it's practice, practice, practice, mastering each letter in the alphabet and then learning to form words and sentences.
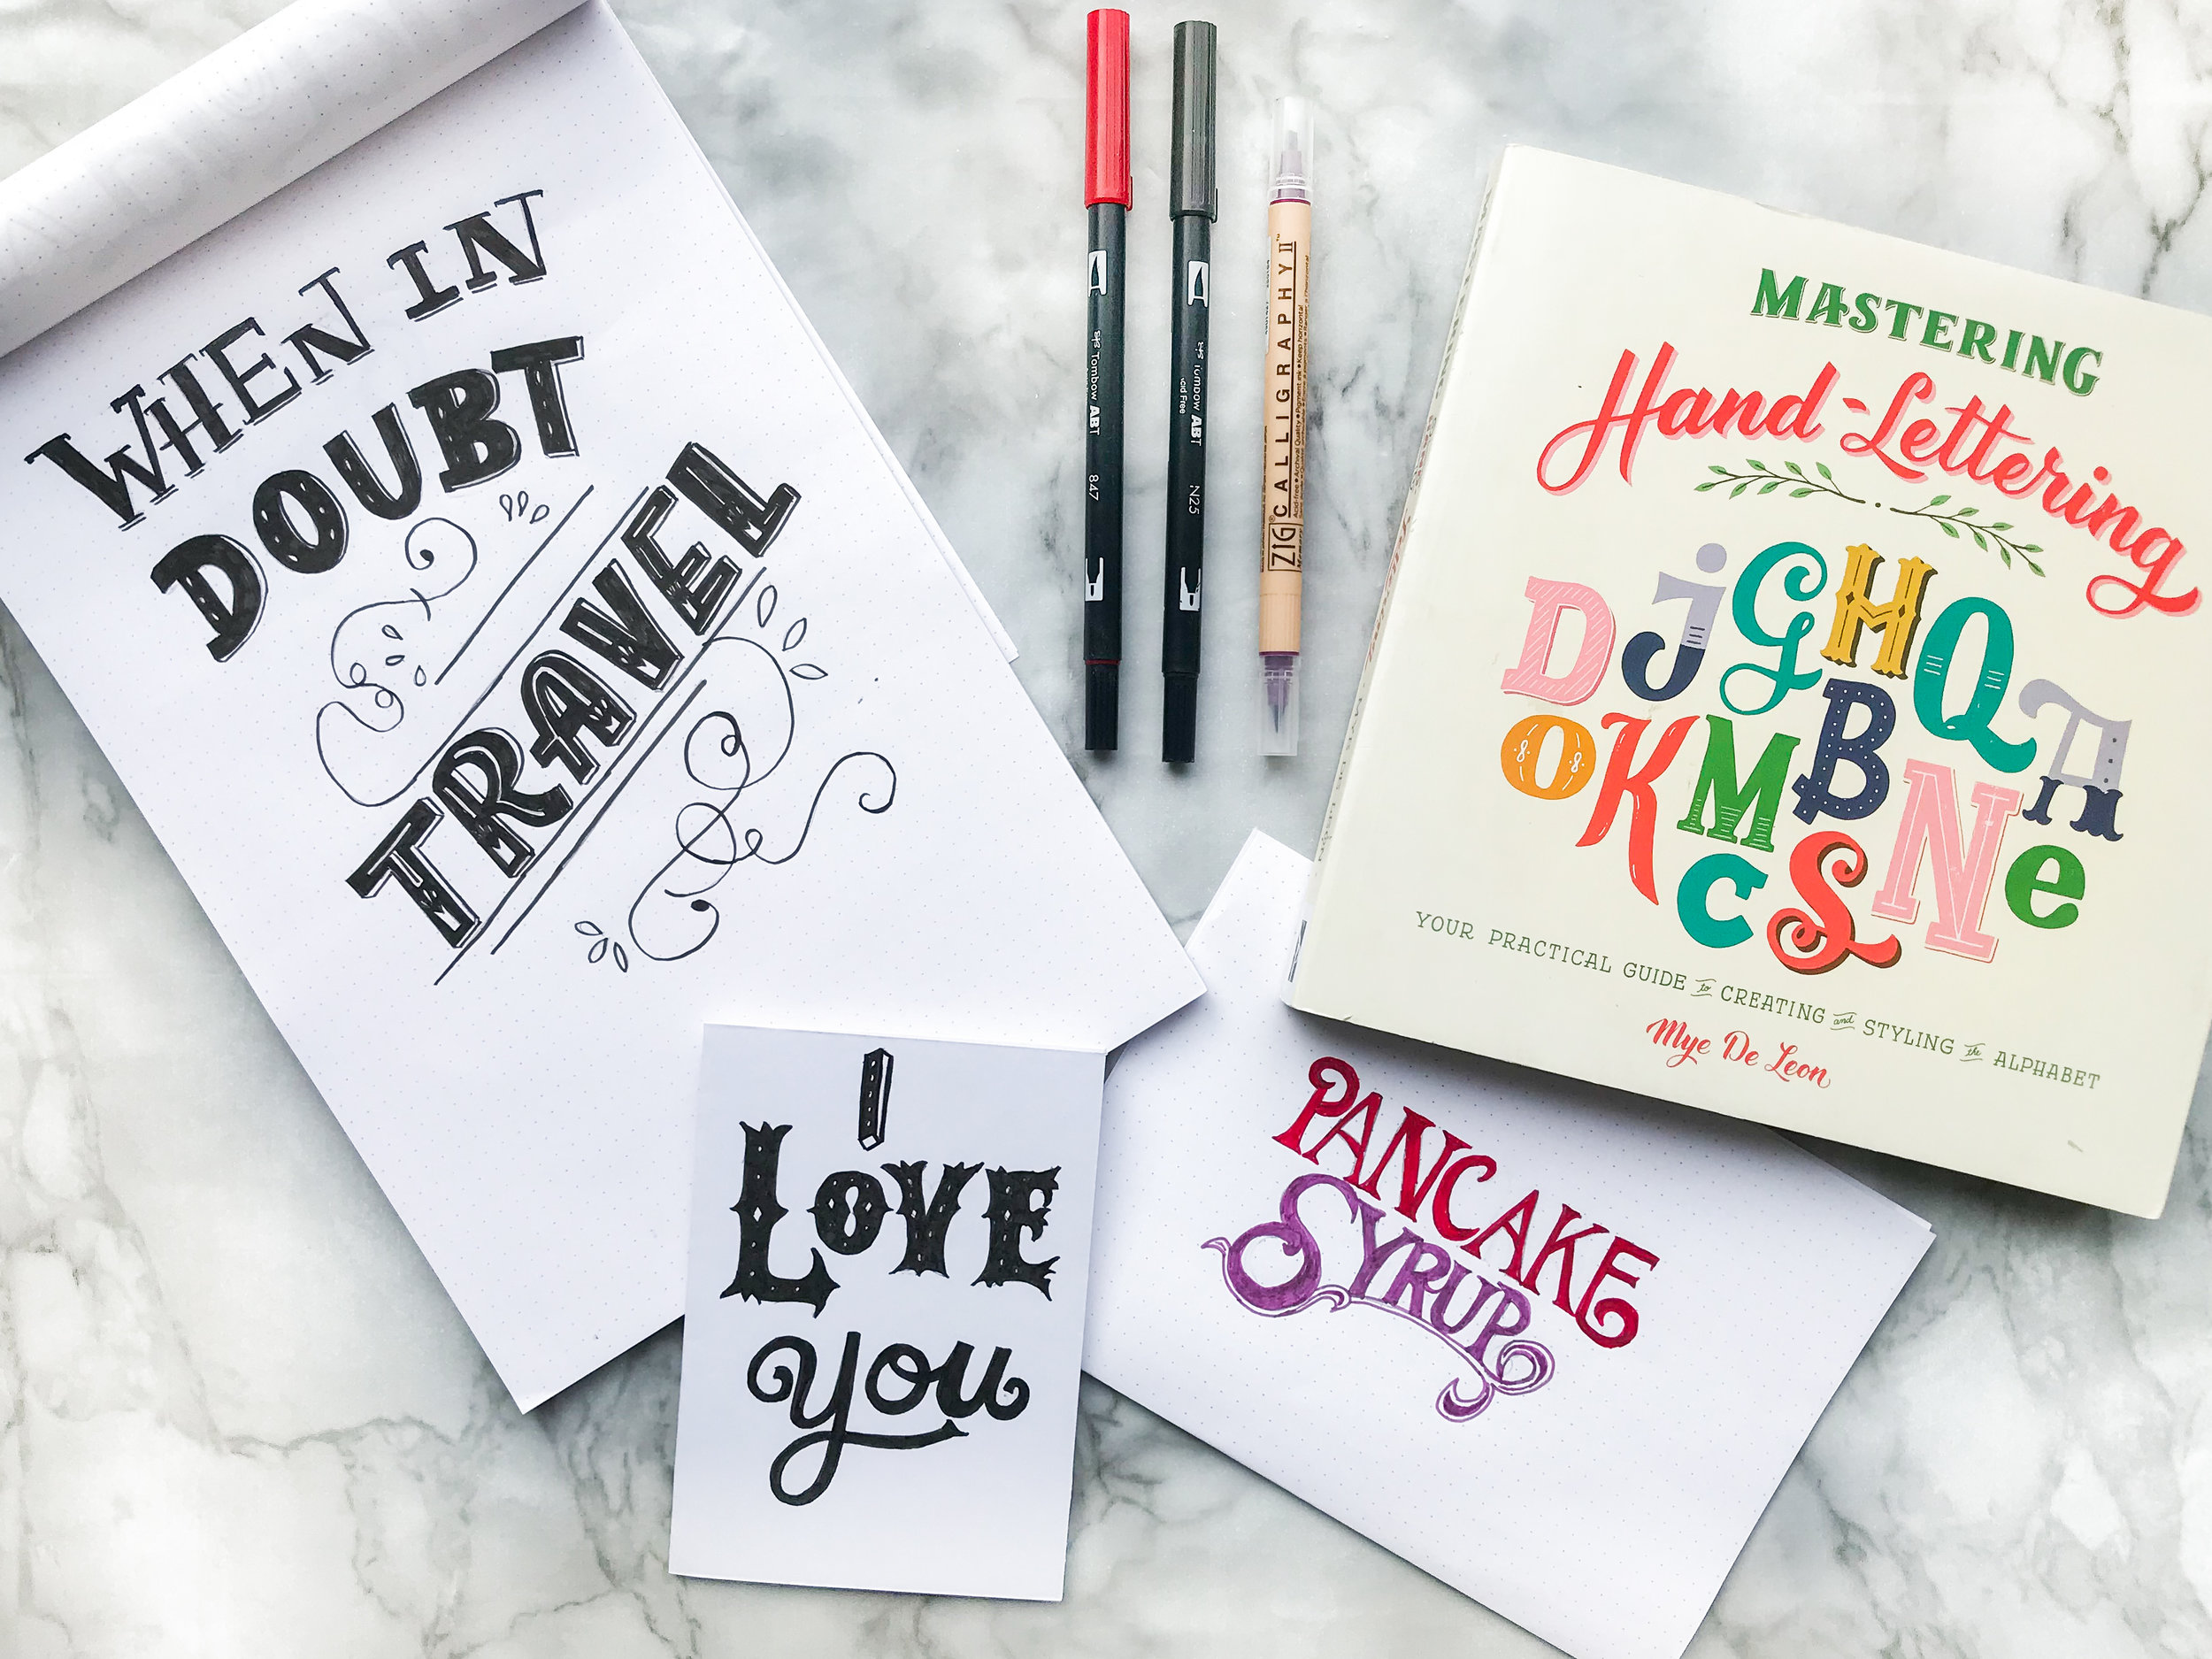
Following on from those classes, I'm now trying Hand Lettering.
This is totally new to me but I am loving scouring Pinterest for ideas to try. I also started following Mye De Leon on Instagram. She's an illustrator based in Singapore who creates beautiful work. Her book 'Mastering Hand Lettering' is my favourite on the subject so far. It's beautifully presented and easy to follow.
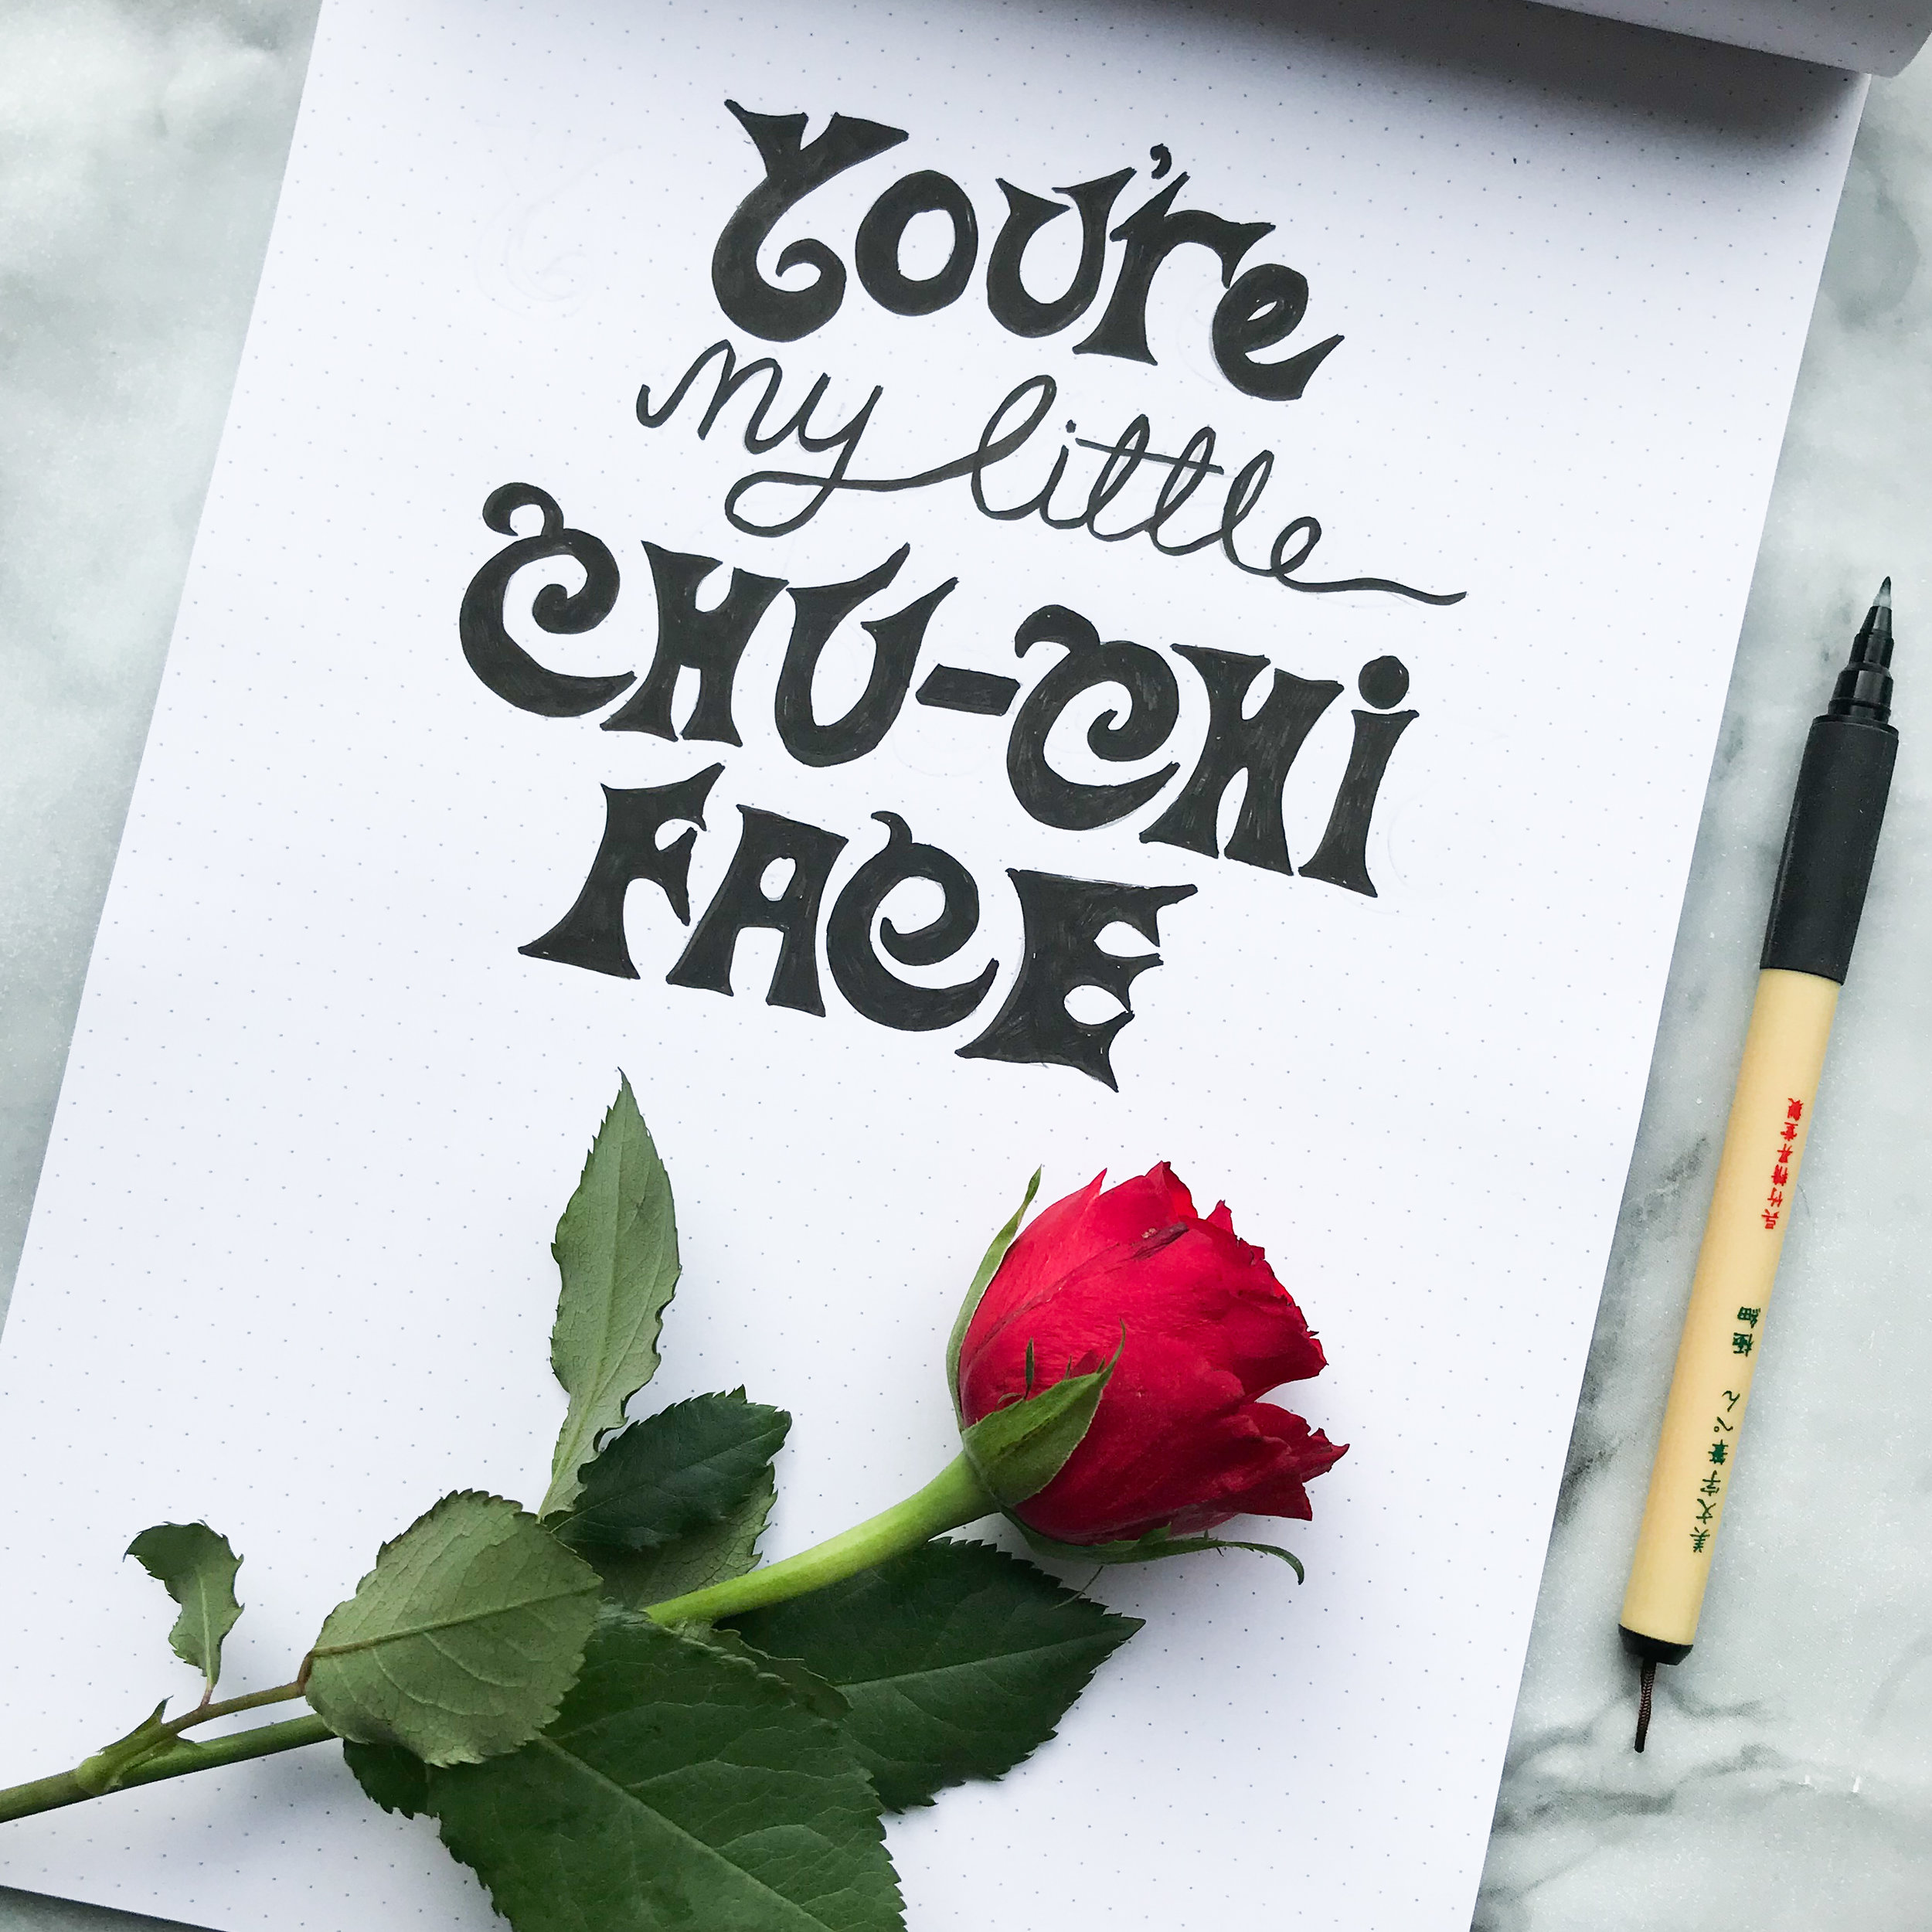
What I love most about Hand Lettering is getting lost in a little project. I look at my eldest (who is almost 4) and when she does her sticker projects you can see that she is completely engaged in her own little world.
Getting involved in a new hobby, whether it's painting, calligraphy, hand lettering, collage or something else is a great way of switching off, getting away from the iPhone or computer and taking some time out.
Who knows whether this current project will last a few weeks or years but I figure it's never too late to try something new and have a bit of fun with it!
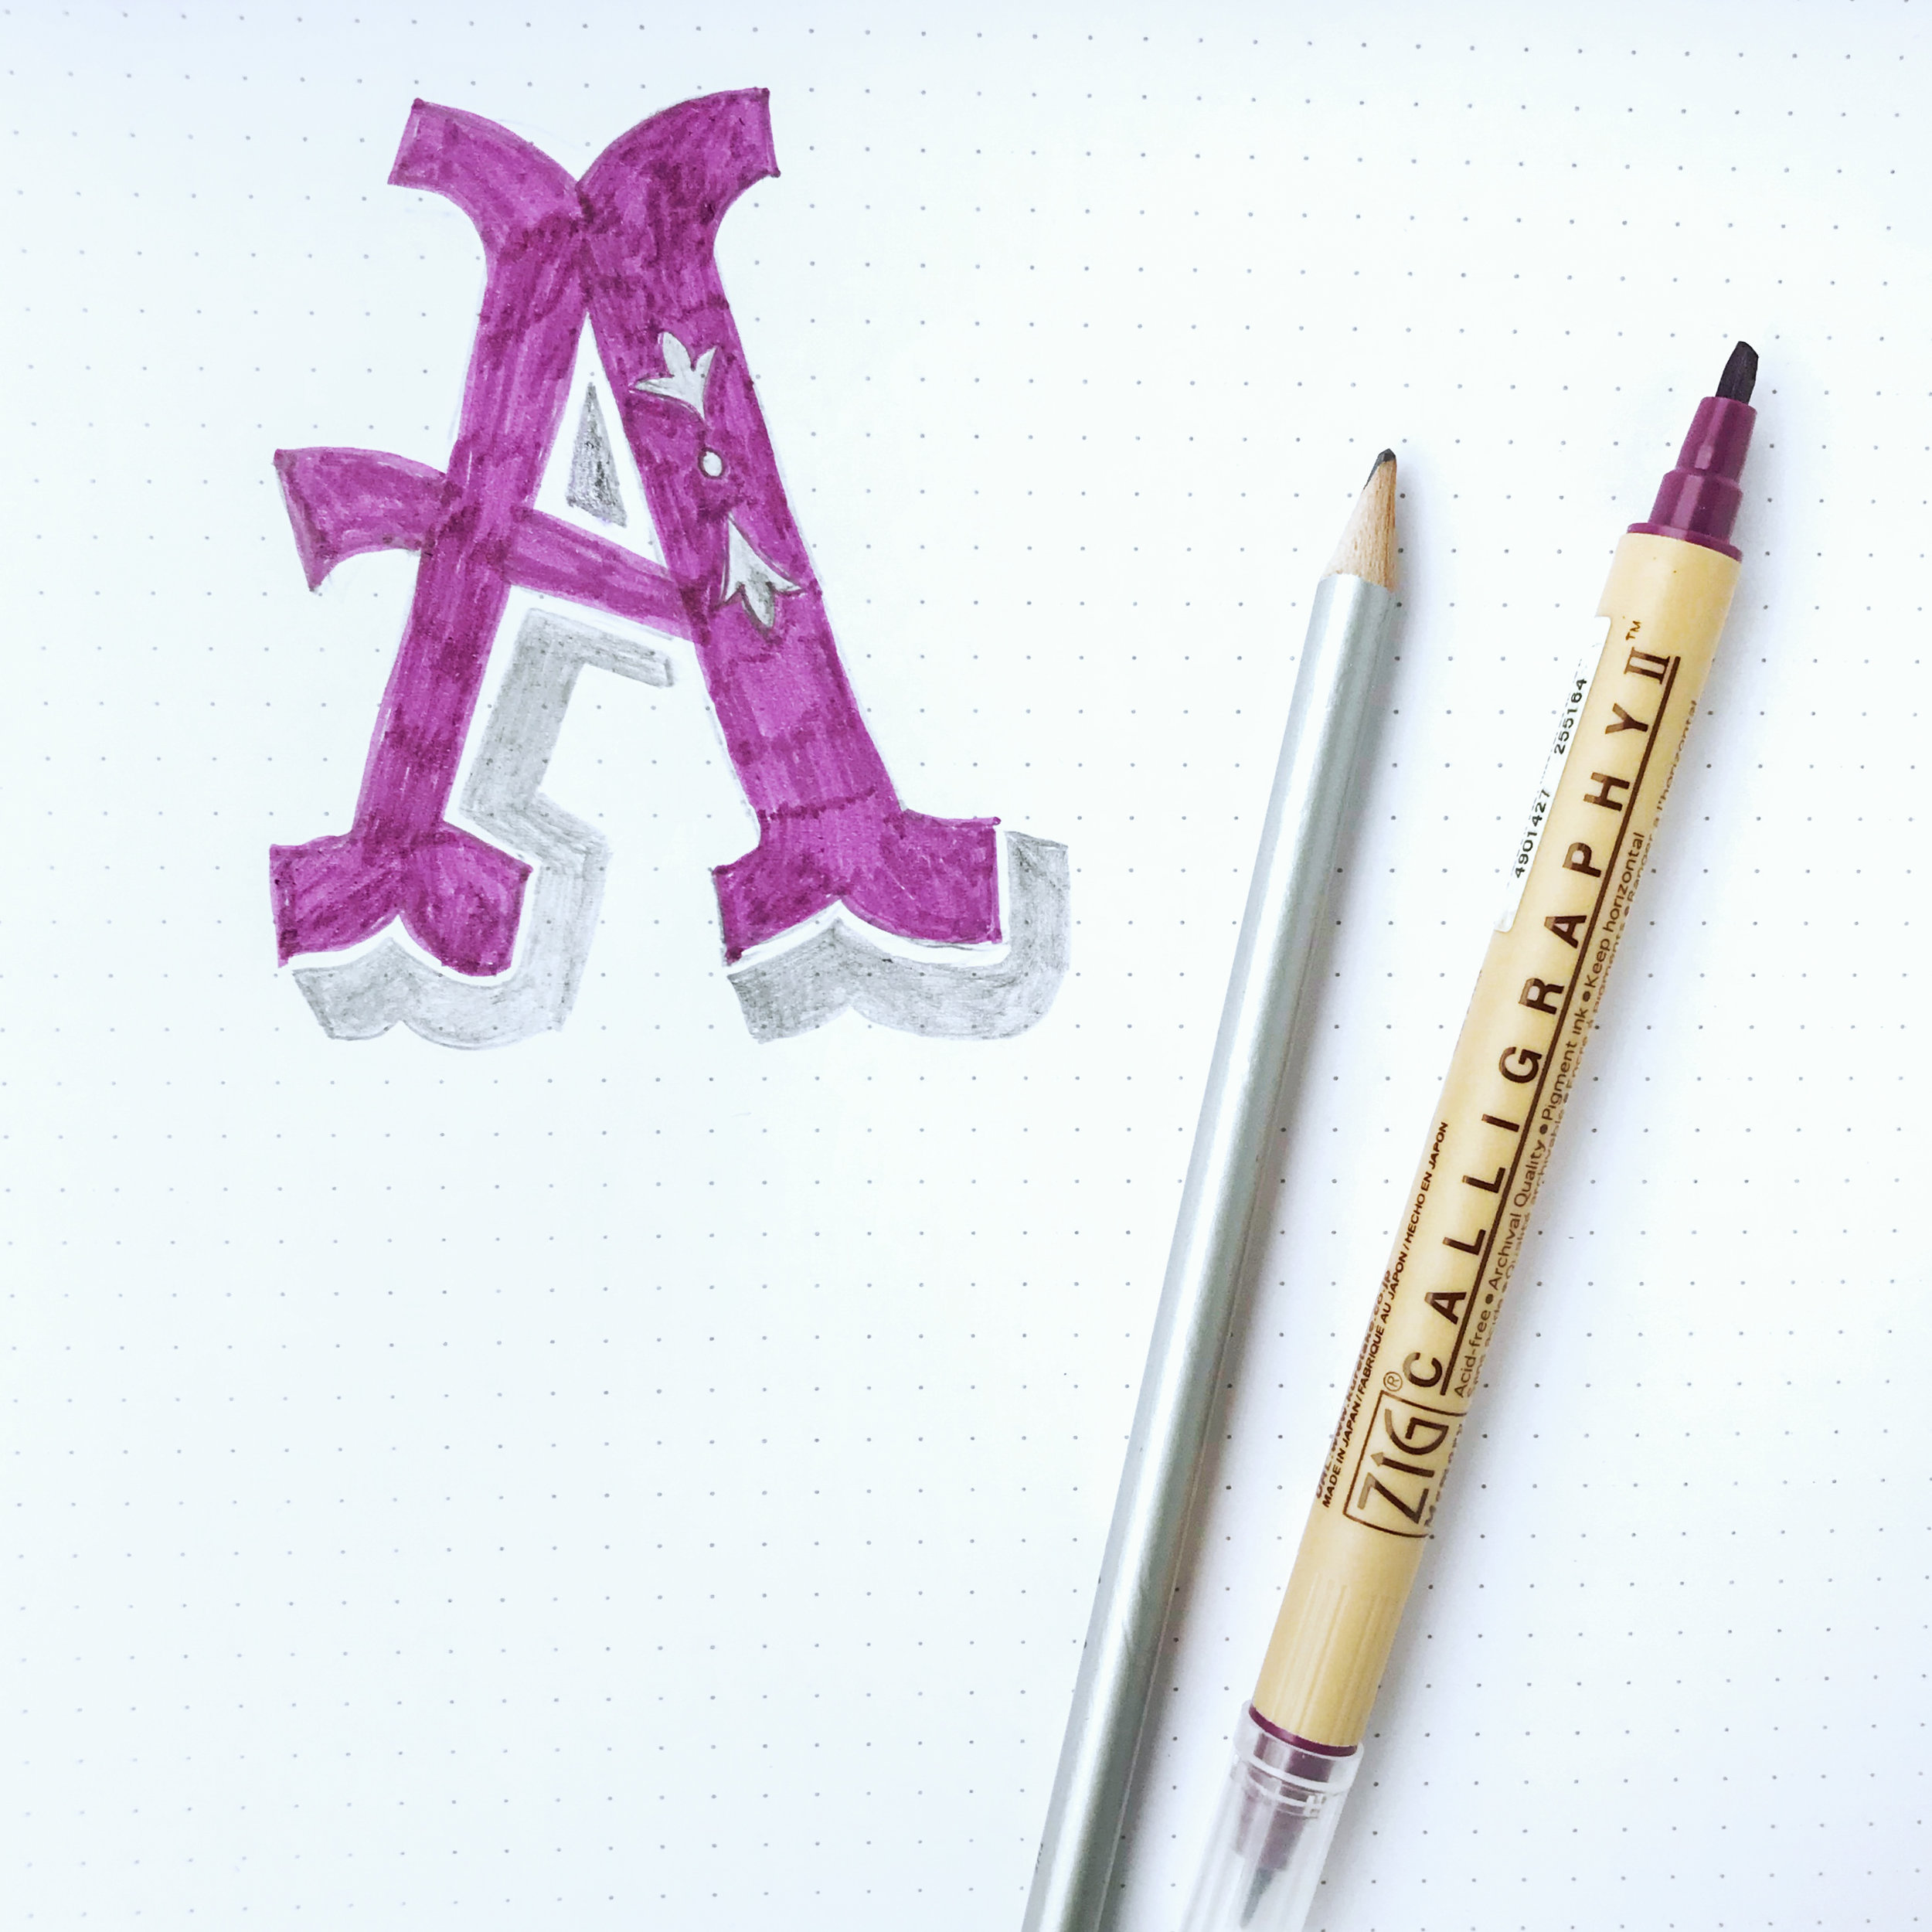
These are some of the supplies I am using to get started with Hand Lettering:
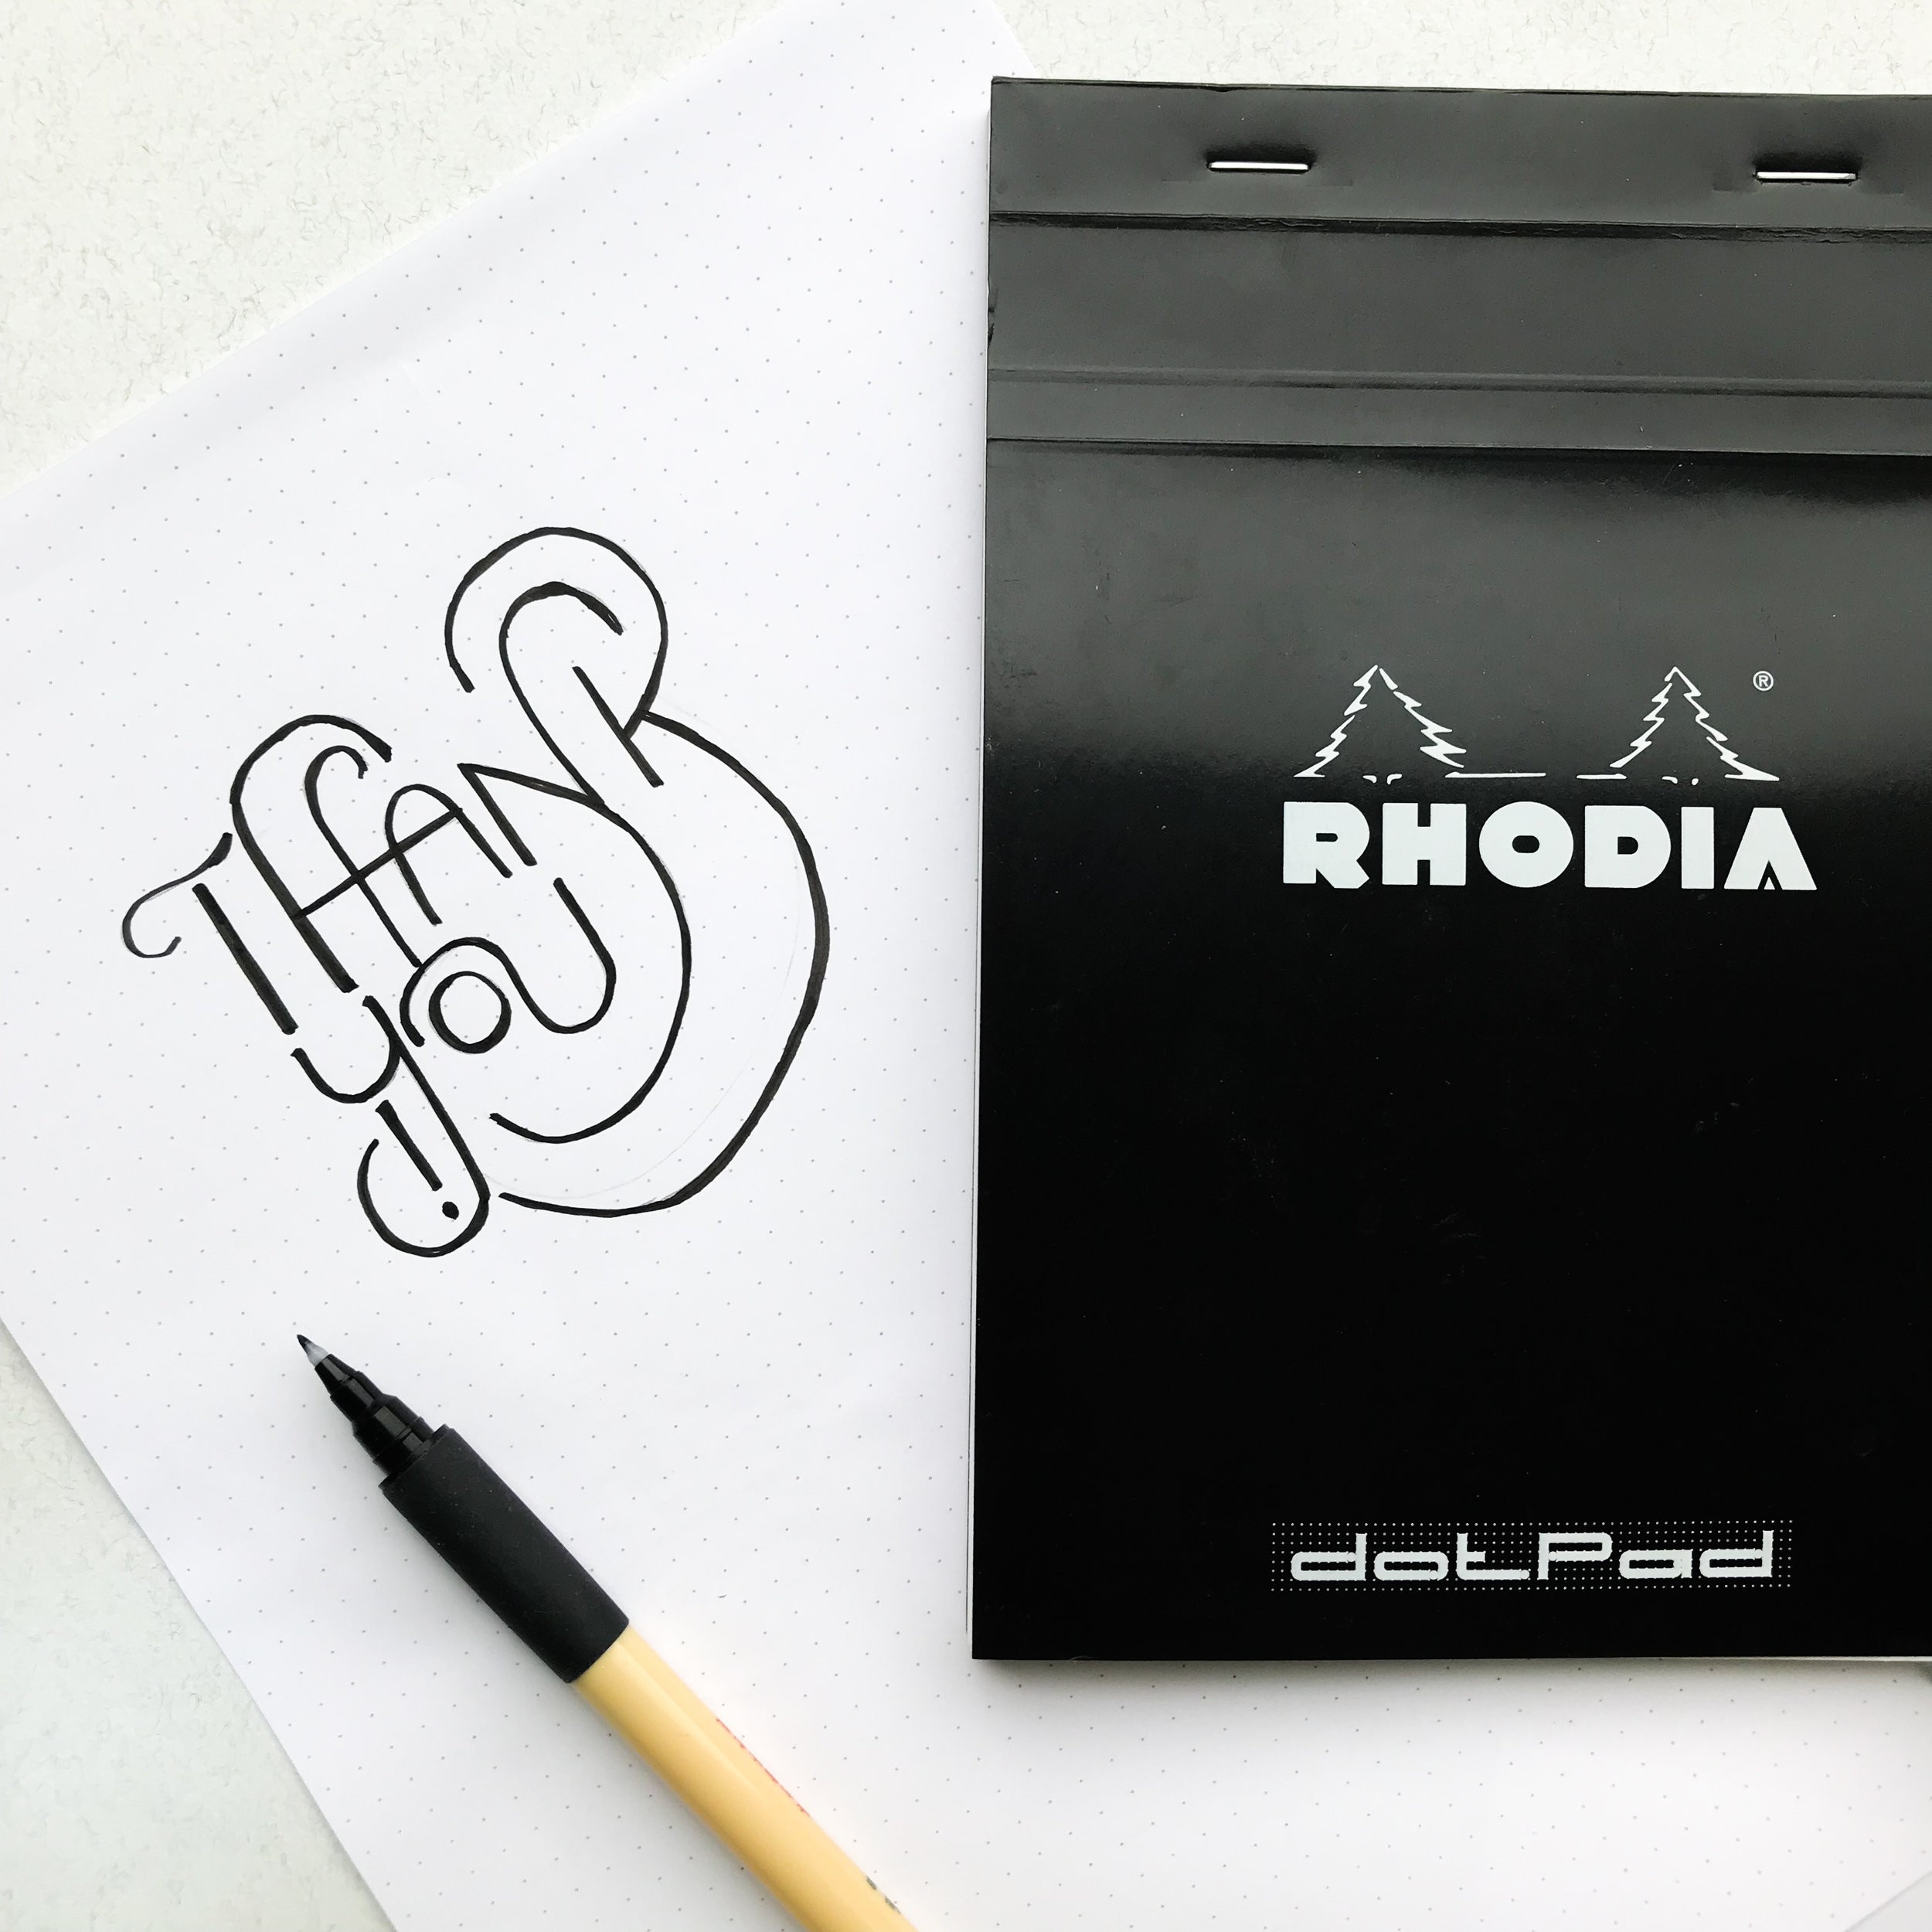
Rhodia Dot Pad
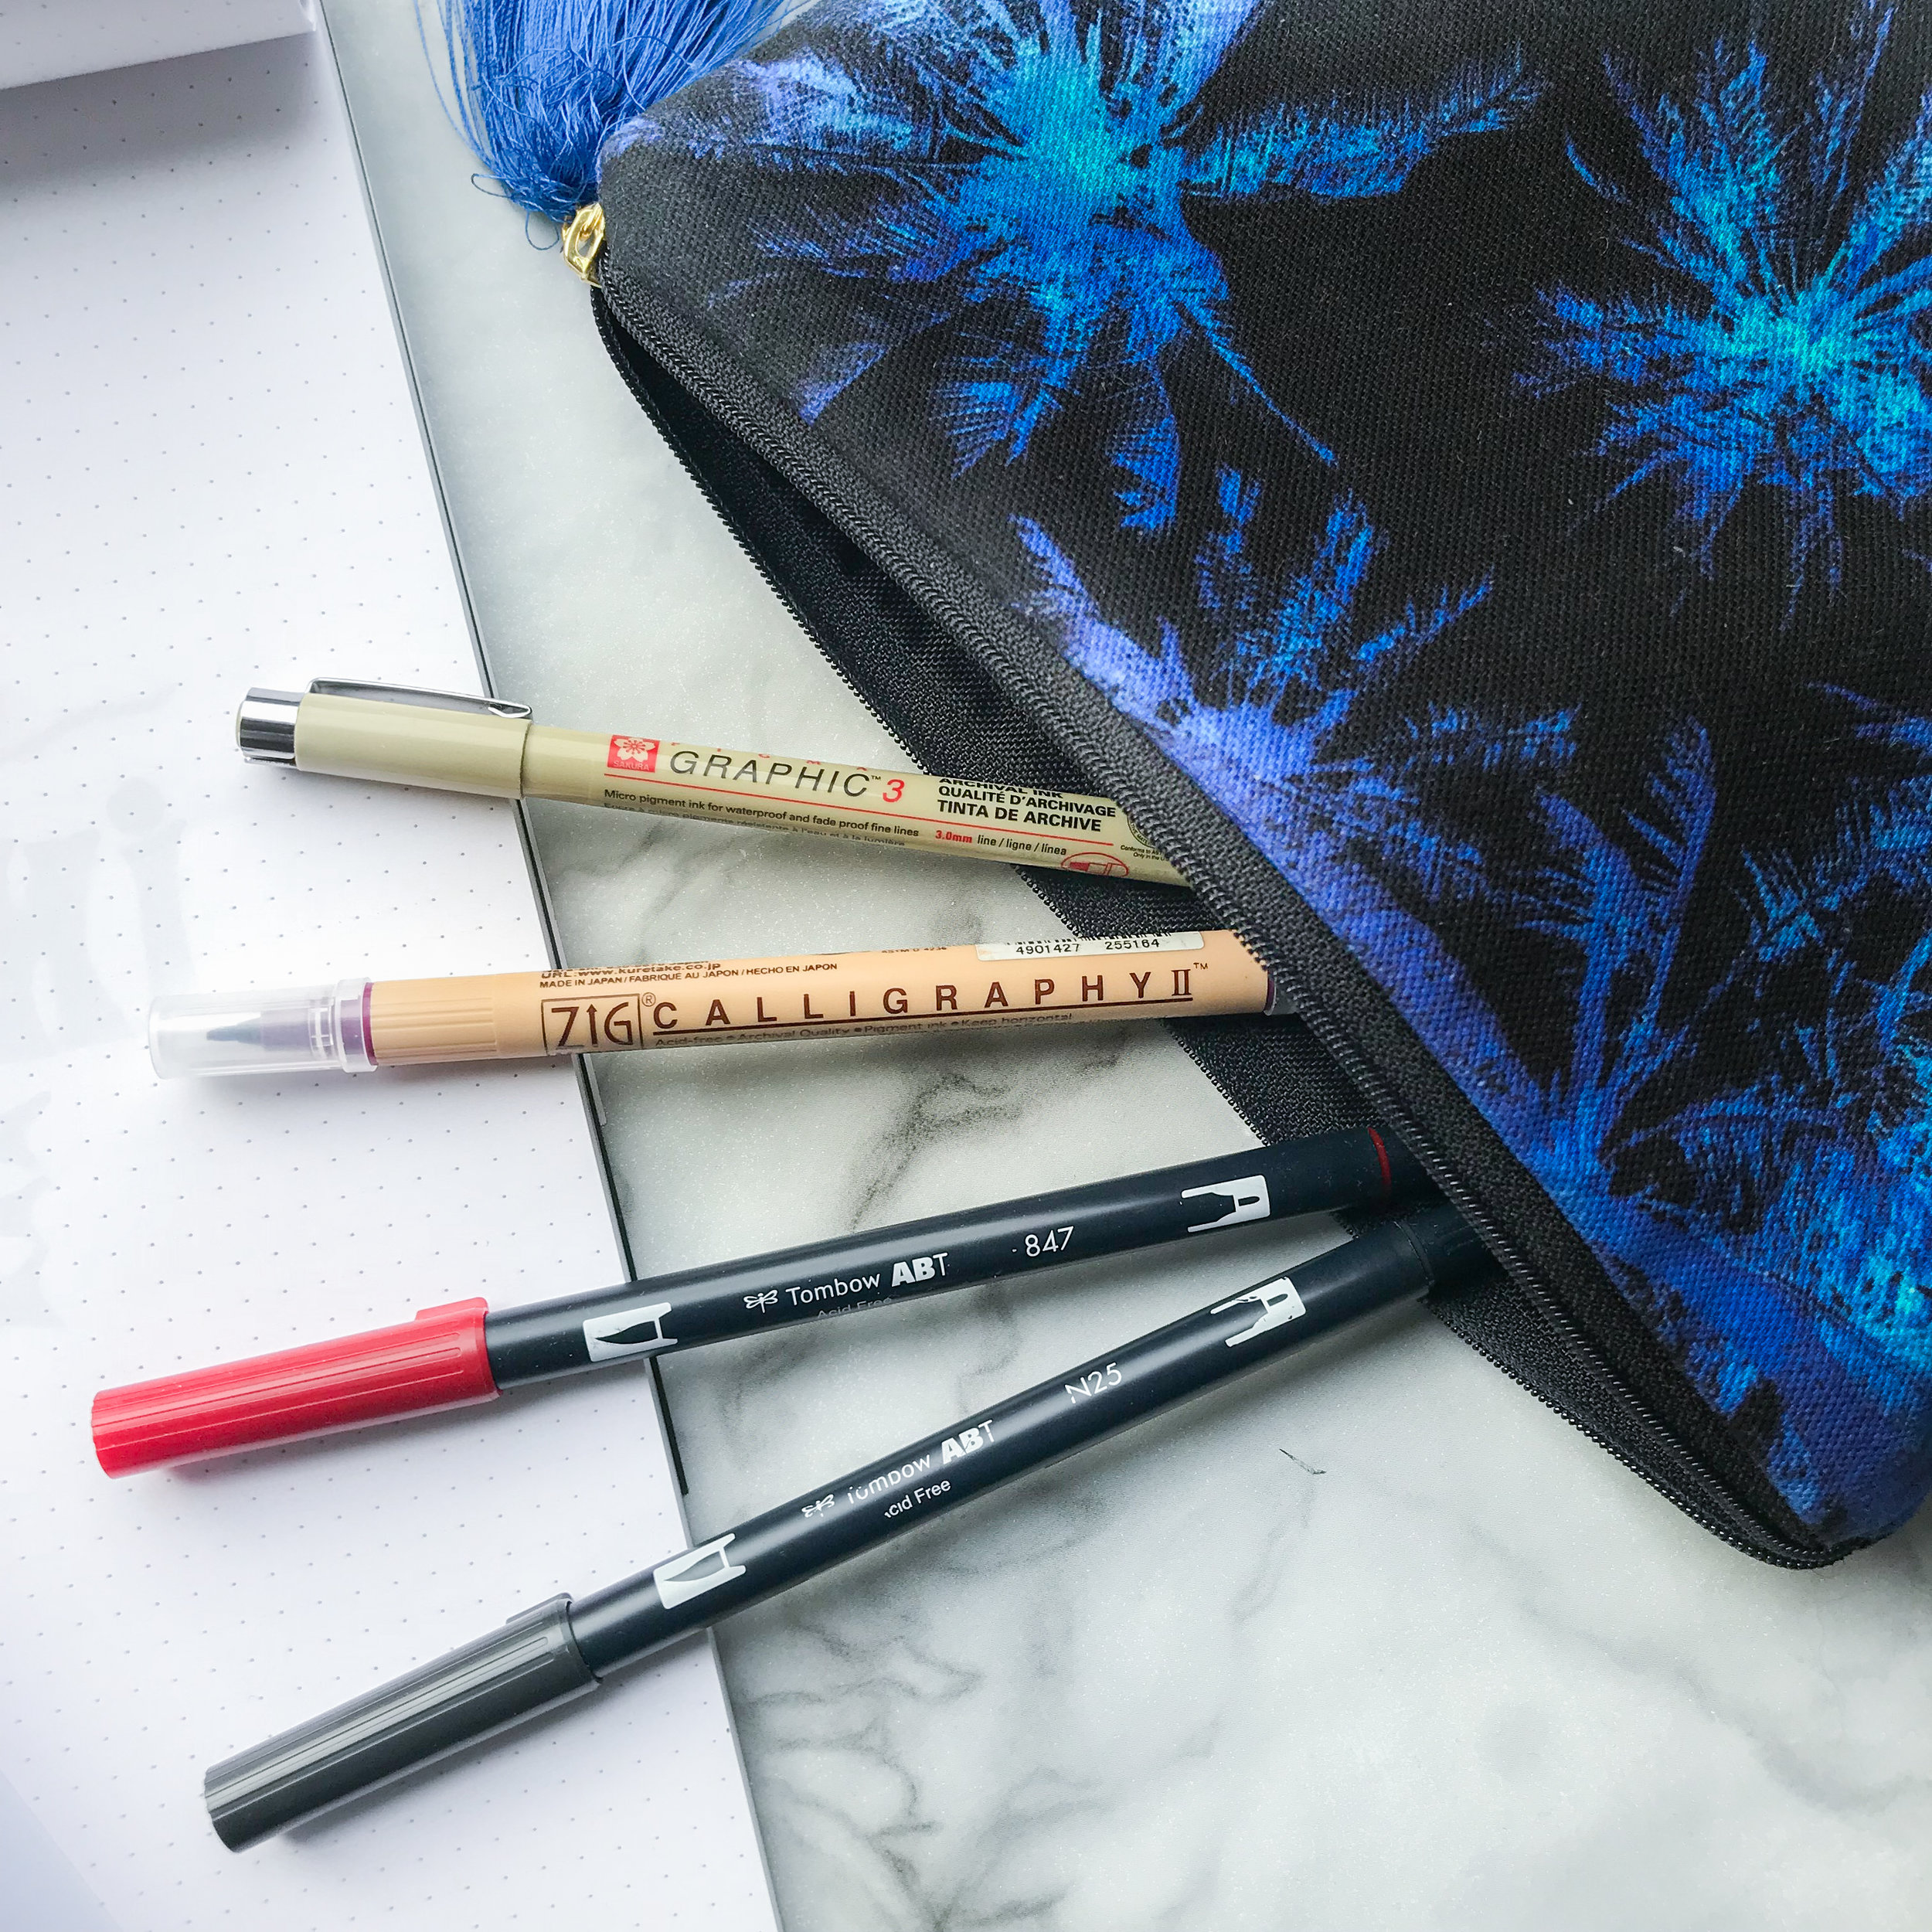
Zig Calligraphy II pen by Kuretake
Kuretake Bimoji pens
Tombow Brush pens
HB pencil, an eraser and sharpener
I decided to put myself out there and start a separate Instagram account just for Hand lettering - it's called @letsgolettering
If you have any tips on pens to use for Hand Lettering or books to read on the subject, let me know in the comments below.

Learning to Scrapbook

I remember when I was about 11 years-old - it was September, a brand new term at school. Sharpened pencils, a new shiny pencil case and maybe even a pristine set of new colouring pencils, too good to be removed from their box.
A friend had returned from a Summer holiday adventure and was neatly arranging her keepsakes from her trip in a scrapbook.
Photographs, tickets, notes, all mixed with pretty pastel coloured card and intricate designs printed on delicate paper.
I was mesmerised and watched wide-eyed as she glued, coloured and weaved together her findings in a book bound together with ribbon.
The truth is for a long time, and particularly at school, art was never my thing. Painting and drawing I loved but I was simply not good enough (or encouraged) to take art as a subject at GCSE.
It's only now, in my thirties, that I'm exploring new crafts and having fun trying new skills. There's no pressure to pass exams, just to learn and have fun.
I came across Project Craft at Paperchase by chance when looking for a new diary on their website.
I discovered the flagship store in London's Tottenham Court Road offers a range of craft classes, just a few hours long and enough to dip your toe in to see if you warm to it.
I chose the Scrapbooking class for a very reasonable £20 (including all supplies). There's also Card Making, Creative Journaling, Origami Flowers, Paper Cactus making and more.
Cameron, a friendly and enthusiastic art student (who also works part-time at Paperchase) was my teacher for the afternoon and encouraged me to choose a theme for my scrapbook - I chose travel.
I had brought along pictures, tickets and cuttings from a previous (poor) scrapbooking attempt and he helped me weave all the materials together into a double-page spread using coloured card, designer paper, washi tape and coloured string (for the bunting). He also showed me how to create pockets to store tickets and small mementos.
This was a brilliant introduction to Scrapbooking. My main reason for booking the class was so that for future travels I can involve our two girls and we can continue to create the scrapbook together.
In the two hours I also learnt:
How to be more confident using a cutting mat and knife
That it's much better to use double sided tape than Pritt Stick (curls at the edges)
How to be creative with washi tape (I always just used it like sellotape before - hello washi tape bunting!)
So thank you Paperchase (and Cameron) for a great introduction to Scrapbooking - I hope to be back soon. in the meantime here's a Pinterest board I've put together with Scrapbooking ideas.
You can read more about Project Craft classes (available in London, Manchester & Glasgow) here

8 ideas for creating a New Year Mood Board

In the corner of our bedroom sits my little office.
And one of my absolute favourite things in this corner is my wire mood board.
I love gathering together pictures, cards, little notes and drawings from my girls. Sitting on my bed and looking up at this collection always made me smile.
I don't get round to changing it as much as I'd like but I use it to help me come up with ideas and inspiration.
If I take a picture I am really proud of, I clip it on the board and this helps boost my confidence. If there's a place I'd like to visit, I'll add a picture too so the idea is never too far from my mind.
I'm also a big believer that by writing things down you have a clearer focus and get more done. It's the same with pictures.
So as we begin 2018 I've updated my board and I have some ideas if you want to create your own.
1. Wire Mood Board - The board itself is a great modern take on the cork pinboard. It's made by Block Design and is available from Amazon or Black By Design.
2. Quotes - Kikki.K do great quote cards perfect for attaching to boards. I've also recently discovered personalised gift wrap. Instead of using it to wrap presents, I've personalised the paper with my own quote 'Seek the Light, Take the Picture' and added it to my board. The gift wrap is by a lovely new company called Prettygifted.co.uk and the Quote cards are by Kikki.K


3. Photos - I really learned the hard way a few weeks ago when my main external back-up hard drive just simply failed. I'm still trying to figure out how to save the data which includes a huge stash of photos of my girls. So printing for me is more important than ever. I've just tried a company, based in the UK called Inkifi. They have an app and produce these wonderful photostrip prints (as seen below). They are well priced and have a range of other high quality products.
4. Inspiring pictures - I'm always keeping an eye out for pictures that inspire me and I collect these together for my board. It could be an image that has great composition or that evokes an emotion. Having great pictures on my board helps me learn, makes me work harder and keeps me passionate about photography.
5. Places to go - I really want to go on holiday in 2018 and keep getting drawn back to stunning Fjords of Norway. The main picture on my mood board is taken in the Fjord town of Olden. Both of my girls and my husband are sitting beside the lake with snow capped mountains in the distance. It was a really special trip and having this picture on my board is not only a lovely reminder of a great holiday but it's a reminder to book another one!
6. Children's Drawings - I just love to wake up and look at drawings by my girls. Alice (3) is just learning to draw faces and each new picture is an amusing, quirky treasure!
7. Hanging Ornaments - In my case it's a palm tree as I just love palm trees. I've seen some mood boards with real hanging plants and this looks great - (see Pinterest for ideas). It adds a bit of colour and fun to the board.
8. Lights - Definitely not just for Christmas. Fairy lights are great for finishing off a mood board. In the evenings, if I am working at my desk or reading in bed, it adds a gentle warm light and cosy feel to our room.
I've also put together a board on Pinterest with more mood board inspiration. You can find it here.

8 courses to kickstart your Creativity

I read a great quote recently:
Invest in yourself. Read books. Find Mentors. Listen to podcasts. Every day is a school day. - Mark Ormrod
I'm always on the lookout for short courses to improve my photography or just simply to learn a new skill.
Modern Calligraphy, Brush Lettering, Watercolour Painting, Street Photography - these are some of the evening/day classes I've taken over the past year.
I really think short courses are a great way to test the water and see if an idea could lead to a regular hobby.
Calligraphy has become a regular hobby I practice in my own time. I find it really meditative and if I'm feeling stressed or anxious, getting lost in creative lettering is the perfect tonic.
I've put together a list of 8 courses I've done over the past few years - some offline and some online, all have been fun and given me food for thought!
1. Modern Calligraphy & Brush Lettering - two separate classes run by Quill London in Islington. The courses get booked up really fast but if you sign up to their mailing list, you can book a class as soon as they become available. Owner of Quill Lucy Edmonds has just published her first book called Modern Calligraphy - perfect for total beginners and those who want to keep up their practice.
2. I took a Watercolour Painting class one afternoon at West Elm, a pretty amazing homeware shore in central London. Led by illustrator Emma Block and fuelled by cups of tea, we settled into a corner of the store on a Sunday morning with the sun streaming through the high windows and painted the fresh flowers in front of us. A pretty relaxing start to the day!
3. Street Photography - I joined Street Photographer Paul Russell for a brilliant six hours pounding the streets of central London. I wrote about it in a blog post here.
4. On Creative Live I came across a truly inspirational photography workshop by Kirsten Lewis. She's a fantastic US based documentary family photographer. Her class gave me lots to think about with my own photography work and she introduced me to many photographers to research and learn from. You can download the class and watch it in your own time.
5. kikki.K run workshops. Yes, for stationery addicts like myself this is BIG news. If you haven't come across this company, then check it out. They simply do the best planners/diaries/organisers and now have stores in the UK. I signed up to their Goals workshop at the Covent Garden store. Very relaxed and over a glass of fizz, you learn how to use the kikki.K goals planner by setting monthly goals you'd like to achieve. Whether it's booking the holiday you keep contemplating or trying that Pilates class, there's something about writing things down that helps get things done. If you're in London or passing through, book in for one of these evening classes and you won't be disappointed.

6. Click in Moms is a US website aimed at photographers of all levels. I've now completed my fourth class through the site. The classes I have taken have been breakouts, which means you have downloadable content to watch in your own time; but you can also interact with the class teacher and others doing the course over a couple of weeks while the breakout is live. Look out for classes by Kirsten Lewis (mentioned earlier), Maria Manco and Ginger Unzueta. All are brilliant photographers.
7. To Creative Live again and this time a blogging course. I decided a couple of years ago I really wanted to give more thought to my blog. April Bowles Olin's course Build a Successful Creative Blog is fun, really inspiring and with tons of blogging content ideas. Most importantly she'll give you the confidence to just go for it and get writing. Available to download and watch in your own time.
8. Tammy Strobel of www.rowdykittens.com is your go-to guide to getting started with journaling. It's something I wanted to start doing for ages (I wrote about it here). I took Tammy's journaling class. She sent out emails every couple of days for a few weeks with tips, prompts and advice. This class helped give me the confidence to not feel silly about journaling and make it part of my day. Her new book Everyday Adventures can be bought here.
Got any suggestions for courses on or offline that you've done? I'd love to hear in the comments below.